Have an old, cracked sand pail lying around that your kids don't play with anymore? Have more sand pails than the kids could ever use in a summer? Now, you can make those sand pails into planters with their own matching plant markers!
Advertisement
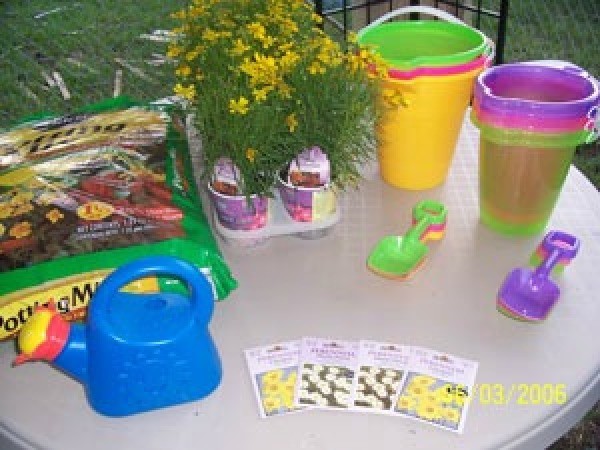
Needed:
sand pails with matching shovels (I purchased mine new at a Dollar Store!)
potting soil (seeding blend for seeds; regular for transplants)
measuring cup (or any kind of scoop)
watering can and water
flower seeds
flat of flowers
stones (or electric drill)
permanent marker
Optional Items:
puffy paints, stickers, various colors of permanent markers, stencils
Instructions:
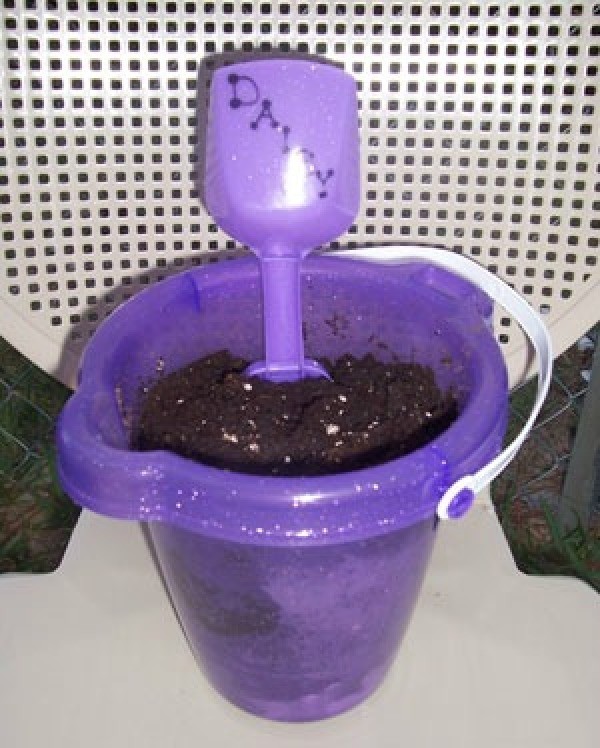
Put stones in the bottom or your sand pail (or drill holes in the bottom) for excess water to drain.
Fill pails to almost full with seeding potting soil (using the measuring cup as a scoop).
Sprinkle potting soil with flower seeds.
Gently water the soil and seeds.
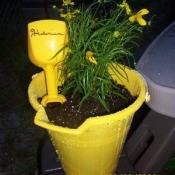
Take a permanent marker and write the common or scientific name of the flower on the matching shovel.
Advertisement
Place shovel handle side down into the soil for a plant marker.
*If using already started flowers, fill pail about half full of regular potting soil. Place flower with soil in the center of the pail and finish filling around the roots with additional potting soil. Gently water and continue with steps 5 and 6.
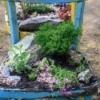
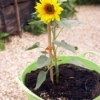
A sand pail planter makes a welcome addition to a shell garden or garden with a beach theme.
Additional step: have adults or children decorate the pails before planting. Puffy paints, stickers, and permanent markers can be used. The permanent markers and stencils can be used for more "professional" looking plant markers, if you don't like your handwriting.
This project is quite easy, and can be done by the youngest child.
 Have an old, cracked sand pail lying around that your kids don't play with anymore? Have more sand pails than the kids could ever use in a summer? Now, you can make those sand pails into planters with their own matching plant markers!