HomeBrowseNewslettersContestsAskShare 
AllGuidesQuestionsVideosBy DateRecent Feedback My AccountAbout Us
Home and Garden > Gardening > Creative Planters on May 15, 2012

Making Hypertufa Planters

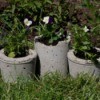
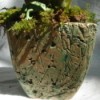
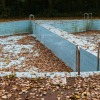
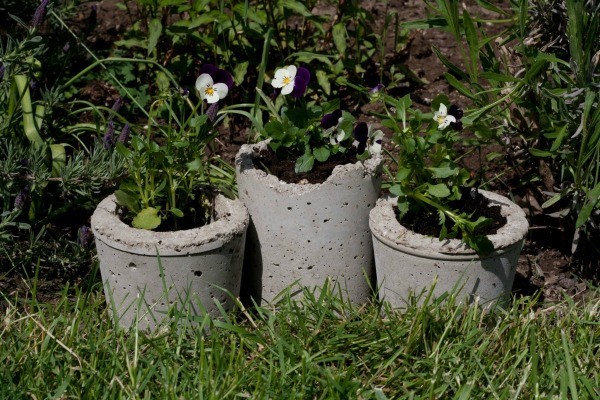
These easy to make, naturally porous hypertufa pots are a great addition to any garden.

Materials

  • Portland cement (not quick set pre-mixed concrete)
  • Peat moss
  • Perilite
  • Bucket
  • Stirring stick
  • Dust mask
  • Garden gloves
  • Wire brush
  • Various plastic containers
Hypertufa Materials

Instructions:

  1. Put the dry ingredients together in the bucket. You may need to adjust the amounts to get the consistency right but the basic formula is 2 parts Portland cement, 3 parts peat moss, 3 parts perilite. Be sure to wear the dust mask when pouring or stirring the dry cement.
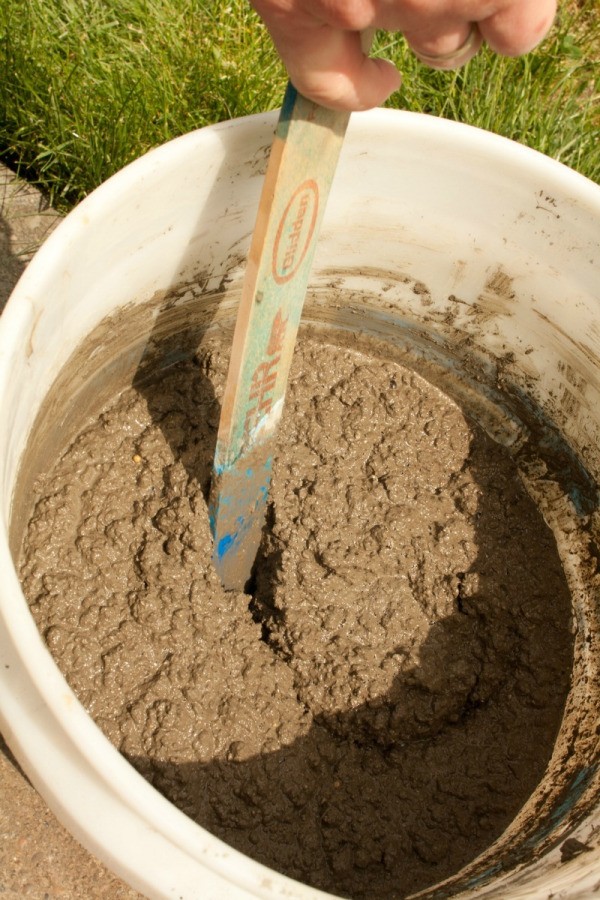
  2. If the peat moss is not loose, you will need to break up any clumps before adding water

  3. Mix the dry ingredients up throughly with the stir stick or your hand. Be sure to wear gloves as the cement is a skin irritant.
  4. Add water and stir until the mixture is completely dampened. It will stir relatively easily when enough water has been added, but it shouldn't be "soupy". It should be about the consistency of instant oatmeal or cottage cheese. If you put too much water in, add a little more cement to thicken it up. Remember a little cement goes a long way.
  5. Stirring Concrete
  6. Once you have paired off your containers to nest inside of each other, pour or scoop the concrete into the larger container. Fill the container about halfway.
  7. Push the smaller container down into the concrete mixture. If the concrete doesn't come up as high as you would like, scoop some more mixture with the stir stick into the edges. Smooth it out with your finger after pressing the container back down.
  8. Pressing Container into Hypertufa Concrete Topping off Hypertufa Concrete
  9. Add some small rocks or something heavy to weigh down the smaller container into the concrete mixture.
  10. Cover your pots with plastic wrap and set them aside to cure. Covering them will help slow the curing process. This is especially important for larger pots as they will crack if cured too quickly.
  11. Hypertufa Pots Covered in Plastic
  12. The initial curing process will take about 24 hours. After that time, check the consistency of the concrete. If it gives at all when you press on it or it scratches easily with your fingernail, then let it set up a few more hours.
  13. Once the concrete is cured, removed the molds and smooth out any rough edges with the wire brush. I kind of liked some of the rough edges I ended up with so I only smoothed out a few parts.
  14. Removing Mold With Pliers Bottom of Hypertufa Pot Hypertufa Planter Fit Four Plants
  15. Place them outside to finish curing. The final curing could take up to 3 weeks for larger planters. The finished pot will be lighter in both weight and color.
  16. Hypertufa Pot on Table
  17. Lastly, you will need to get rid of the lime contained in the Portland cement. Too much lime is not good for your plants, so this is an important step. Fill the planters with water and let them drain daily for about a week to ten days. This will remove any high concentrations of lime. If you made these pots in the winter, you could simply set them outside until spring. The winter rains will naturally leach away the lime for you!
  18. Pansies in Hypertufa Pots

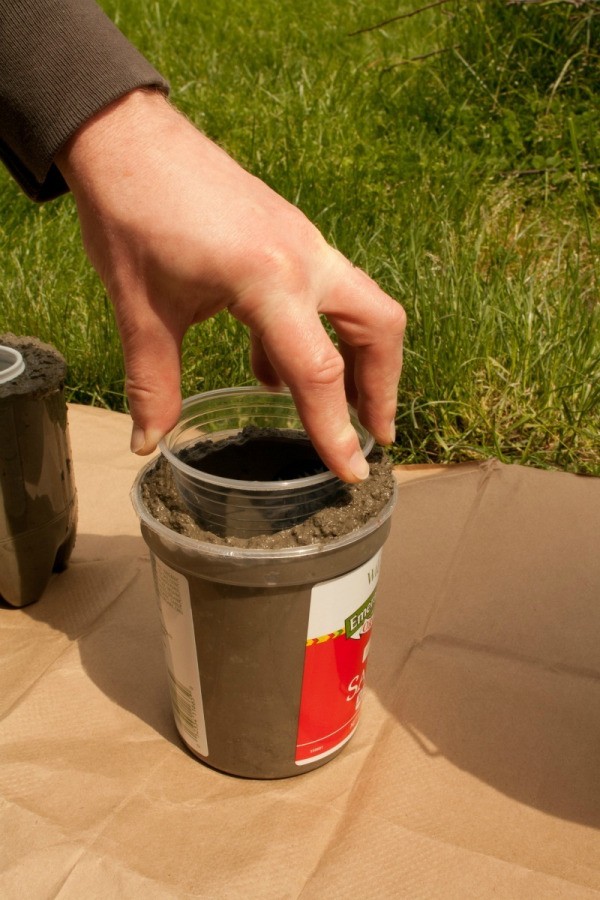
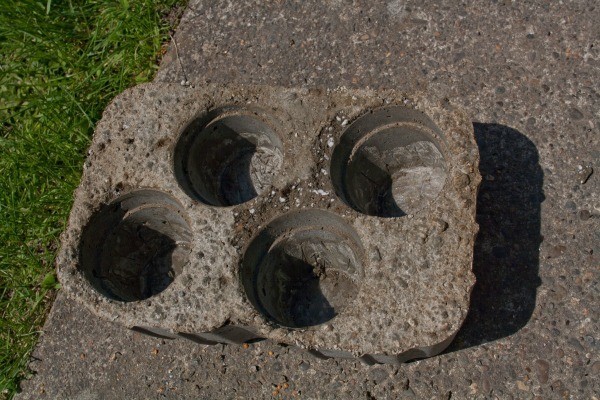
    You will soon find that the possibilities for using this method are practically endless. Be creative, find ways to place multiple pots in one container, use unusual shapes and designs. You can use many different kind of things as molds for this type of planter. Cardboard boxes, styrofoam or even scrap wood work well also. If you use a metal container, be sure to apply a concrete release agent before pouring the concrete or else it will stick to the metal.

    Bottom 2 Liter Hypertufa

Feedback

Read feedback for this post below. Click here to post feedback.

By
05/14/2013

Great tutorial! Thanks! I just made some planters with the quick-set concrete (not hypertufa), using the same procedure. They're very heavy, but very cool-looking (and cheaper, too).

I highly recommend using styrofoam! If it sticks at all, you can easily just break it off.

By
05/18/2012

Thanks so much, Robyn. They were so much fun to make. We are already saving up bigger containers to make patio sized planters. :)

By
05/15/2012

Those turned out so beautiful!

Post Feedback

Add your voice to the conversation.

Follow ThriftyFun