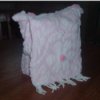
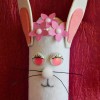
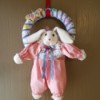
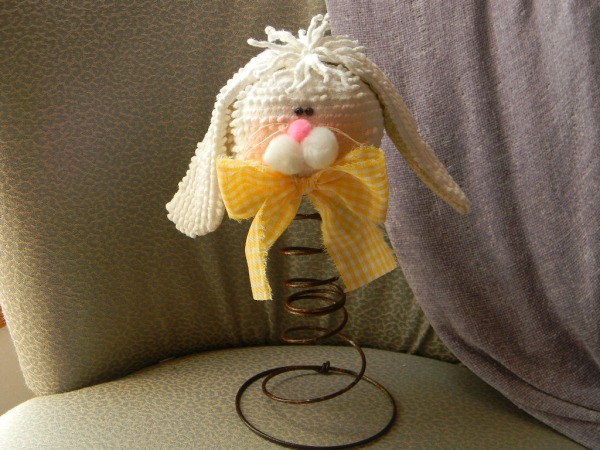
What better way to give your home a touch of spring than with a bed spring bunny. This bunny head is made using an old chenille bedspread, a recycled bed spring, and a few other odds and ends you probably already have in your craft supplies. The finished bunny stands 11 inches tall.
Approximate Time: 2 hours
Supplies:
- white chenille bedspread
- ruler
- scissors
- straight pins
- sewing machine
- upholstery needle
- white or off-white crochet thread
- stuffing
- blush and paintbrush
- 1/2-inch white pompoms (two)
- 1/4-inch pink pompom (one)
- hot glue gun
- 4-mm brown and black beads (two)
- sewing needle and thread
- paper and pen
- beige fabric scrap
- iron
- bed spring
- fabric scrap
Instructions:
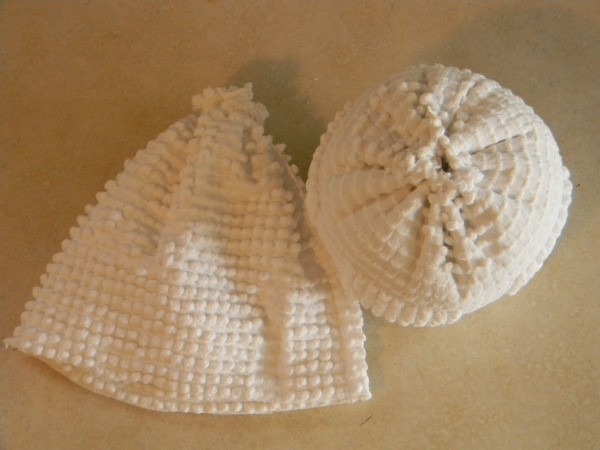
- Cut a 5 1/2-inch wide by 12-inch long rectangle from a white chenille bedspread. This is the bunny's head.
- Fold the rectangle in half with the right sides together and the short ends matching. Pin the short ends together.
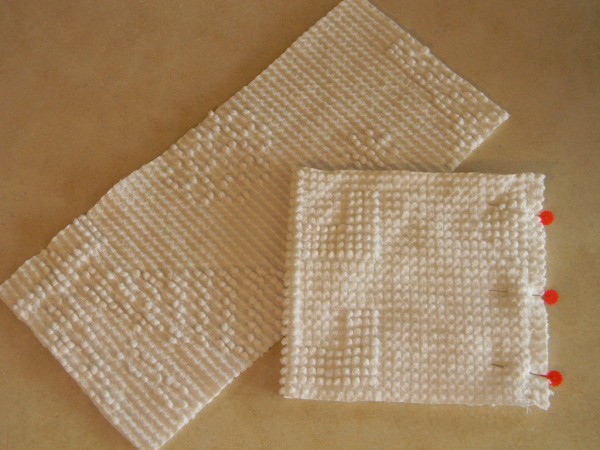
- Sew the pinned edge using a 1/4-inch seam allowance. You now have a tube.
- Thread an upholstery needle with crochet thread. Sew a running stitch around one end of the tube a 1/2 inch from the edge. Pull the thread to gather the opening closed. Knot and cut the thread.
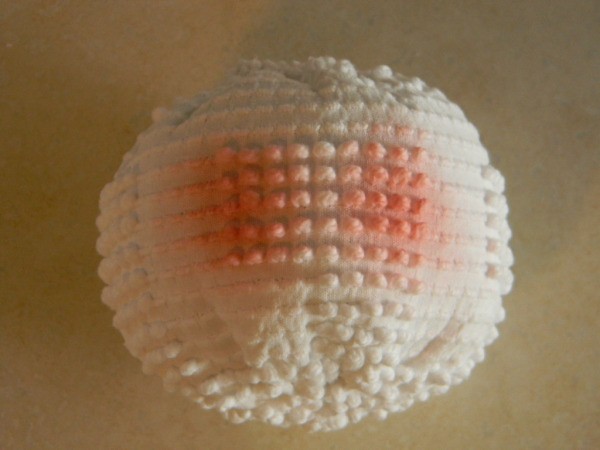
- Turn the head right side out. Firmly fill the head with stuffing. Sew a running stitch around the opening a 1/2 inch from the edge. Pull the thread to gather the opening closed. Knot and cut the thread. This end is the top of the bunny's head.
- Turn the head with the seam centered in the back. Using powder blush from your make-up discards and a paintbrush, apply two 1-inch diameter cheeks approximately a 1/2 inch apart to the front of the head.

- Add fuzzy white cheeks on top of the blushed cheeks by hot gluing two 1/2-inch white pompoms (side-by-side) to the center of the face. Hot glue a 1/4-inch pink pompom nose to the crease between the pompoms.
- Sew two 4-mm brown or black beads right above the nose for the bunny's eyes.
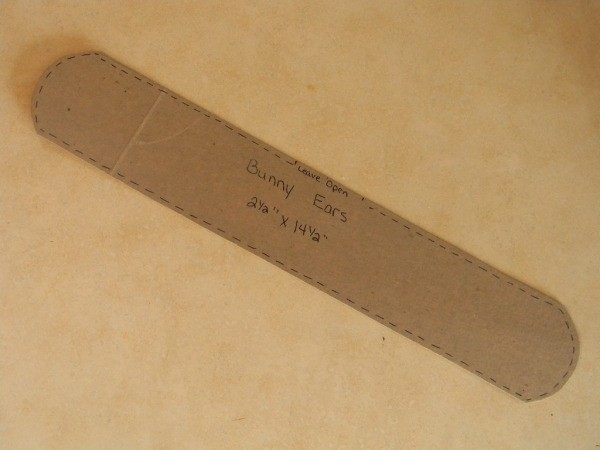
- Trace a 2 1/2-inch wide by 14-inch long rectangle on paper and cut out. Cut a curve on each of the corners. This is the pattern for the bunny's ears.
- Place one layer of tan or beige fabric on your work surface with the right side facing up. Lay a layer of the chenille bedspread on top of the fabric. Position the ear pattern on the chenille and trace around it with a marking pen. Remove the pattern and pin the layers of the traced ear together. Cut out the pinned shape.
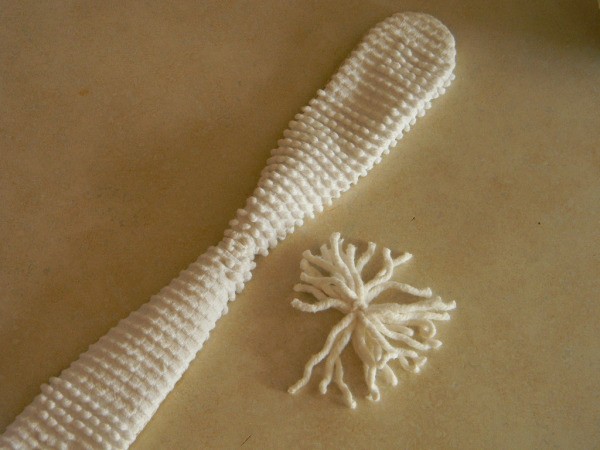
- Starting at the center of one long edge, sew around the ears using a 1/4-inch seam allowance. Leave a 2-inch opening. Turn the ears right side out through the opening and press with an iron. Hand sew the opening closed.
- Cut a piece of crochet thread approximately 6-inches long. Pinch the center of the ears together and wrap the thread around the pinch. Knot and cut the thread. This is the center between the two floppy ears.
- Cut 15 pieces of fringe from the bedspread. If the edge of your bedspread has different edging than mine, white yarn can be substituted. Each fringe is approximately 4-inches long. Bundle all but one fringe together and pinch the bundle in the center. Tie the remaining fringe around the center to create your tassel.
- Apply a dot of hot glue to the top-center of the bunny's head. Lay the ears over the head, centering the pinched center over the glue. The fabric side of the ears is facing down. Apply hot glue to the top-center and front of the ears. Place the tassel over the glue.
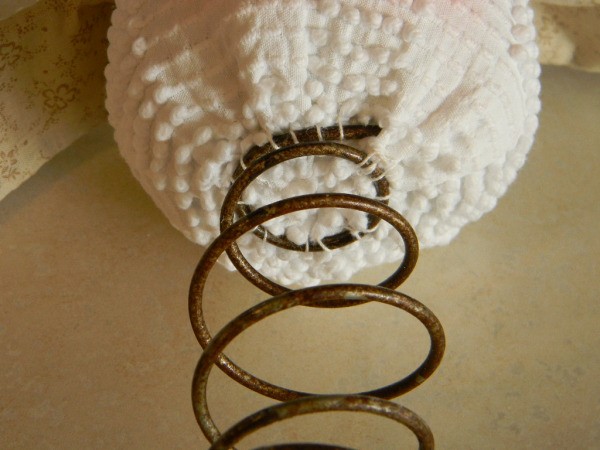
- Stand the bed spring on your work surface. Place the bunny head on top of the spring. Using an upholstery needle and crochet thread, stitch the bottom of the head to the top of the bed spring.
- Thread the upholstery needle with crochet thread. Double the thread into two strands. Insert the needle through the head on one side of the nose. Continue behind the nose and out the other side of the nose. Cut 4 inches of thread on each side of the nose. Separate the two strands on one side of the nose and tie into a knot beside the nose. Repeat on the other side of the nose. These are the bunny's whiskers. Trim the whiskers to 3 inches long.
- Rip a 2-inch wide by 18-inch long strip of fabric. Tie the strip into a bow and trim the ends as desired. Hot glue the bow to the front of the head, just below the face.
By cyndee kromminga from Winfield, KS