I'm attempting once again to grow birdhouse gourds. They work well in hills with a lot of area to spread, but I don't have a large area to spare. They also will climb, so I'm trying it this way this year. I needed a trellis, and made my own from items I already had in the house.
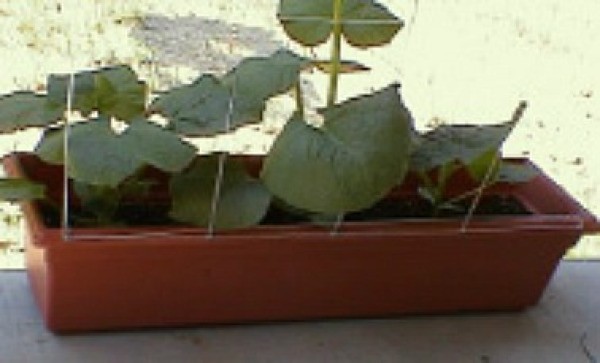
I have three plants in an oblong plastic planter, like a window box. I screwed in 5 eyebolts on the rim of the plastic, evenly spaced.
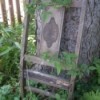
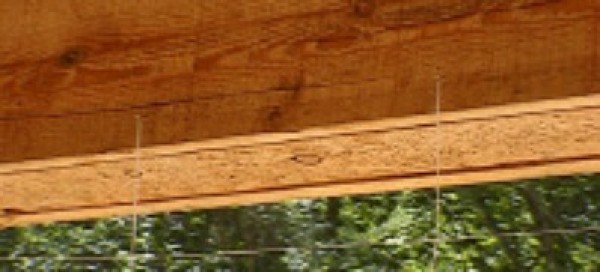
I wanted my trellis to stretch to the upper part of my back porch, which is sided in rough-sawn cedar. I centered a cup hook over where the center of the planter will be placed. I measured one foot and inserted another cup hook, placing two more to the left and two more to the right of the center hook. This makes a span of 4 feet, giving my trellis a gentle fan shape. You can use any measurement you want.
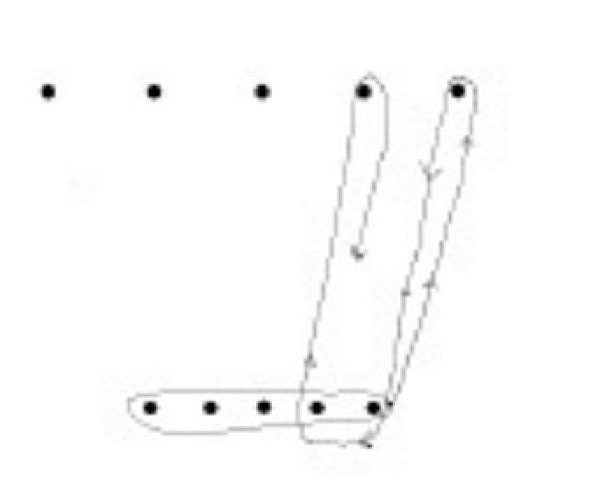
I used crochet cotton which I already had. I'm sorry that I don't know the yardage I used, but it wouldn't take a lot. You can use sturdy yarn or twine, maybe even ribbon. First, I threaded the string through all five of the eyebolts on the plastic planter , ending with the far right, and tied a knot. Then I strung the string up to the cup hook in the cedar and back down again to the same eyebolt. I held the string under the eyebolt, pulled it to the next eyebolt to the left, then up to the cuphook and down again.
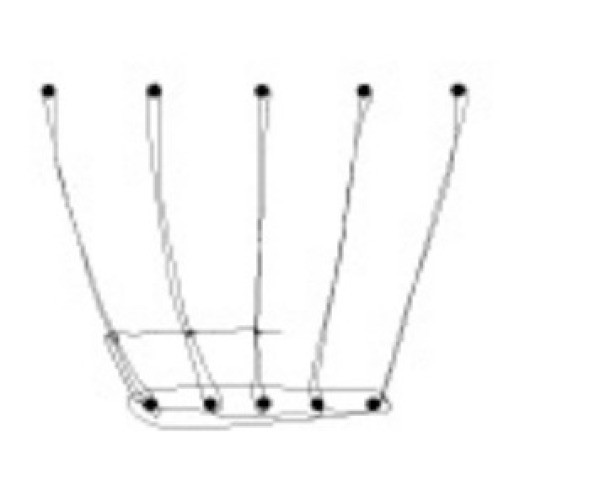
When all 5 vertical strings are done, bring the string up against the end string about six inches, or to the vertical measurement you want. I didn't measure this part. Tie a half-hitch knot in the string, then again. Bring the string to the second vertical stringer, tie a double half-hitch again to anchor it.
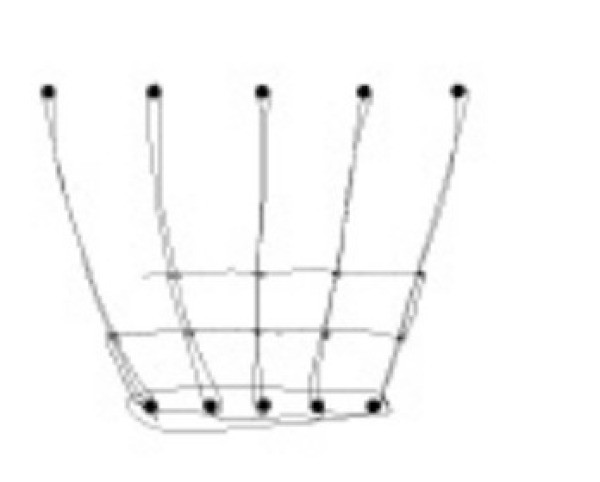
Repeat across until you reach the 5th stringer. Step back and see if the horizontal string looks level to you, if not the knots slide up and down the string a bit for adjustment. Take your string vertically along the end stringer to the distance you want and tie double half-hitch again, then go across the stringers.
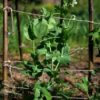
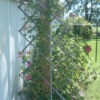
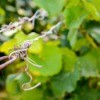
Keep going in this pattern until you come to the top of the stringers, cut string after the final knot. I didn't worry about sagging horizontal strings, I was making mine for utility, not beauty. The funny thing is, before I was finished, the middle plant had already grabbed ahold of the string to climb.
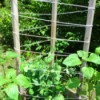
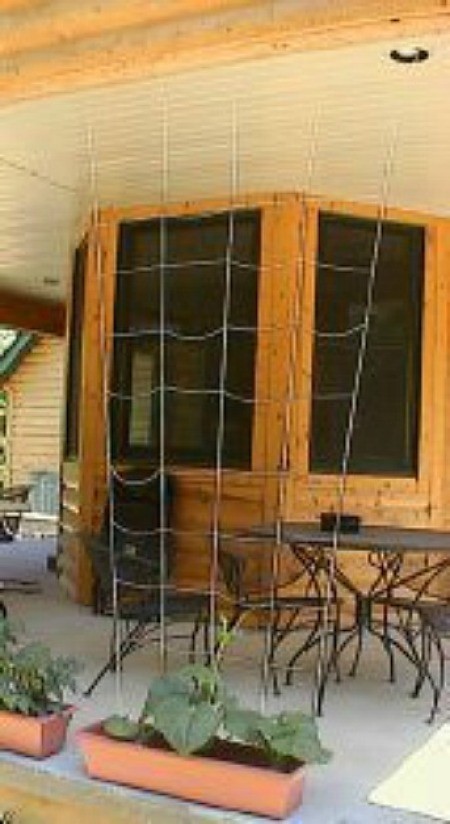
Here's the finished trellis:

By Donna
Add your voice! Click below to comment. ThriftyFun is powered by your wisdom!
It looks wonderful and you made it yourself! Job well done and a smart idea! Thanks for sharing it with all of us!!
Wonderful idea. Your very ingenious. I'm sure it will work great. Show us the trellis when the gourds have grown to the top.
Sandra
Great idea! I bet floral wire could be used for a trellis that is usable year after year. :)
I love this idea. We have been searching for a way to get a bit more privacy in our back yard. I think that our Association may not have a problem with it either.
hi you did a great job !!! you could also use sticks and make a woven trellis....I was watching Smith on tv...he uses alot of sticks in his garden ...gail2656
hi you did a great job !!! you could also use sticks and make a woven trellis....I was watching Smith on tv...he uses alot of sticks in his garden ...gail2656
This is a wonderful idea and one I have done as well. I planted sweet peas in mine and had a wall of sweet peas that smelled wonderful and looked fantastic.
Did the string hold up the gourds? That would be my only concern!
I found out that the string held the plants just fine, even through some straight-line strong winds we had with storms. When I got gourds on, though, I didn't realize how heavy they would be. I simply crocheted a chain stitch with the same string, so it ends up being 3-ply, and tied a knot so it's a loop around the stem of the plant where the gourd is, and also around a hook in the cedar at the top. I have two gourds on and the plant has totally filled in the trellis.
What a great idea....you should submit this to a garden mag. What a lovely shade maker! The one thing I question........ghords are very heavy....will the crochet cotton be strong enough to hold the weight and be able to maintain strength while exposed to wet, hot weather conditions over the long, hot summer?
You could use wire that is made for electric fences. It is light weight and easy to bend and work with. It is available at most farm stores and would last forever.
I love this!!! Thank you for sharing. I hope my clematis will be as eager to climb as your plant was!
Add your voice! Click below to comment. ThriftyFun is powered by your wisdom!