Home |  Index |  Submit Request |  Share Photos |  Share Tips |  Active Topics |  New Feedback  |  Contact Us  |  Search
 User Login:  Username:    Password:      Forgot It?  | Join ThriftyFun!

 Popular Topics
 - Beauty
 - Budget and Finance
 - Christmas *
 - Cleaning
 - Consumer Advice
 - Craft Projects
 - Craft Tips
 - Food Tips
 - Garage Sales
 - Gardening
 - Gifts
 - Green Living
 - Home Improvement
 - Organizing
 - Parenting
 - Parties
 - Pest Control
 - Pets
 - Product Reviews
 - Recipes
 - Repair
 - Thanksgiving
 - Weddings for Less

More Topics

Google Search:

Web thriftyfun.com

About:
RSS Feed
About Us
Media
Advertising
Contact Us
Privacy Statement
Disclaimer

Solo Cup Doll Lamp with Instructions

1x1
Date: 02/02/2006 Topics: Craft Projects > Doll making | Photos > Crafts | Contest Winners > Photo Contest > January 2006  
1x1
1x1
Post Feedback! | Email Friend | Print | Get Responses | Bookmark | del.icio.us | Link | Rate: Thumbs Up Thumbs Down
winner.jpg

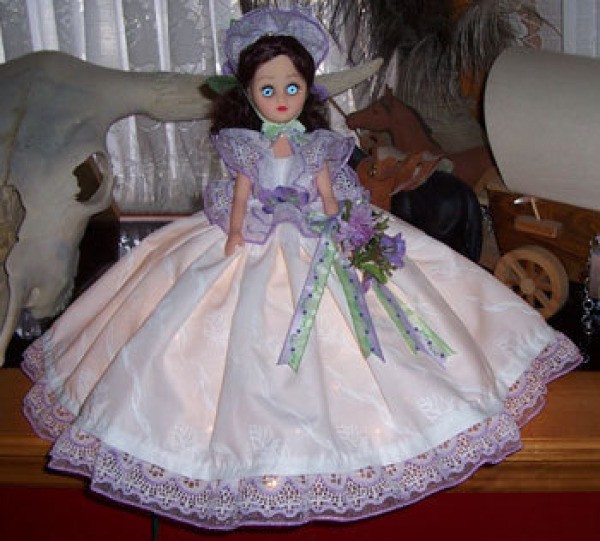
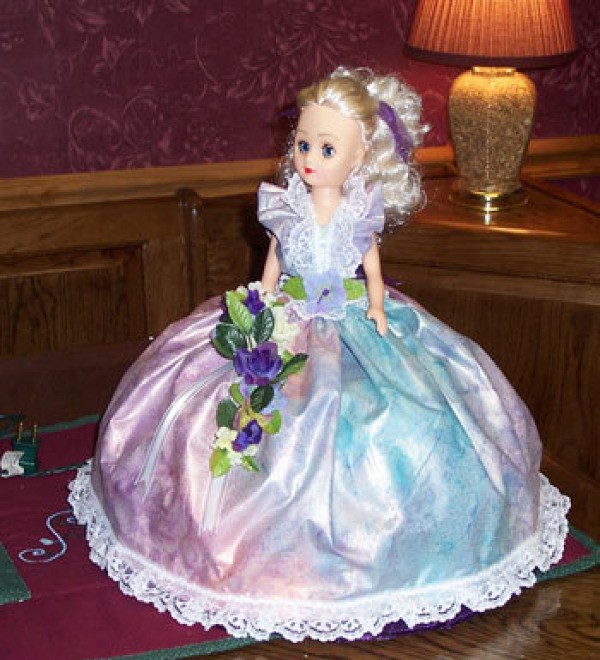
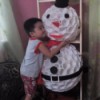
Here is a Solo cup doll lamp or night light.This lamp is made with clear solo drinking cups, a craft doll, and clear christmas tree lights.

We wrote Madeline to ask her to post instructions for her Solo Cup Doll. She kindly sent in more pictures and instructions.

Supplies

  • 25 clear solo plastic drinking cups 9 oz size. short ones with the wide mouth (I believe they are punch cups) not the Milky looking ones but the clear ones.
  • A 15 inch craft doll (not Barbie, she won't work)
  • Pipe cleaners or plastic coated twist ties.
  • Hot glue
  • Material-fabric 1 yard will do, lace, ribbons, etc. 
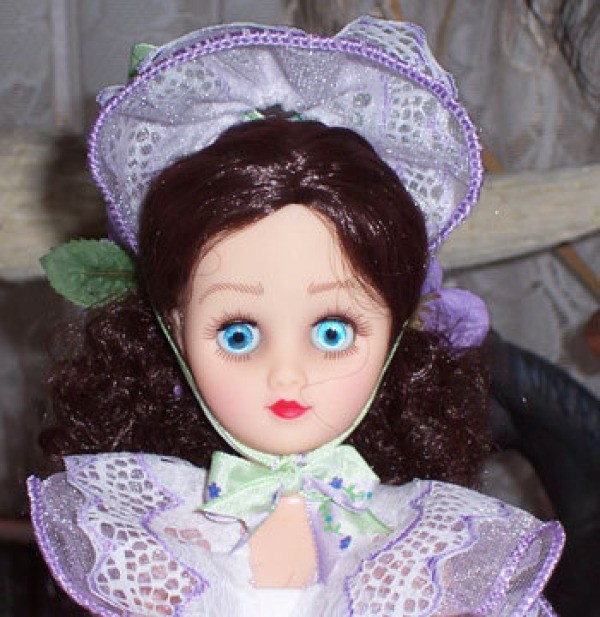
You will need to decorate your doll.
  • A string of clear Christmas tree lights, 100 lights per string.
  • A paper punch, a knife and scissors.
  • You should be able to cut three or four pieces out of one pipe cleaner.

Instructions

First Row

The first row takes 12 cups. Poke a hole in bottom of cup, then cut a criss cross where you poked your hole. This is where you will insert your lights later on. Do this to all 12 cups.

Punch a hole in the side of the cups, at the top rim. Join your first cup to the second cup at the rim with a piece of pipe cleaner. Twist very tight then bend back into the cup. Punch a hole on the other side of second cup directly opposite of the other hole. (note) Do this around for the remaining cups . Hot glue the cups at the bottom rim as you go to help stabilize them. Set this row aside.

Second Row

Second row takes 9 cups do them the same as the first row, this row will sort of bend in, it ok that is what you want it to do.

Set second row on top of first row of cups, where the cups meet punch a hole and secure with pipe cleaner. Then hot glue where the first row comes in contact with second row.

Third Row

Third row you will need 4 cups (note.) Now this is different. You need to secure each cup one at a time,until all cups are secured very tightly where it meets. This will draw each cup tight so it fits into the second row. Flip your ball over and hot glue each cup, at the top row.

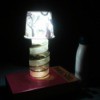
Take sting of lights, and start threading 4 lights per cup, starting at the top of the ball. If your string of lights has a connecter plug, you can plug in a small air fresher. Poke four lights per cup all around until you reach the bottom of the cups.

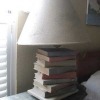
Take the legs off the doll and hot glue the body piece at the hips in between the four top cups. 
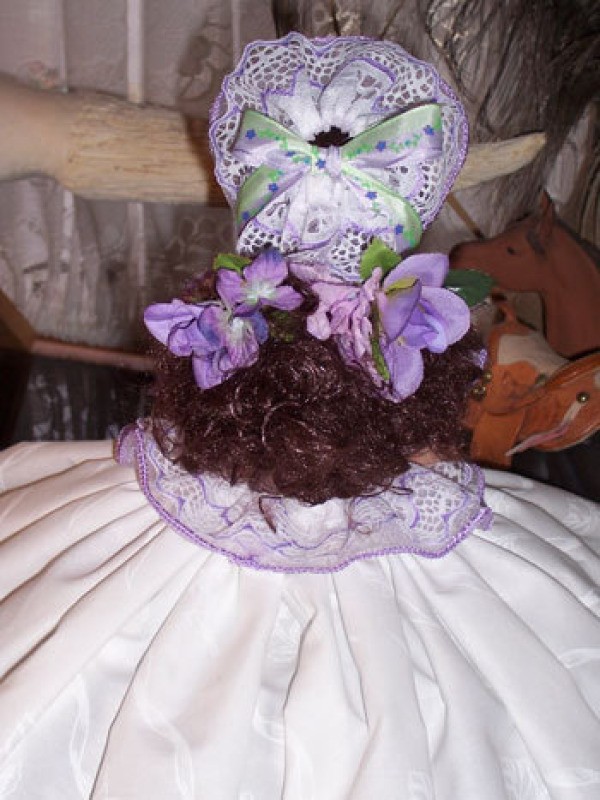
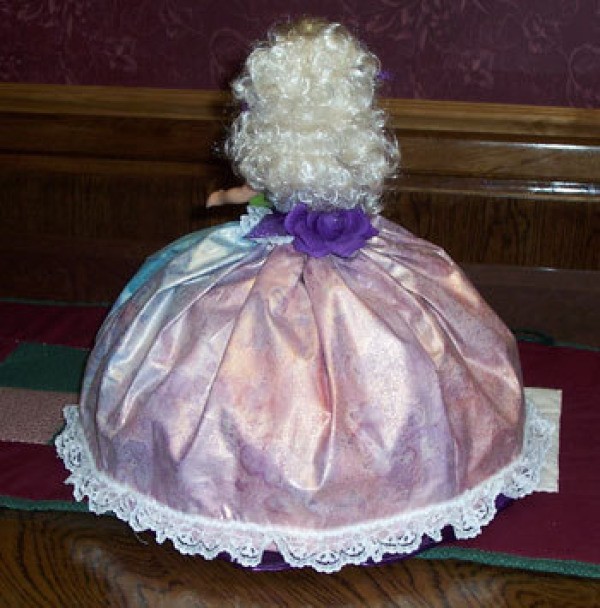
Now dress the doll as you wish, starting with the top part of the doll.

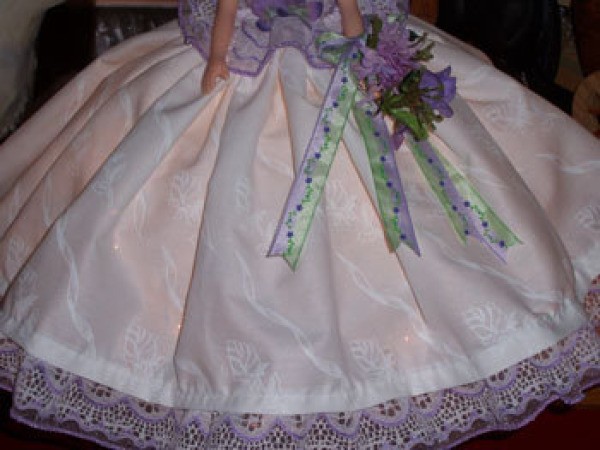
Measurements of the skirt is 50 inches around. The measurement from the top part of the skirt too the bottom is 12 inches. Now decorate your lamp as you want.
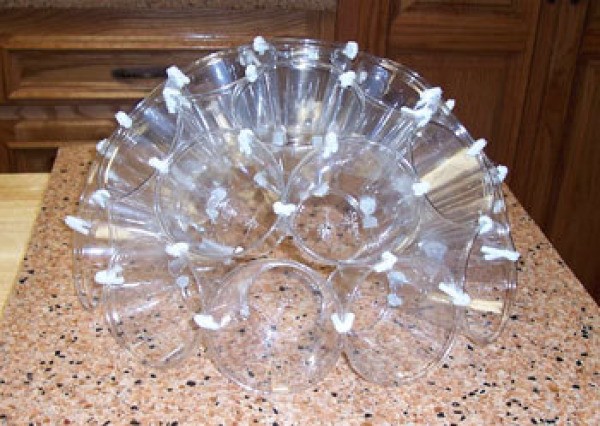
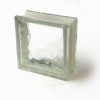
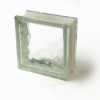
THIS IS WHAT THE BASE OF THE INSIDE OF THE DOLL LOOKS LINE

Solo Cup Doll Night Light

Solo Cup Doll Lamp

Solo Cup Doll Lamp

Solo Cup Doll Lamp

Solo Cup Doll Lamp

Solo Cup Doll Night Light

Solo Cup Doll Night Light

This is my second doll that I have made.

By Madeline from Alabama

Jump to Feedback | Post feedback
Related Links:
Previous: New Simplicity Blog Spot ThriftyFun Next: The Happy Garden Newsletter - February 2, 2006
1x1
 Feedback
1x1
1x1
1x1
1x1
 Sponsors
1x1
1x1

Post by grandmajudy (1) | (05/14/2008)
Contact
How do I print this pattern?

Report Spam or Abuse


Post By Patricia (Guest Post) (02/21/2006)
Beautiful doll lamps. My Mom used to make the solo cups with the lights into whole ball shape and hang them around the lanai in the evenings. I liked the plain clear lights but they were also pretty in multicolour.""""

Report Spam or Abuse


Post By mom & daughter doll collector (inexpensive) (Guest Post) (02/09/2006)
i agree it's unique love to make one to. always looking for something diffrent. we only have one of each type of doll. would like to add this one.

Report Spam or Abuse


Post by wdyjsu (321) | (02/07/2006)
Profile |Contact
those are absolutely beautiful!!

Report Spam or Abuse


Post by Mom2fur (39) | (02/06/2006)
Contact
Thanks for the instructions! :)Mom2fur

Report Spam or Abuse


Post by goodgreif40 (5) | (02/03/2006)
Profile |Contact
Please share how to construct doll. It's lovely.

Report Spam or Abuse


Post By Lisa/ Goodgreif40 (Guest Post) (02/03/2006)
Please share your way to construct doll lamp. It is beautiful.

Report Spam or Abuse


Post By (Guest Post) (02/03/2006)
ok ladys , I will post them as soon as I can . They are quite long . and I just have them in my head.
I havent done anything like this before so bare with me ok . Thanks for all the compliments , Madeline

Report Spam or Abuse


Post by dsbaby14 (65) | (02/03/2006)
Contact
How cute, !!!!!!!!!!!!!!!
I would love to know how to make these, just found I am going to have my First Granddaughter ( first time being a Grandma),
Grandma would love to make her one,
if you are will to share, on how to make them,

Cindy ( first time Grandma, coming in May)

Report Spam or Abuse


Post by Mom2fur (39) | (02/03/2006)
Contact
This is wonderful! I'd also like to know how you did it!
:)Mom2fur

Report Spam or Abuse


Post By anita reynolds (Guest Post) (02/03/2006)
its wonderful could you share the directions on how to make it i am handicapped but think i could make this for both my grand daughters and one for myself you did a wonderful job on it i love it thanks

Report Spam or Abuse


Post by Greeneyesmom (14) | (02/02/2006)
Contact
Hi Madeline,how very pretty.How did you do this and would you share your directions? Me and my daughters love to do crafts and one has a part time store that sells crafts.We are always trying new things.Thanksgiving & Christmas was so much fun.Thank you for sharing this with all of us at Thrifty

Report Spam or Abuse


Post by meoowmom (1198) | (02/02/2006)
Profile |Contact
how pretty!

Report Spam or Abuse


Post by Suejaney (28) | (02/02/2006)
Profile |Blog! |Contact
Hi, this is very pretty. Would you mind sharing directions on how to put the doll lamp together? This would be a nice gift for my grandaughters. Thankyou Susan

Report Spam or Abuse


Post By (Guest Post) (02/02/2006)
Do youhave directions on how to put the lamp together. It's very pretty

Report Spam or Abuse


1x1

Post Feedback:
Login using the form on the top of the page to post feedback if you have registered with ThriftyFun. If you have not yet registered, click here. It's FREE!. If you are not registered you can post feedback as a guest below. Please don't use your email address for your name because spam robots can dredge it from our site. Please do not post your feedback more than ONCE. We need to approve all guest feedback and it may take from minutes to hours for that to happen.
(1x1 graphic )
Your Name

Subject

Feedback

text tool text tool text tool text tool

Image Upload: Add an image to your post! Click the "Browse" button below and select an image from your hard drive. Please only select gifs or jpegs. If you have any problems, just email the image to images@thriftyfun.com


If you want to post your email address for responses from readers, obscure it in some way like put spaces between the name and @ sign and service address with (remove spaces) behind it or name (at) server (dot) com . This is for your protection from those creepy Robots.

(1x1 graphic )

© 1997-2008ThriftyFun.com - Design by Cumuli Design
Disclaimer: ThriftyFun.com cannot accept any responsibility for any injury or damage that you may cause to yourself, others, or property when following any advice given on this site. Read the full disclaimer. If you find any information on ThriftyFun.com or in our newsletters that is either erroneous and/or potentially harmful to others, please Contact Us, immediately.