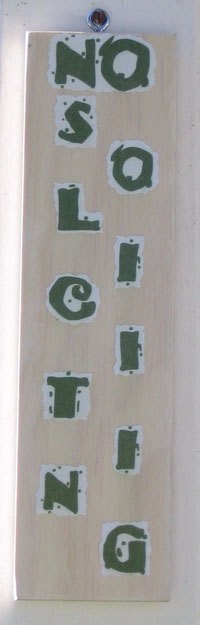
Ding dong! Our dogs were going bonkers. We needed a "No Soliciting" sign quick!
I didn't like the way the black store-bought ones looked, and I didn't want to spend money anyway. So I made my own. All the materials used for the sign were items I already had in my garage or in my office.
Materials
- a piece of wood (your sign can be vertical or horizontal)
- sandpaper (medium or fine grain)
- paint (water-based, acrylic, anything) or stain
- Mod Podge
- paint brushes (different sizes)
- spray gloss lacquer
- eye screw(s)
Instructions
- If necessary, cut the wood to the size you want.
- Sand all over.
- If you are painting your sign, use a primer first. Let dry according to instructions on paint can.
- Add a coat of paint. Let dry.
- If you are using stain, no primer needed (I used an IKEA white rub-in stain). Apply as few or as many coats as want, allowing each coat to dry about 1-2 hours in between.
- Using MS Word (or any word processing program), type out the letters for your sign. Experiment with fonts, size, highlight and colors (for my sign, I used "LIVINGWELL" font and a sage green color). I recommend using a highlight color that complements the color of the paint you used.
- Print and cut out each letter with scissors or gently tear. Place each letter on the piece of wood in the layout you want.
- Apply a thin coat of Mod Podge to the back of a letter. Press the letter onto wood, ensuring there are no bubbles or bumps under the paper. Repeat with all the letters. Let dry about 15 minutes and paint a layer of Mod Podge over the entire front of the sign.
- When completely dry (about 2 hours after final coat), spray a coat of lacquer according to the can's directions. I used the quick dry spray lacquer. Let dry and spray another light coat on for good measure.
- Drill a starter hole for the eye screw(s) in the top of the sign. Screw the eye screw into the wood. You can hang your sign from a screw (like I did) or you can use a cup hook, chain, twine, anything. The possibilities are endless!
The key is to use your imagination (as well as what you have in your home)
Have fun!
By Laura from Long Beach, CA