 I'm a fan of sugar snap and snow peas. Over the years I've seen all sorts of trellises for vining plants like these. Most are some variation of cedar lattice or pipes and wires. I wanted something I could compost with the leaf matter at the end of the season. With a very few durable pieces I could disassemble and reuse. I came up with this design based on what I had in my garage and scrap wood pile.
Total Time: 3 hours
Yield: 1 very tall pea trellis
Source: The brain of the wonder Bruce
Supplies:
- 1 each 2 x 6 cedar deck board for a ridge board or lintel. This board has to be structurally sound and clear of knots that would weaken it greatly. It should be about 4' longer than your garden plot of peas. This was the only long, sound board I had.
- 7 each very long plant stakes or more depending on length of your run of vines. These are big box store variety green plastic covered aluminum stakes. You could also use ½" thin wall electrical conduit.
- 1 Roll A big roll of natural jute or cotton twine. Perhaps 350'. Naturally fully degradable, please.
- 25 ft cut into two pieces of heavier rope or stout cord
- 5 each 8d & 12d duplex nails (double headed nails for easy removal).
- knife or scissors to cut twine
- drill and two bits. A 3/16" twist drill bit and a flat bit just slightly larger than the outside diameter of your plant stakes or conduit.
- 2 pieces of Re-Bar or a form stakes (18-24"').
- big hammer
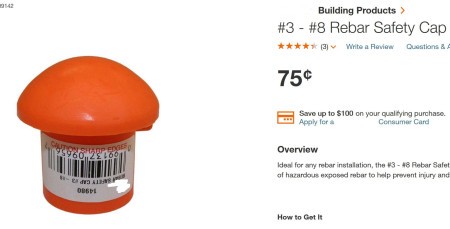
- 2 Rebar Safety Caps. The horizontal ones are fine.
Steps:
Note to self: Next setup trellis before planting.
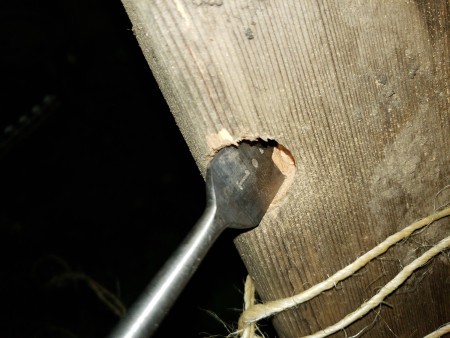
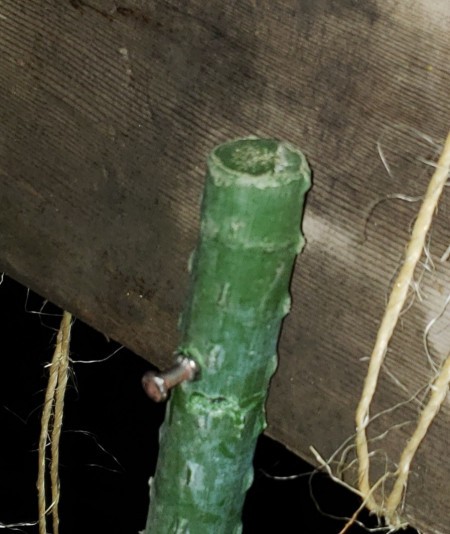
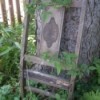
- This photo shows the hole that needs to be drilled in the (3) center support stakes before any stakes are set into the ground. The hole should be an inch or so from the upper end of the stake and should end up perpendicular to your ridge board when you set the 3 middle support stakes.

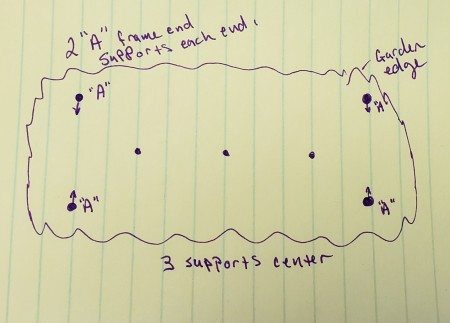
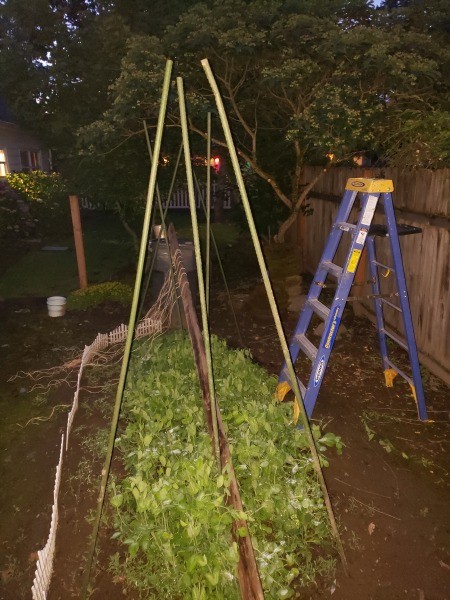
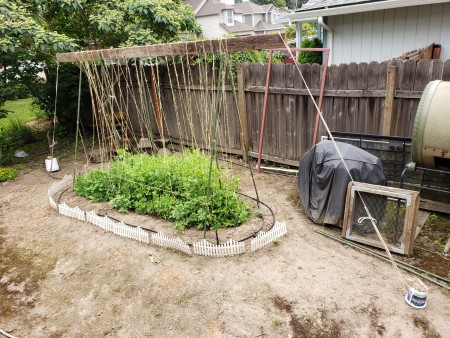
- Here we see the trellis layout plan with a set of garden stakes set in the ground at an angle to form an "A" at each end. There are 3 additional stakes equally spaced down the middle to help support the ridge board plank. The center stakes are set plumb (no angle, vertical). Mine (ridge board) was about 14' long and three center supports felt sufficient.

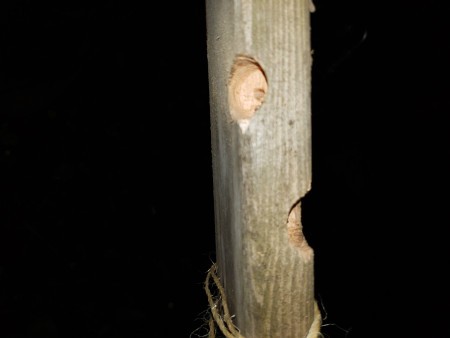
- Now I'm boring two 7/8" holes about 2 feet from one end of the ridge board. This set of holes will be at matching, but opposite, angles in the bottom 2 corners of the narrow edges of the ridge board (use a flat bit just larger than your stakes). These two holes are about 4-6" apart from each other. Any closer might weaken the ridge board. This is repeated at the other end. The distance between these two sets of holes will be the same as the distance between your two stakes making up the "A" frames. Perhaps at a 15 or 20 degree angle from the flat of the ridge board face. At about 8' long these garden stakes are quite flexible. So, you have a great deal of flexibility in how these go. There is no real need for careful measurements. You will have to be careful to start the point of the spade drill right in the corner of the bottom edge or the board. Otherwise the bit will walk all over the place. I don't have a good answer for how deep because it depends on the angle you choose to drill at. Not wanting to weaken the board I just went ¾" past the point where the whole drill bit was in the wood all the way around. It's just a cup for the top end of the stake to sit in.
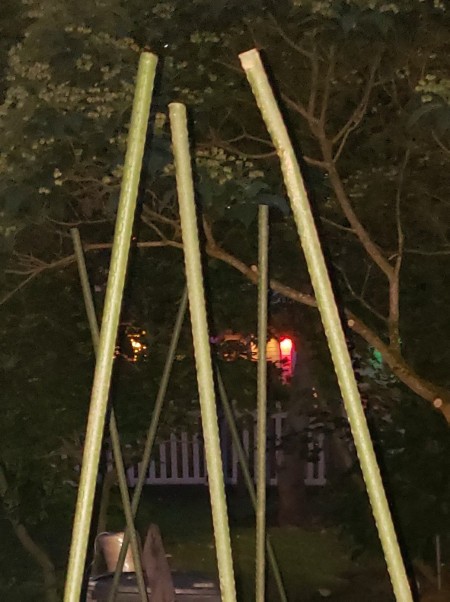
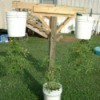
- Here I'm trying to show the setting of two of the end stakes that make one of the "A"s. The middle stake shown in the photo is one of the center support stakes. It's a garden, so the soil should be recently turned. Push the stakes down by hand until it's a little hard to push any more. Play with the depth till the tops are close on the two that make the "A". The center supports should stick up 2 inches higher. Precision is not the goal. If they don't drive easily this may not be the best design for your garden.
- Now the fun part! Do you know what a fathom is? On wooden ships approaching the shallows was serious business. It's good to keep at least a little water beneath you. On the approach to the shallows the depth of the briny deep was measured with a sturdy weighted cord dropped in the water. A quick to calculate, call out, and repeat unit of measure was needed. The depth was called out in fathoms. A fathom was measured as the tip to tip length of a man's out-stretched fingers (about 6'). We need at least three fathoms of string for each dangly bit. And we will need lots of dangly bits! Check your first string's length folded over with the middle held over the "A". (Can you tell I was in the Navy?)
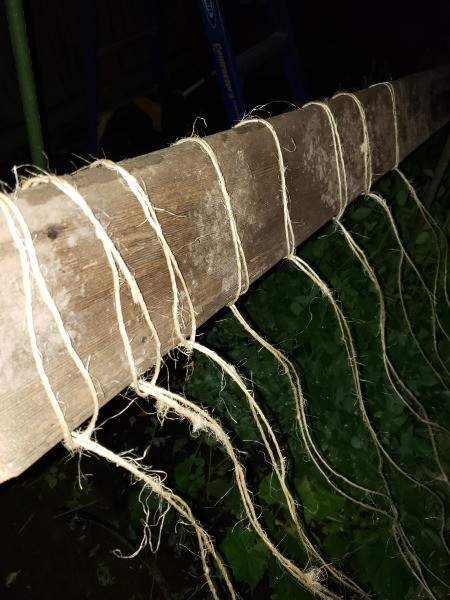
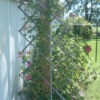
- This photo shows an array of strings tied around the ridge board. It is your choice for how many and how close together. I gave it about every four inches. It is much easier to put them on when the ridge board is off the ground on two trash cans than up in the air 6 or 7 feet high.
- Now we erect the thing. In photo you can see that the far end of the ridge board is up on a trash roll about (it could be a ladder or a second person). The other end has been woven between the center supports (2 stakes on 1 side, one on the other) to have the holes that you drilled be just beyond the place where the "A" frame is. Before raising the end (the one that is not on the trash can) think about the swing and where that end needs to be to mate with those holes. Bring a fathom of cord with you up the ladder. Then just swing the ridge board up and carefully position the "A" ends of the stakes in one. Then the other "A" stake in the other hole (of the same end of the ridge board). Have a look at second photo for a better idea.
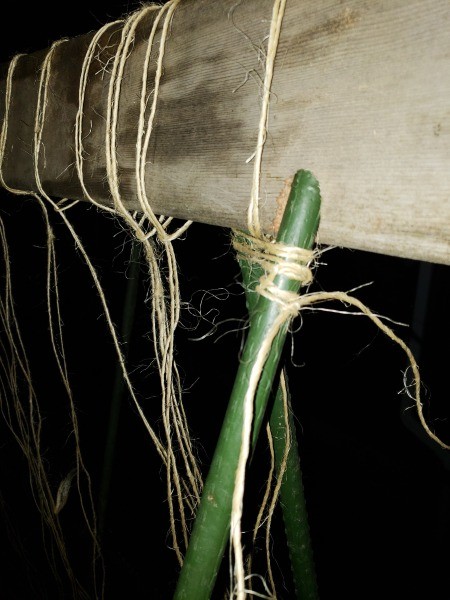
- You will be using your fathom of line to lash this "A" frame joint together for the season. Three times around one stake close to the ridge board then the other; then several times around both stakes (as in picture in step 7). Be sure to keep the line taunt and tie a good old square knot. Don't cut those ends! Take the ends up and over the ridge board at least once, and better twice. Then tie another square knot.
- Perform the same maneuver with the other end, but keep in mind that this assembly with be fairly sturdy in two dimensions, and very teetery in the other (diagonally) dimension. That's why we left a bit of wood on each end of the ridge board past the "A" frames. Just like the line on the center support of a pup tent we will tie those down (when we get done and the very same day, right?).
- So reposition your ladder and raise the other end, as seen in the photo. Put first one stake in the bored hole and then the other. Do the same lashing of the "A" to each other and to the ridge board. Please be careful on the ladder especially so if the earth is soft underfoot.
- Put a single duplex nail in each of the center support stakes and into the ridge board as shown.
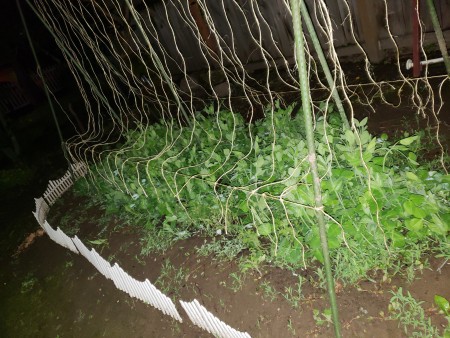
- I had 4 rows of peas. I put a horizontal cord close to the ground between the "A" stakes on either side of the trellis. I knotted the cords so they would drape over the different rows. See photo.
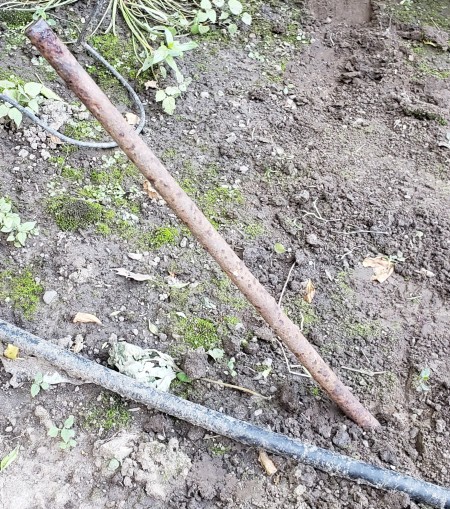
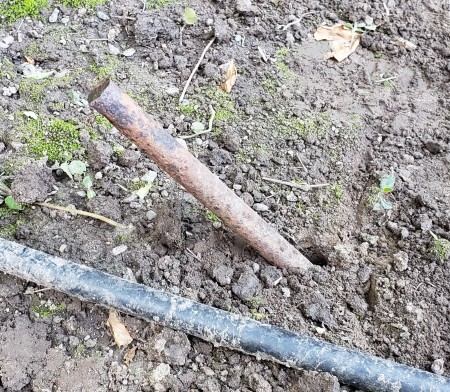
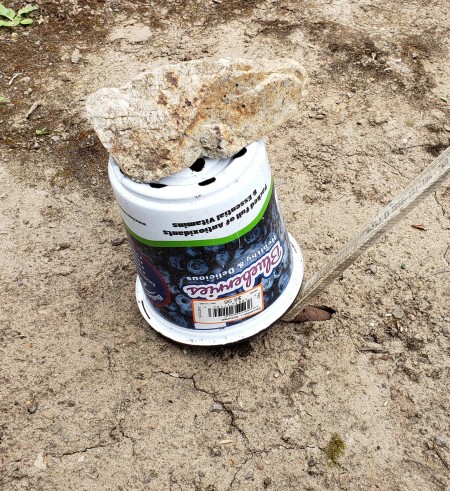
- The last step is to stop that trellis from swaying in that one dimension with a line from each end of the ridge board to the ground. Hop up the ladder and put a single duplex nail 3" in from each end of the ridge board, first photo. Attach a sturdy line to that end with the nail leaving a lot dangling. Tie the other end off to a piece of re-bar or a big tent stake like object pounded into the ground. A sharp angle and a long object (18-24" or so) is required for a trellis of this height, next two photos. Always use something to protect your shins from the protruding end! The box hardware stores have horizontal rebar safety caps for less than a dollar. You can use an old plant pot or bucket with a rock on it. But, do something.
- Check for sway east to west and north to south and to be sure the weight of all the peas and all the wind you can imagine won't pull it down or blow it over on you.
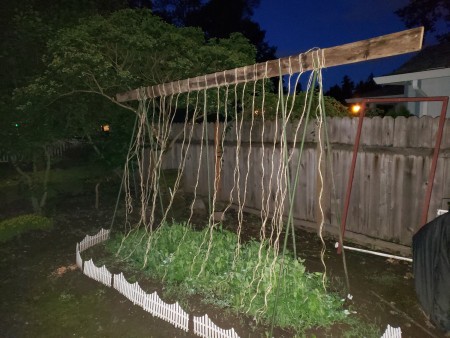
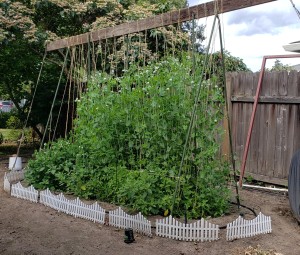
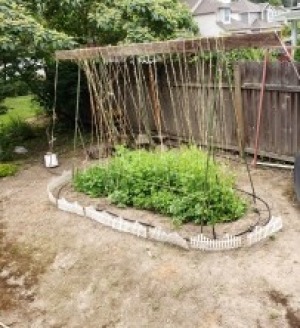
- Then, send a picture of yours to Thrifty Fun so I can see how it turned out. Mine looks like this with a drip irrigation system on a timer. All I must do now, is weed, harvest, and enjoy my sugar snap peas!!! Done!