15mhhm15
Diamond Post Medal for All Time! 1,298 Posts 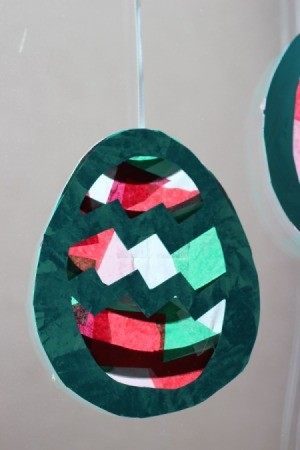 This is a fun craft project you and your kids can do together. For making a simple egg for your kids to help you with, trace an oval and help them cut it out. For a more detailed look, you can make designs and use an Xacto knife to carefully cut out and then decorate with assorted colors of tissue paper.
Total Time: 30-45 minutes + drying time
Supplies:
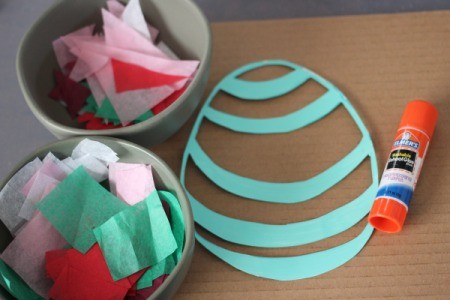
- thin cardboard paper (sturdy for outline of your sun catcher)
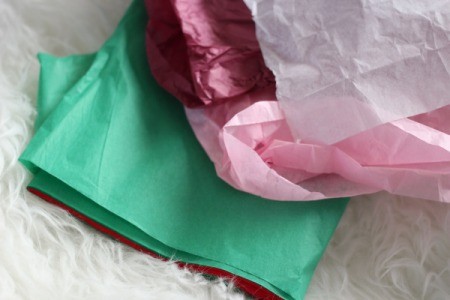
- tissue paper
- Xacto knife
- pen or pencil
- scissors
- ribbon
- hot glue gun
- glue stick
- paint, optional
- paint brush
Steps:
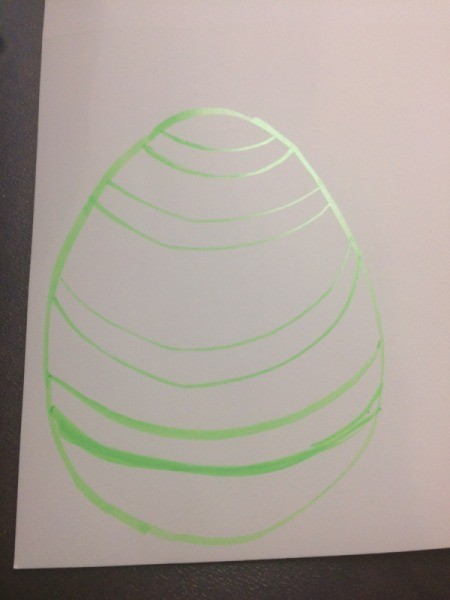
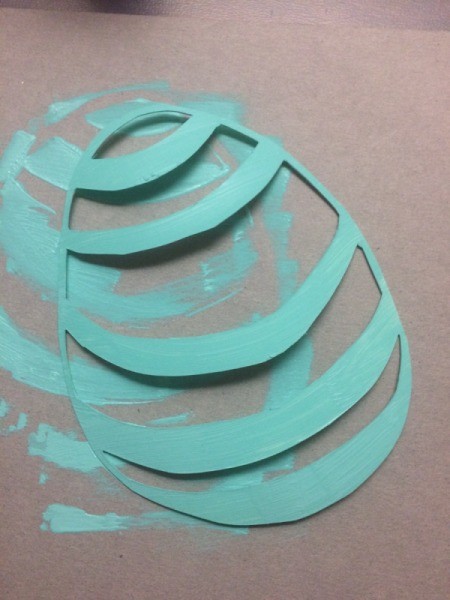
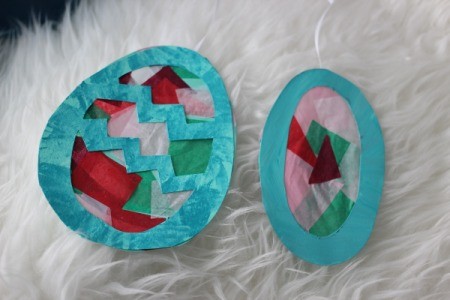
- Trace or free hand an oval shape on a sturdy piece of paper or thin cardboard.
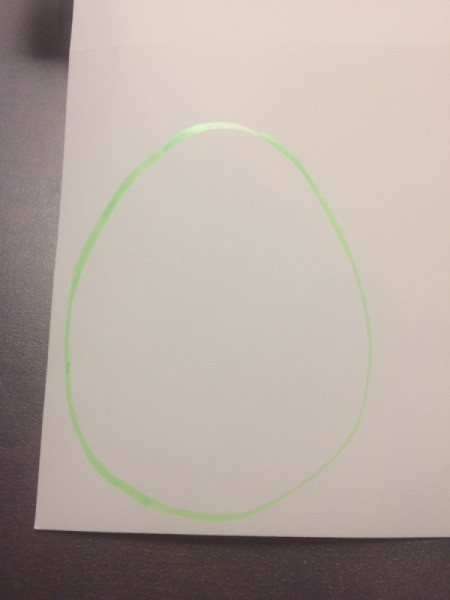
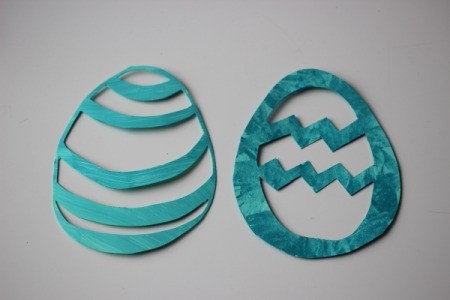
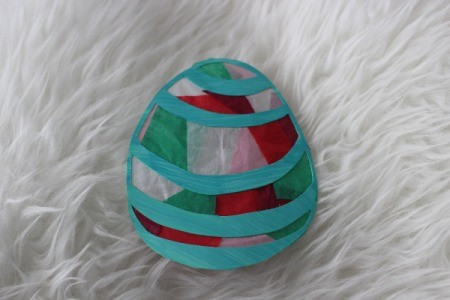
- I wanted to make designs on my egg, so I drew curved lines.

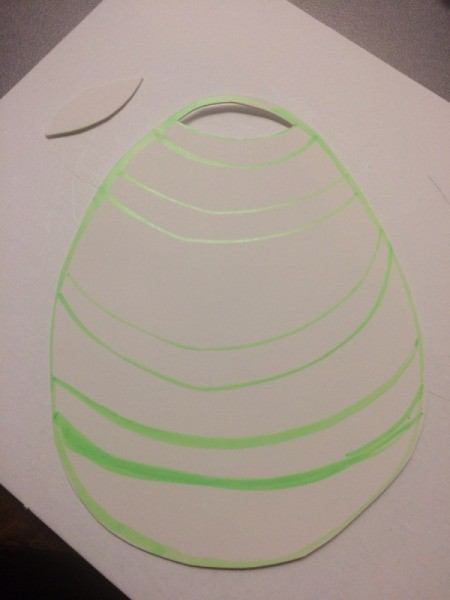
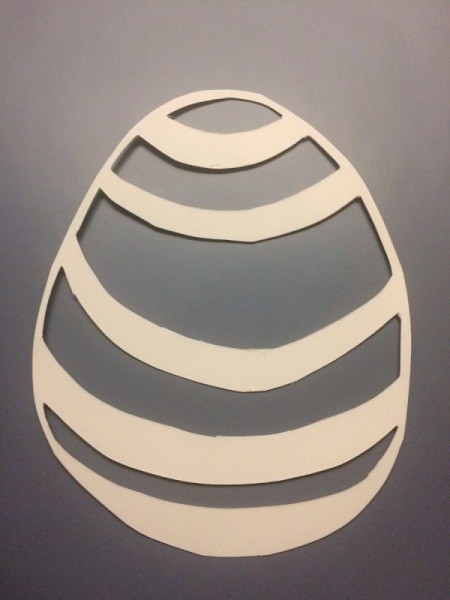
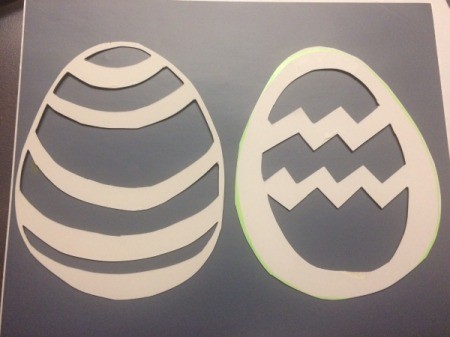
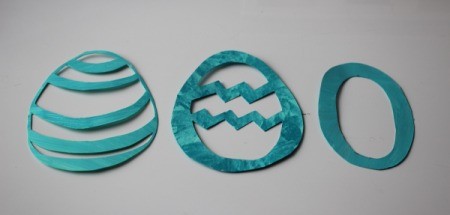
- Cut your oval egg out and using an Xacto knife carefully cut out the curved lines. Repeat steps 1 & 2 until you have as many eggs you want.
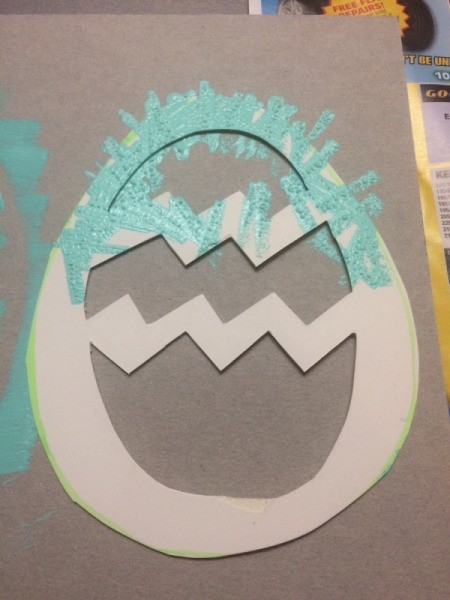
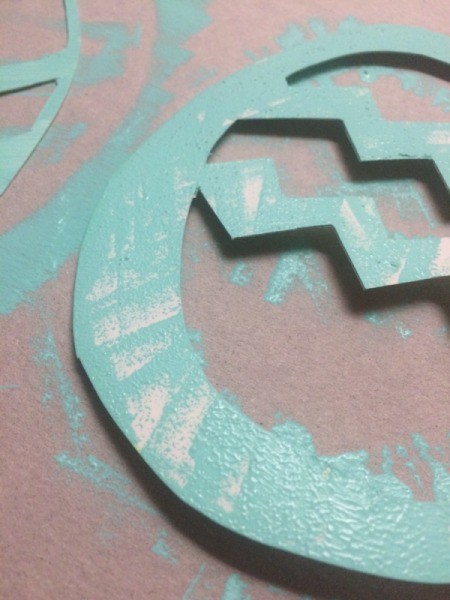
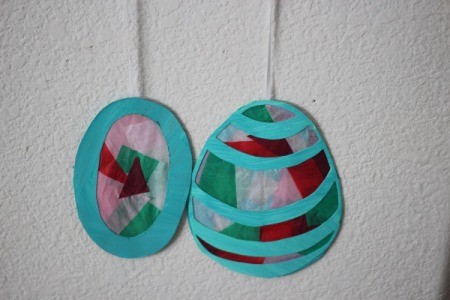
- Optional: You can leave your eggs as is or paint. The paint used - Deco Art acrylic paint in the color Sea Breeze and Peacock Teal. With one egg I used the sponge technique of dabbing two colors together and I liked the outcome! Allow to dry.
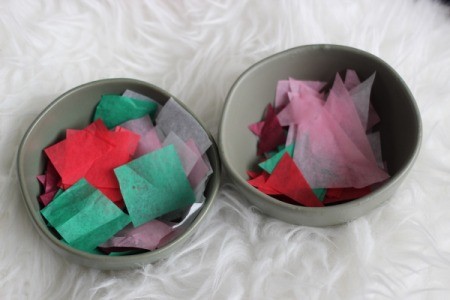
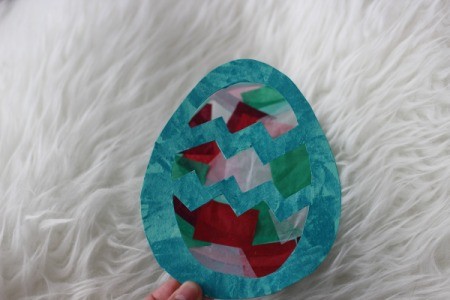
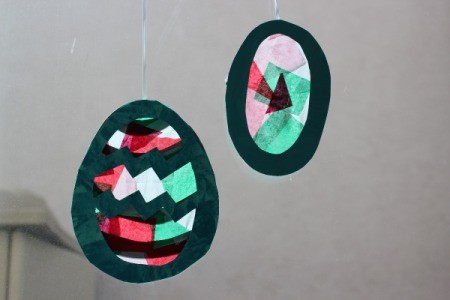
- While your paint is drying. You can cut strips of tissue paper (used assorted colors) into triangles, squares, any shapes you like.
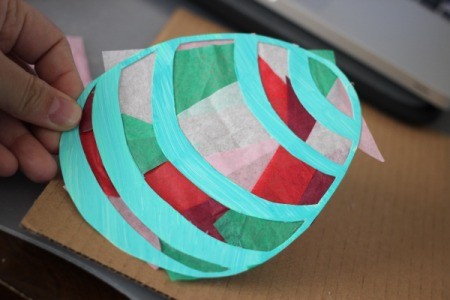
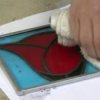
- The fun part is using a glue stick and gluing the assorted tissue paper shapes down. Once you finish your art work, go over with scissors and trim down the remainder.
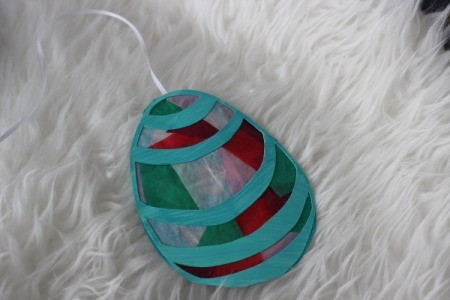
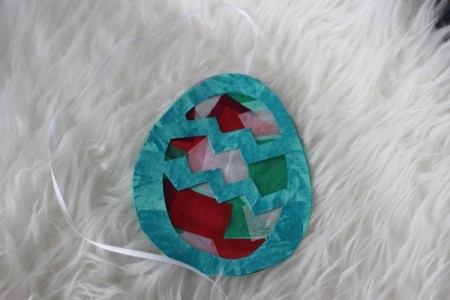
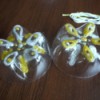
- Use hot glue to secure a piece of ribbon for hanging. I put my two decorated eggs glued together, but you can leave it separate if you'd like too. They are ready to tape or hang.
Add your voice! Click below to comment. ThriftyFun is powered by your wisdom!