R Barbara
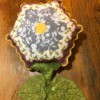
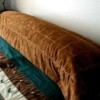
Bronze Post Medal for All Time! 190 Posts 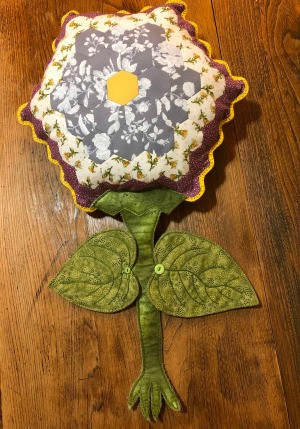 My grandson was visiting one day while I was working on some English paper pieced hexagons. He asked if I could make him a pillow. By adding several more rounds to the size I was making for a quilt top block I was able to make a flower. That part was fairly quick. Then he announced that there needed to have a stem with leaves; the project expanded in time and minor complexity. Here is what I made.
Supplies:
- paper pieced hexagons in your choice of fabric, these were made with 1 inch hexagon templates
- double fold bias tape (I had some homemade yellow left over from an earlier project.)
- green fabric for the leaves and stem
- felt, optional
- Warm and Natural cotton batting, optional
- polyfil
- fairly stiff interfacing
- embroidery floss and embroidery needle
- paper template for the leaves, stem, and stem crown
- needle and thread
- scissors
- coin quilting thimble, optional
Steps:
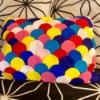
- Make enough English paper pieced hexagons for a two sided flower. The number needed will depend on your finished size. My flower measures 16" from side to side at the widest point. Here is a link to making the hexagons: Paper Pieced Hexagons
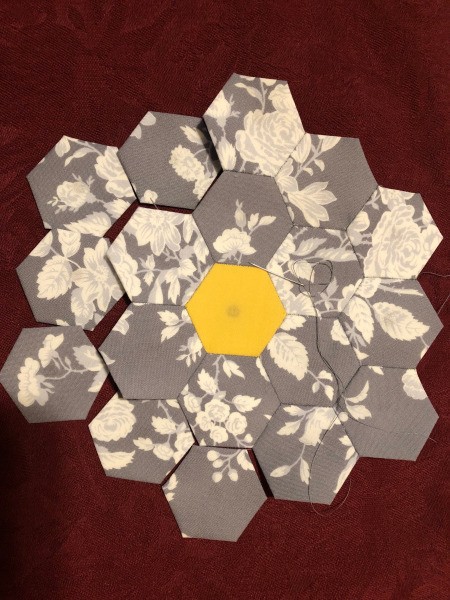
- Begin by stitching 6 hexagons around your center. This is done with right sides together and tiny stitches, trying not to stitch into the paper template. Continue adding hexagons around the center, sewing them to each other in turn. Make 2.
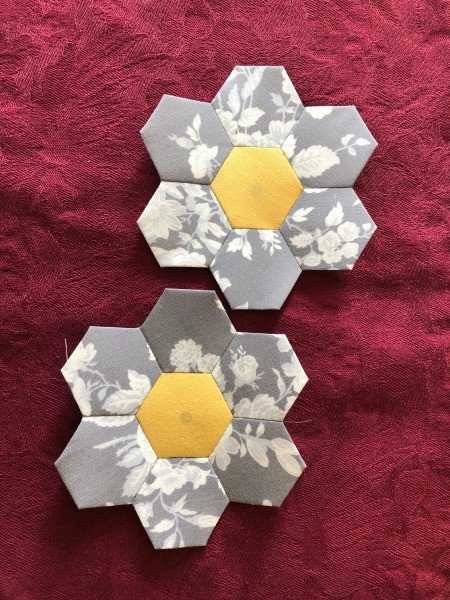
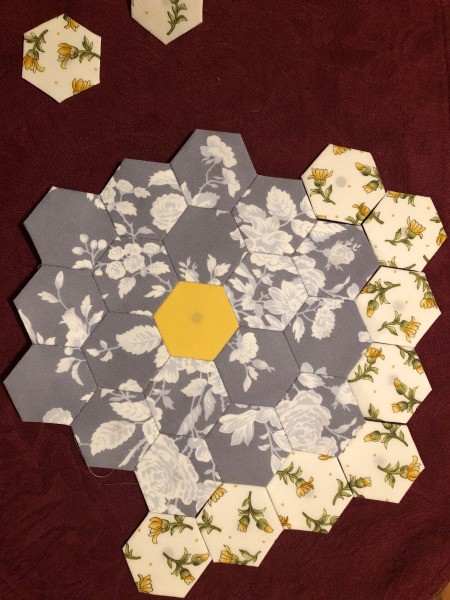
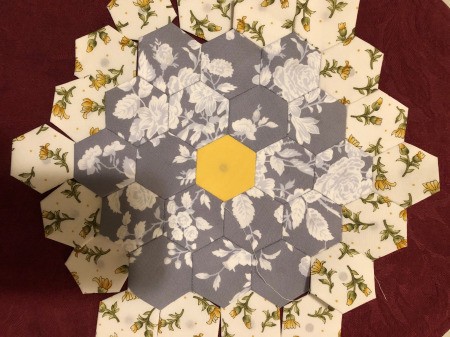
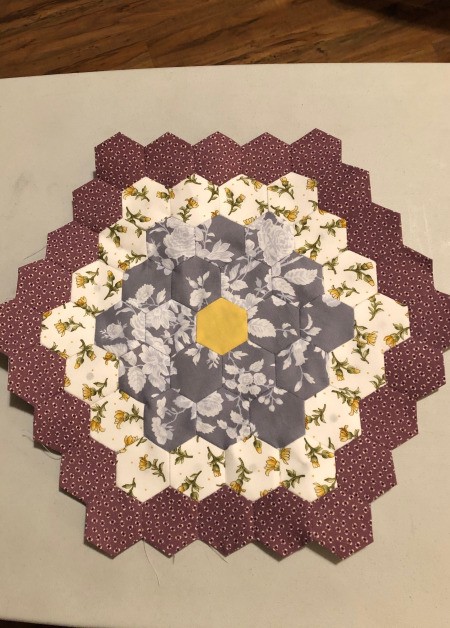
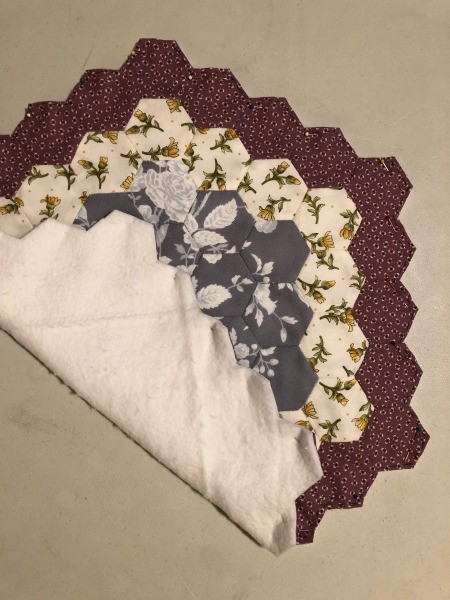
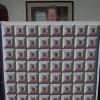
- Continue adding rounds to make the size pillow you would like. I made two rounds using the gray and white floral pattern (18 per flower side). Then I made the next round with a cream colored floral fabric (18 per side).
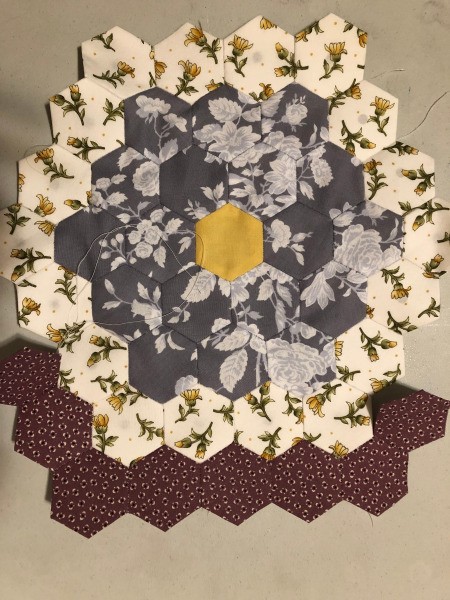
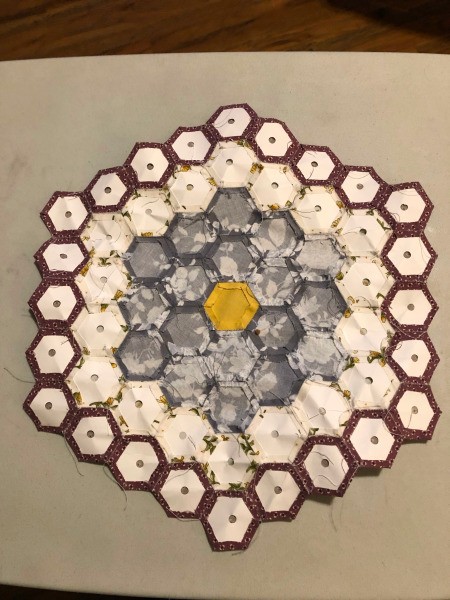
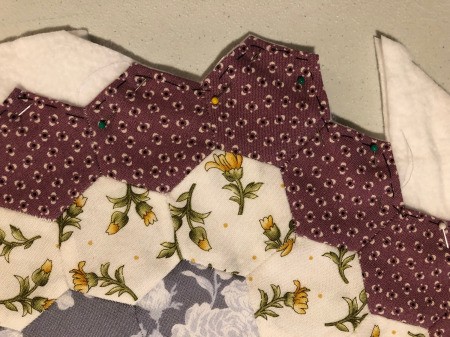
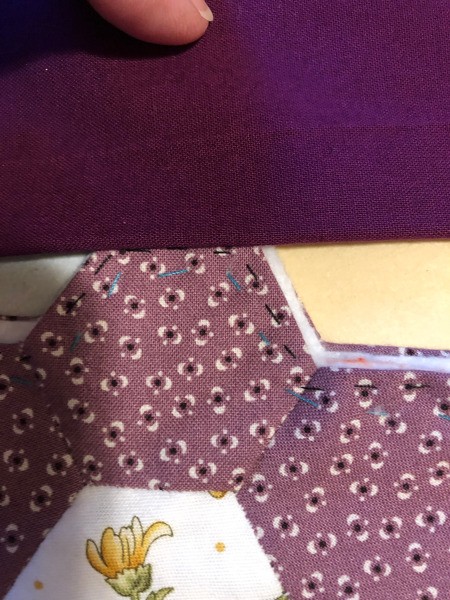
- After clearing the fabric choice with the 6 year old I made and attached the final round using a maroon floral print (24 per side). Once the flower is assembled you will be removing the paper from the hexagons. I made my templates using a hexagon punch, cardstock, and a hole punch. The hole punched in the center allows you to remove the paper template with a crochet hook. Often they are reusable a few times. Once the paper pieces were removed I basted the outer edge of the maroon hexagons to keep the folded edge in place.
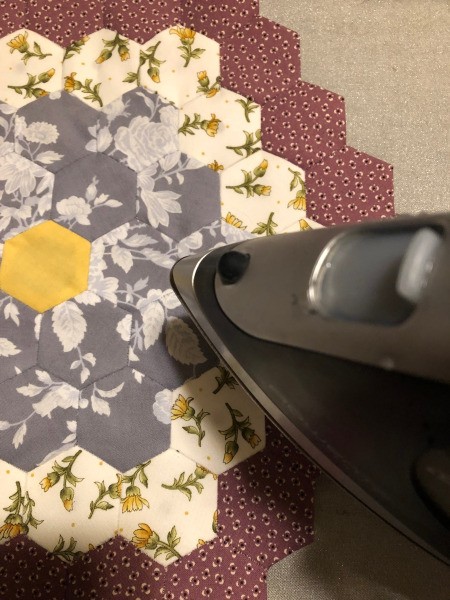
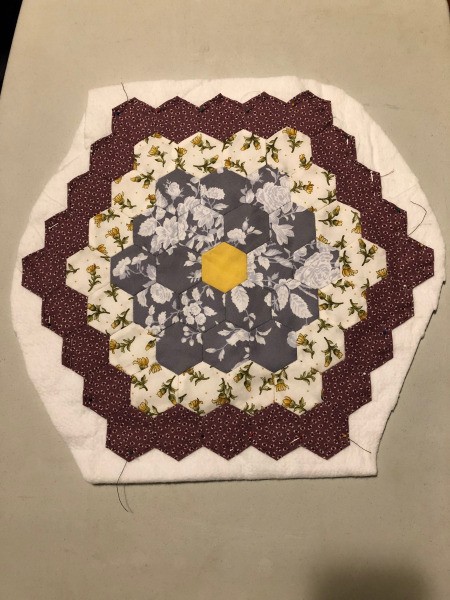
This is a good point at which to iron the front and back pieces, after removing the paper, before the next step. - I chose to add a layer of Warm and Natural batting to the inside of both the front and back of the flower. I cut two pieces of batting slightly larger than the finished fabric flower. Then I pinned the flower to the batting and cut the batting to fit.
- Baste the batting to the flower pieces.

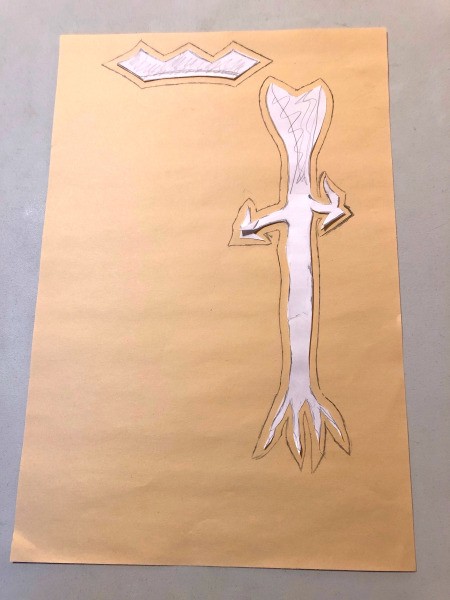
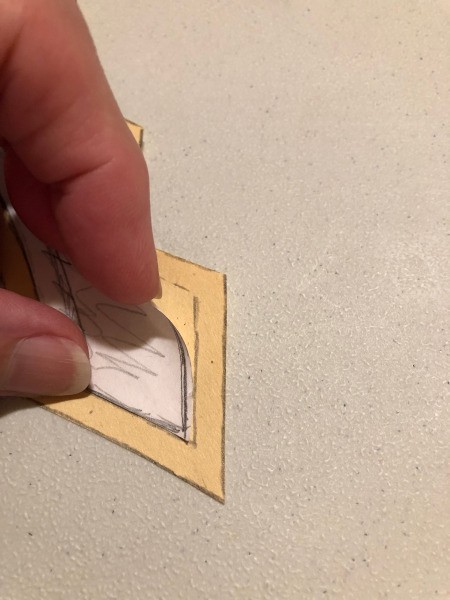
- Draw a template for your leaves, the flower stem, and crown at the top of the stem. I did a rough sketch and then traced around that onto some newsprint. Here the plans changed a bit.
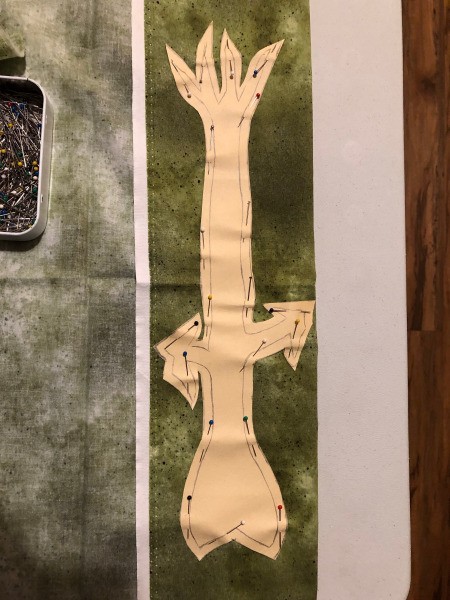
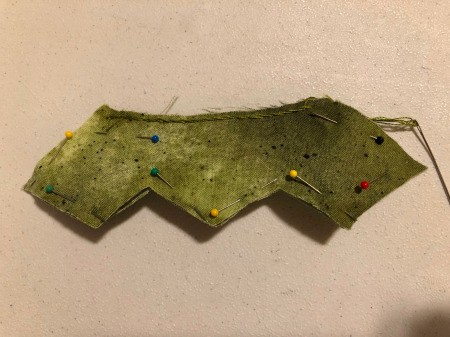
I incorporated a seam allowance in the final template, but only used it when stitching the leaves. I decided the stem, as drawn, was not suitable for stitching and turning as I liked the roots, but they were too small to finish in that way. I did cut them out including the seam allowance. I also chose to finish the stem crown in the same manner. - Cut your stem out from the green floral fabric, you will need 4 pieces. Fold your fabric so that you have two sets. Also cut 2 pieces of the stiff interfacing to use inside of the stem pieces.
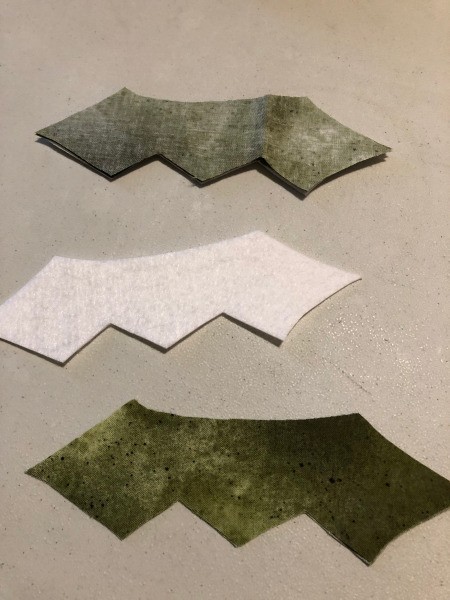
- Cut your stem crown from the same green floral fabric as the stem itself. Again you will need 4. Cut 2 pieces of the interfacing to match. Layer them together in two sets of three pieces, with the fabric right sides out and with the interfacing sandwiched in-between; pin.
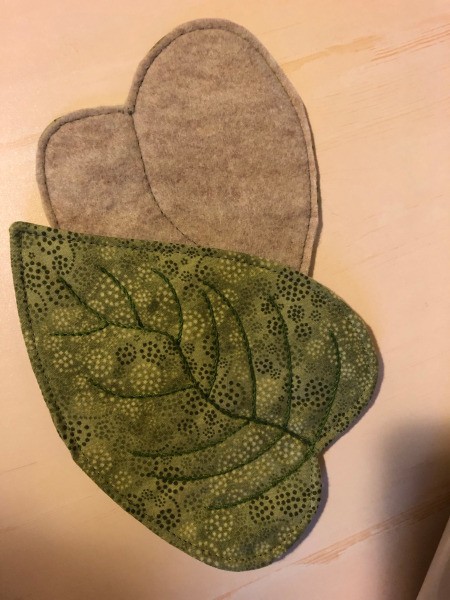
- The leaves were made by stitching and turning the fabric. Leave a small opening in the seam for turning and stitch shut with a blind stitch after turning. The leaves do not have interfacing inside. Once they were turned I used embroidery floss and a back stitch to add veins.
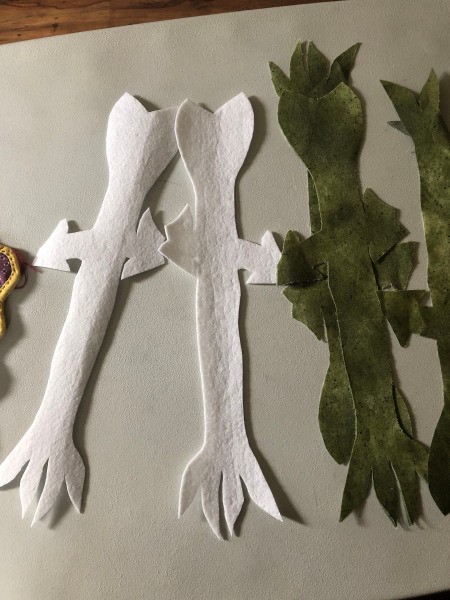
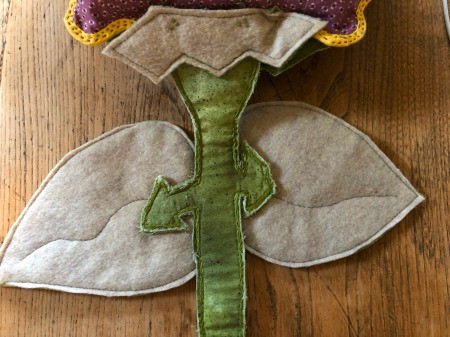
- Because I did not like the thread knots showing on the back side of the leaves I cut tan felt and machine stitched it onto the leaves before they were attached to the stem. I also machine stitched right next to the central vein to add a bit more detail to the back side.
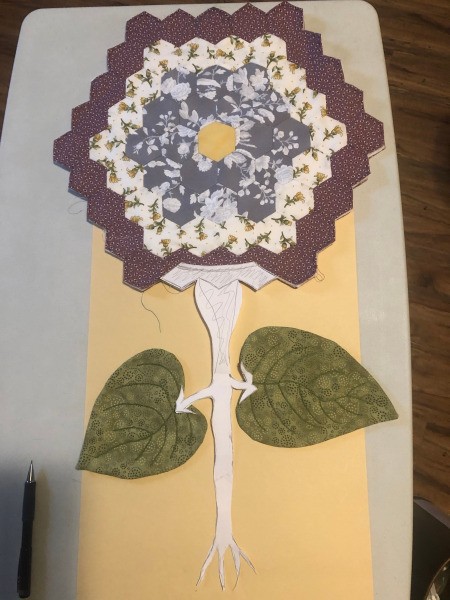
- I check fitted the flower and leaves on the sketch of the stem.
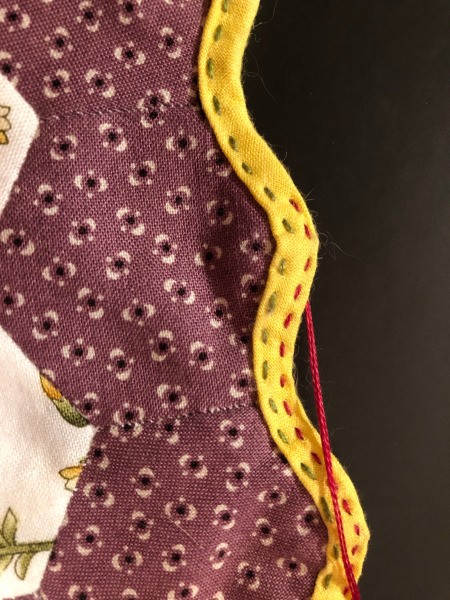
- The front and back of the pillow were pinned together and then the homemade bias tape was basted in place. Next I used 3 strands of green embroidery floss to sew the two parts together, close to the outer edge of the tape, making sure to catch all layers. Then I added a second line of red stitches to help tightly secure the tape in place. Make sure to leave an opening for adding the poly batting. Stuff the pillow and repeat the stitch pattern to close.
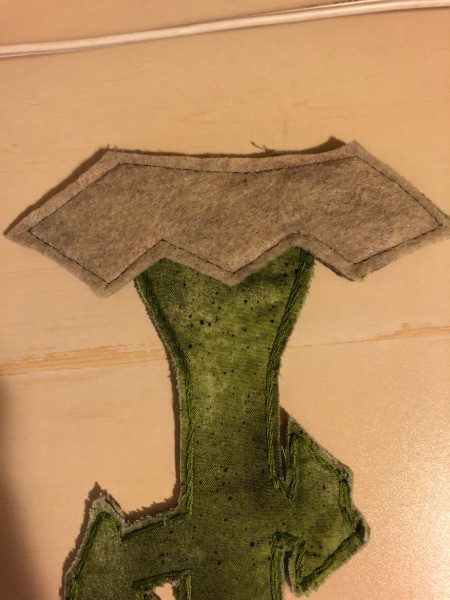
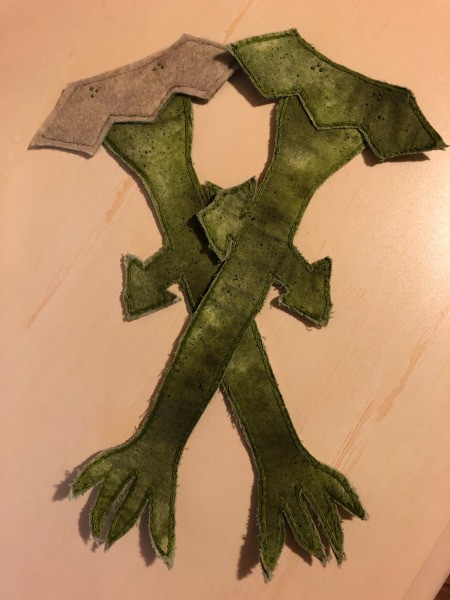
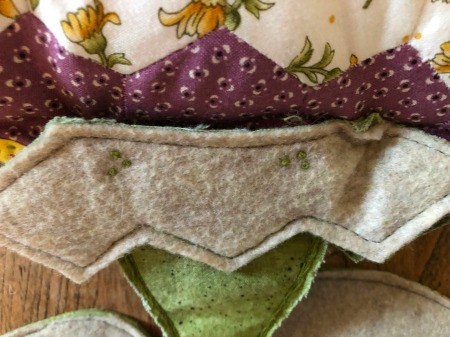
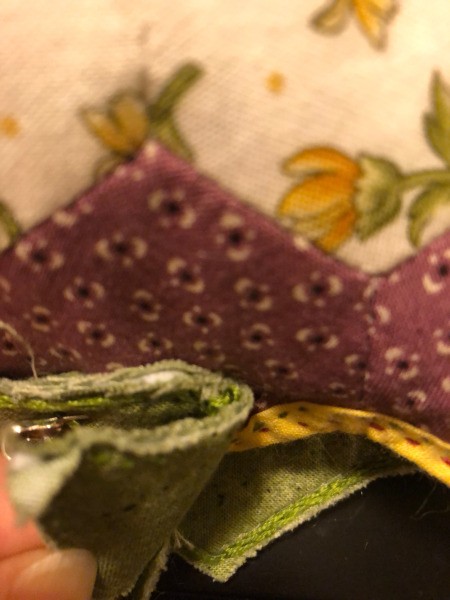
- The stems and crowns were stitched together first by using embroidery thread and a back stitch through all three layers on each piece. I added a felt back to one of the stem crowns and used it on the back of the flower to be consistent with the leaves. The crowns were machine stitched to the top of the stems. I also stitched some randomly spaced colonial knots for fun. Place the two stem pieces together, right sides out and pin. Machine stitch next to the embroidery stitching stopping right below the crown, as the crowns will be separated and stitched one on each side of the pillow.
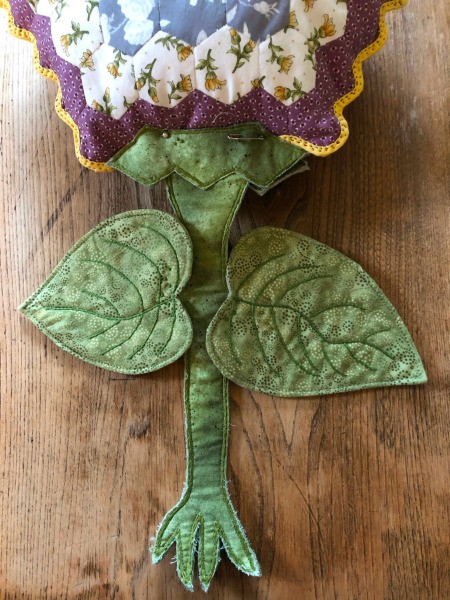
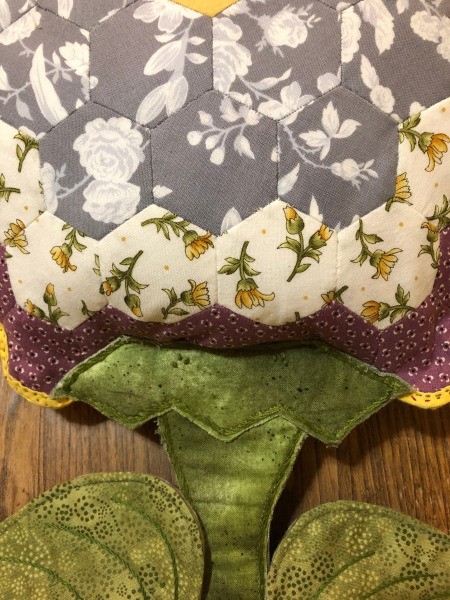
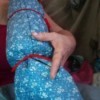
- Here are some photos of the stem assembly from the front and the back pinned in place. The leaves were hand stitched to the stem through both thicknesses using several colonial knots spaced so as to provide a tight attachment. I later added two buttons right where the leaf meets the underlying leaf "stems". The stem is pinned in place on both sides of the flower pillow at this point.
- After pinning the stem assembly to the flower it was time for the final step. The stem needed to be sewn to the flower through all thicknesses, both stem crown pieces and of course through the pillow itself, a bit of a chore, but a coin quilting thimble and a sharp needle were up to the task. Again three strands of green embroidery floss were used. I hand stitched the stem in place right next the backstitching. In the first photo you can see the approximate placement of the stem crown on the pillow, it was close to the edge, but with enough of the pillow sewn into the crown to make it stable and tight.
- Done. He loved it!
Add your voice! Click below to comment. ThriftyFun is powered by your wisdom!