ShirleyE
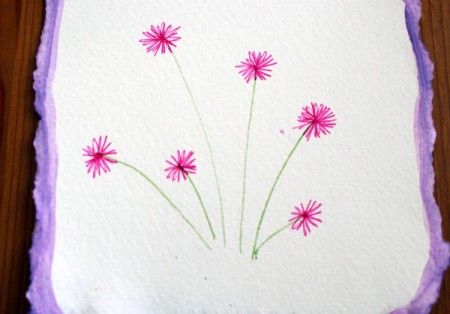
Bronze Post Medal for All Time! 239 Posts 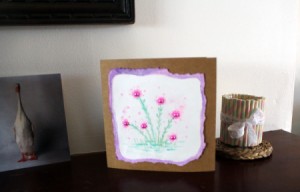 This is a simple floral picture, drawn with pens and coloured with watercolour paint, that can be framed or made into a greetings card. It's a lot easier than it looks.
Supplies:
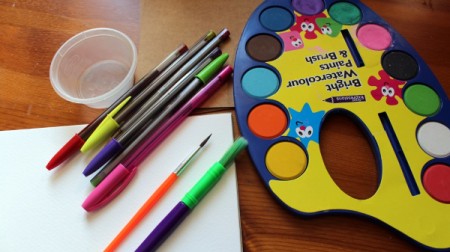
- watercolour paper
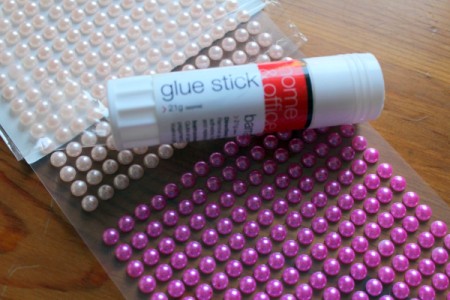
- sticky gems
- coloured ball point pens
- small fine pointed brush
- large paint brush
- glue stick
- blank greetings card with envelope
Steps:
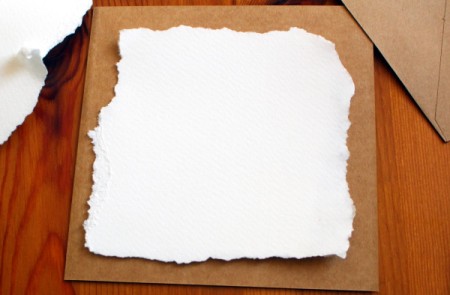
- It is important to use watercolour paper. Ordinary paper will not stand up well to being soaked. Tear a piece to the size you want your picture to be. I have made mine to fit my greetings card.

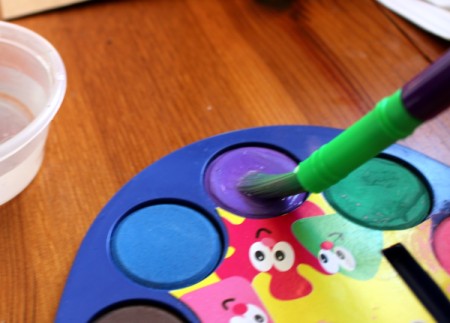
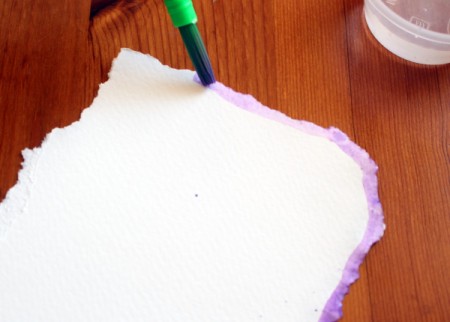
- You do not need professional water colour paints for this. Children's water colours will do fine. Wet the large brush and load it up with colour for the edging.
- Paint all around the edge.
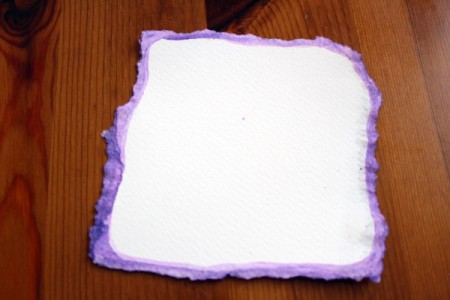
- Paint the back side too so that the paint will soak into the torn edge.
- Practise on a scrap piece of paper first if you prefer.
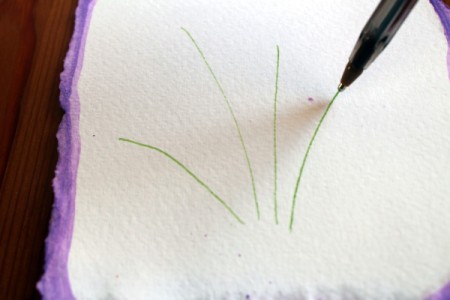
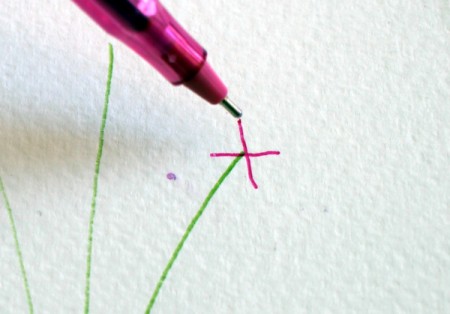
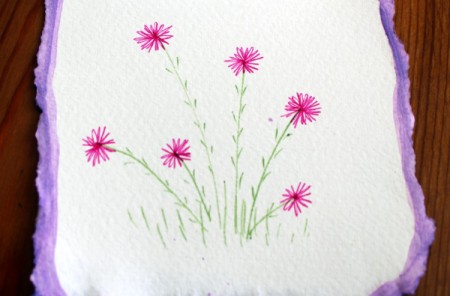
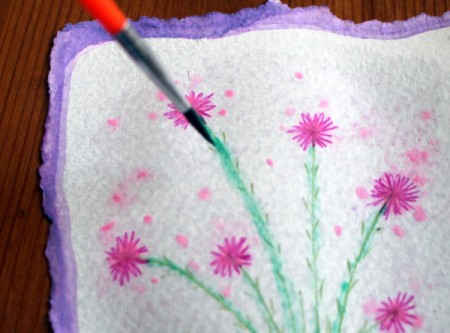
- Draw lines with a green pen for the stalks.
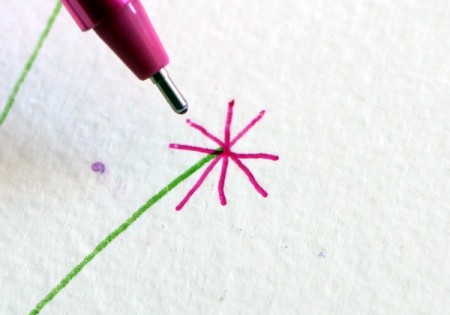
- Draw an X with pink pen at the top.
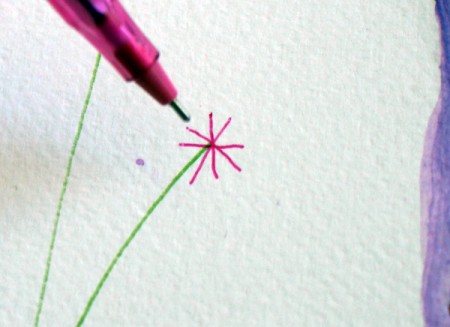
- Then draw a + to make a star.
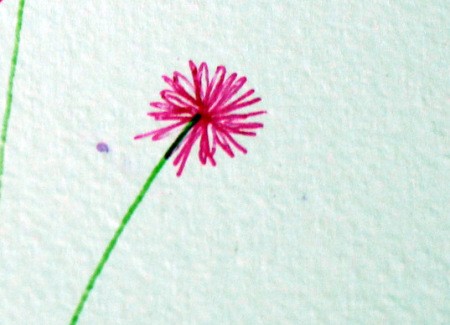
- Fill in with more lines.
- Do this on all the stalks. I added a couple more short ones to balance it out a bit.
- Flick some little lines on the stalks to represent leaves.
- Add some vertical lines to look like grass at the bottom.
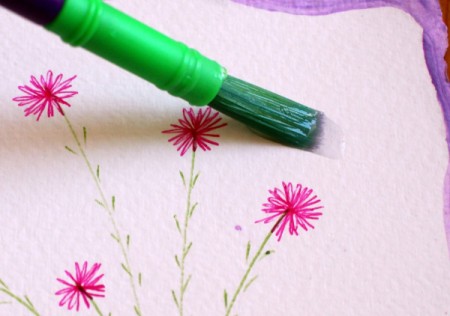
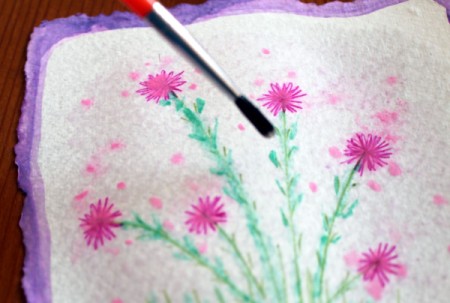
- Clean the large brush. Load it with water and wet the picture.
- Use plenty of water. It will soak into the paper.
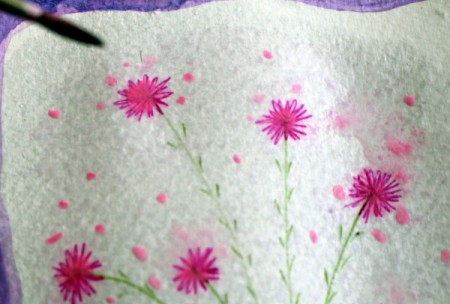
- Use a smaller brush for the flowers. Fill it with pink paint and touch the flower centres with the point of the brush. The paint should spread out a little in the water. I have also added some pink dots just for effect because as you can see, I splashed a little paint by mistake when I was painting the edge. That's what I call a happy accident because it turned out well.
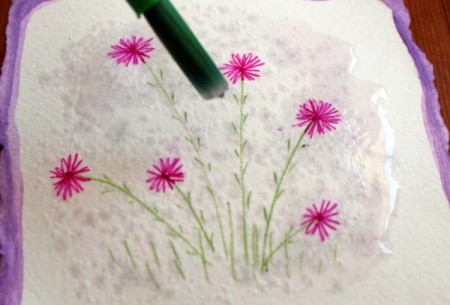
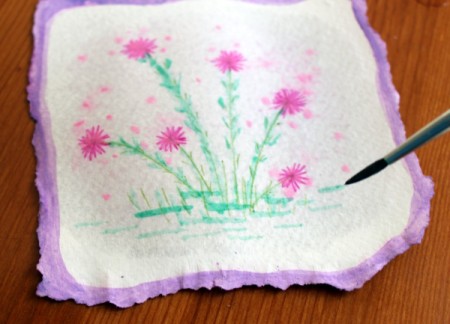
- Add a line of green paint to the stalks.
- Keep wetting the paper as you go if it dries out a little, because you want the paint to be a bit blurry in the water. If it dries out this won't happen.
- Add a few green dashes at the bottom. Leave the picture to dry out. This could take a while. Be patient.
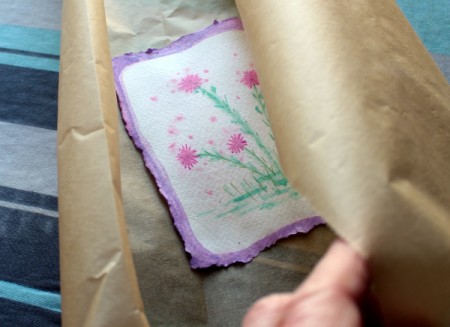
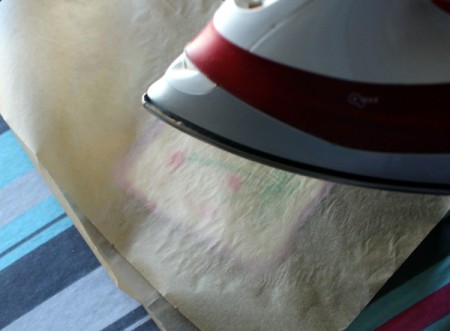
- The paper will probably be a bit buckled. If so, place it between sheets of parchment and iron it flat.
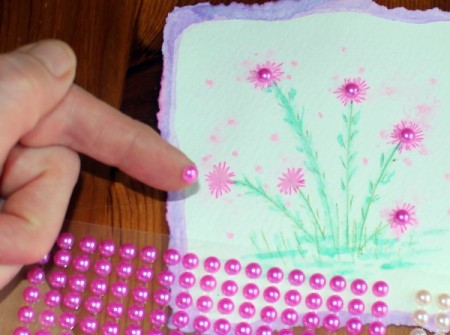
- Add sticky gems of your choice to the flower centres.
- Glue your picture to the front of the blank greetings card.
Add your voice! Click below to comment. ThriftyFun is powered by your wisdom!
15mhhm15
Diamond Post Medal for All Time! 1,298 Posts April 10, 20181 found this helpful
Love the way you made this card. I really like the flowers.
Add your voice! Click below to comment. ThriftyFun is powered by your wisdom!