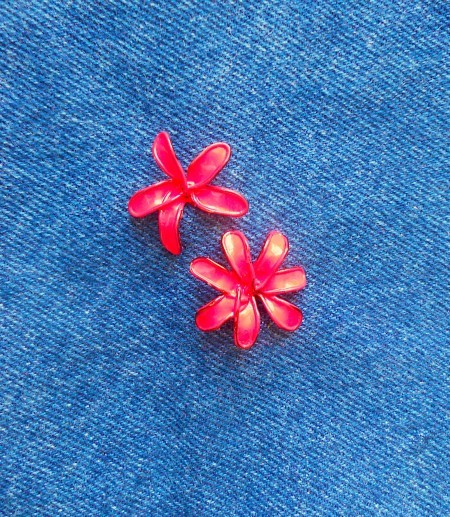
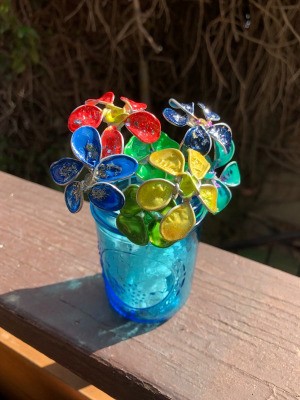
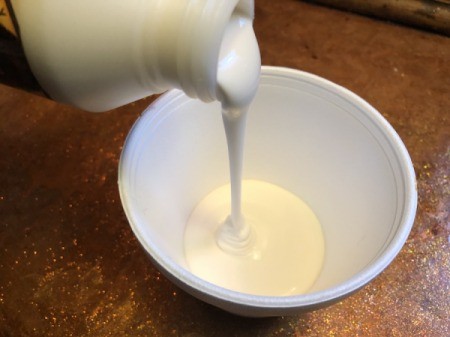
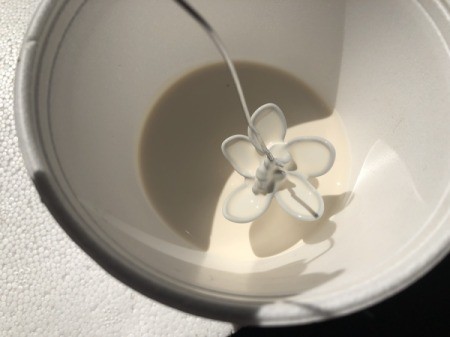
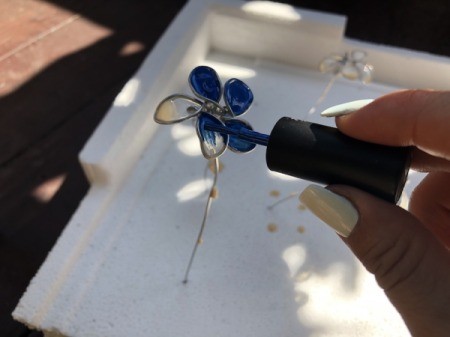
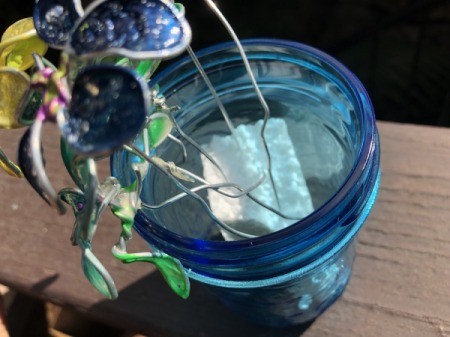
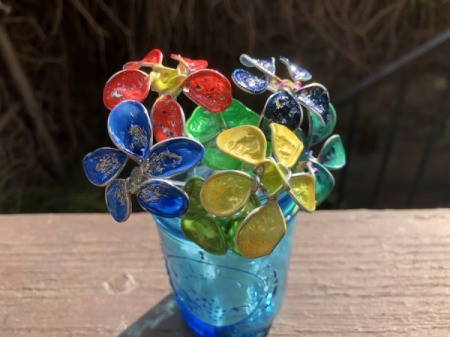
 This is a super fun and pretty craft using wires, wood glue, and nail polish. Bend the wires in whatever flower shapes you admire, dip in glue, then paint. They reflect such beautiful colours in the sun. I hope you give this a try!
Total Time: 90 minutes
Yield: 1 bouquet
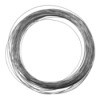
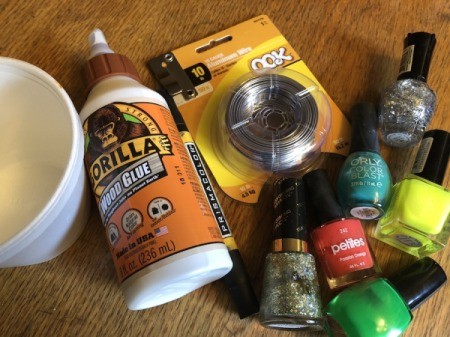
Supplies:
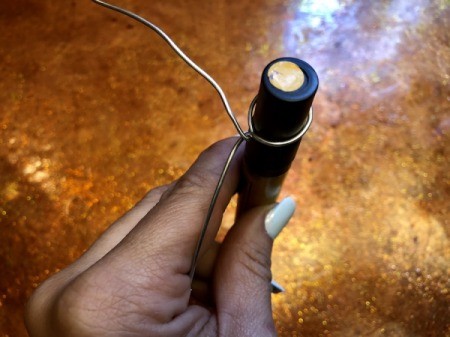
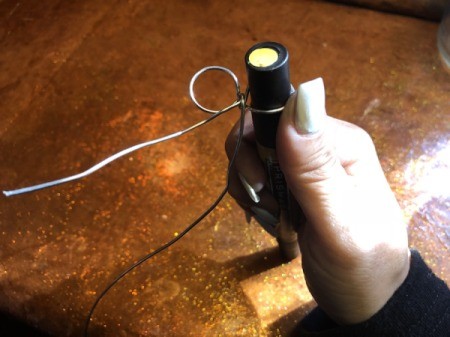
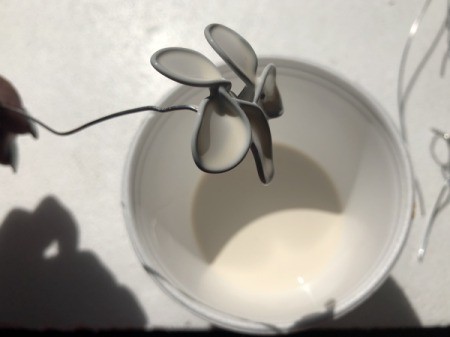
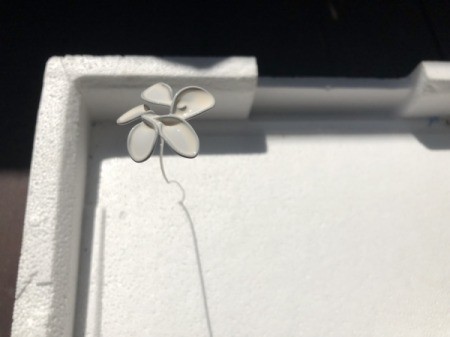
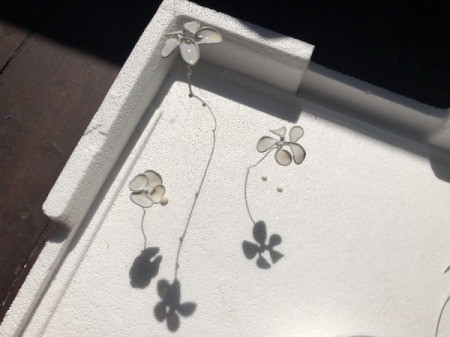
Steps:
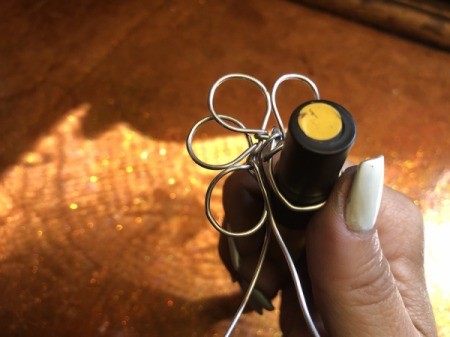
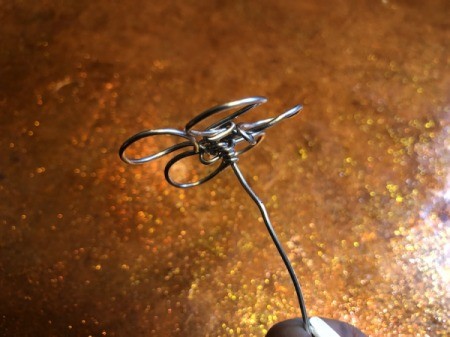
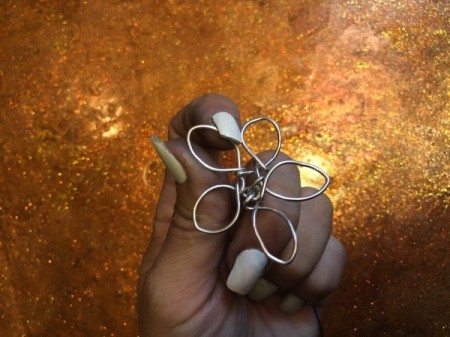
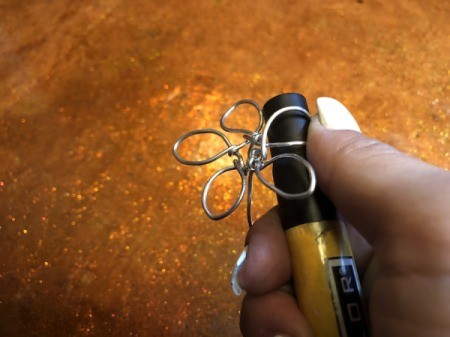
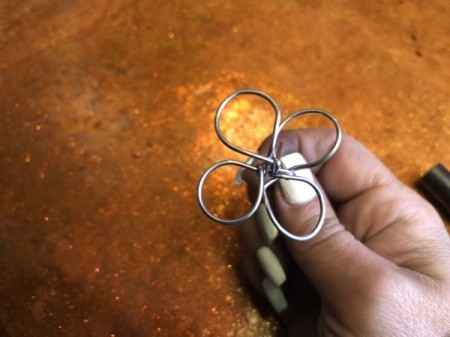
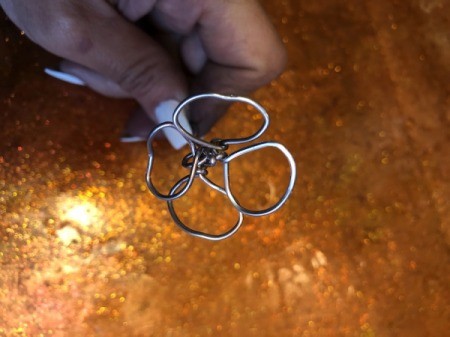

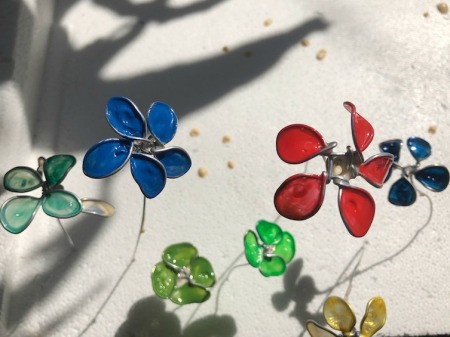
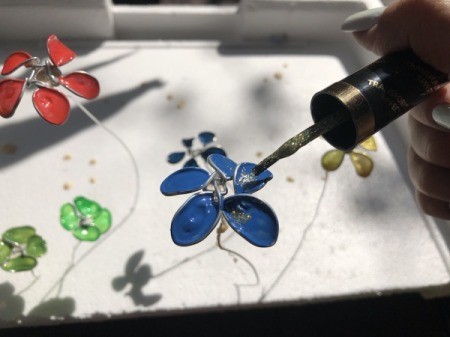
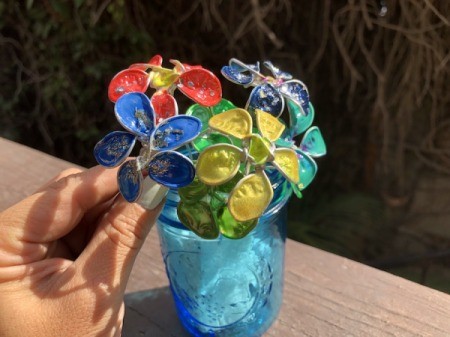
I don't know who first came up with the idea for making flowers from wire and nail polish, but it's a really great idea. I want to share not only my way of forming such flowers, but my idea of decorating fabric with them, for example, denim.