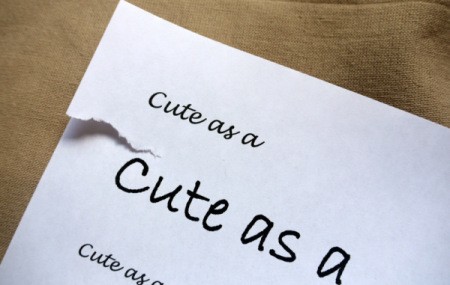
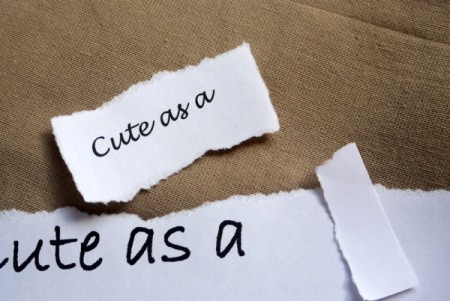
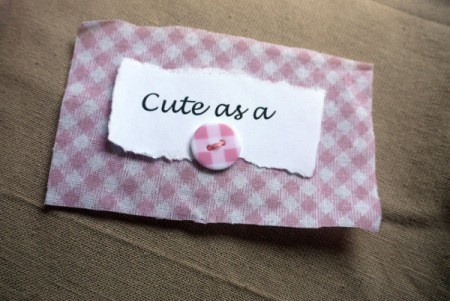
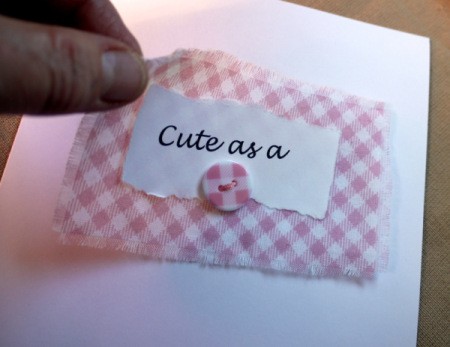
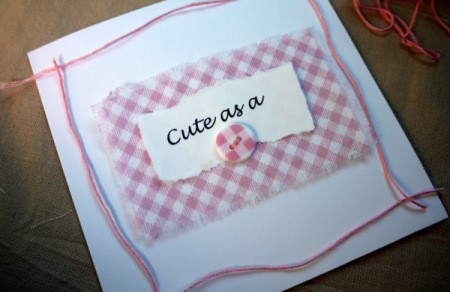
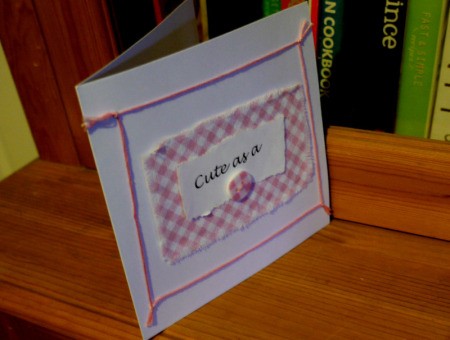
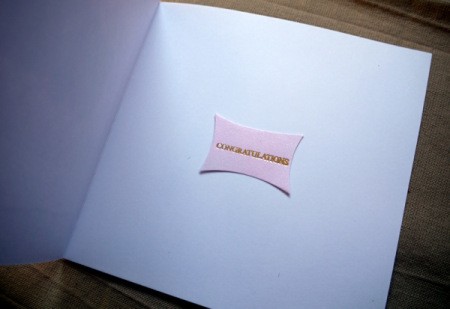
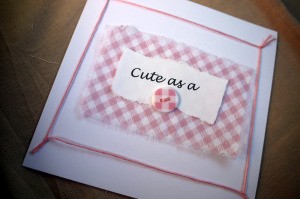
 Every new baby is as cute as a button and deserves this lovely handmade greetings card. It is suitable for girls or boys - just change the colours. Or say "cute as buttons" for twins or triplets and use the appropriate number of buttons
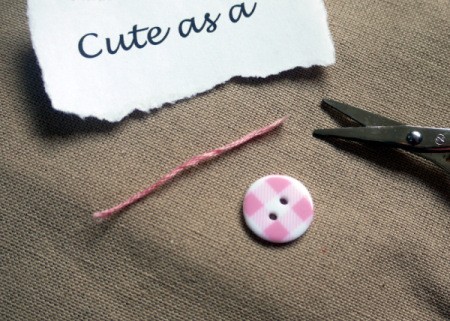
Supplies:

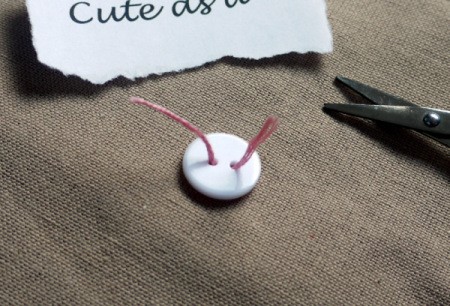
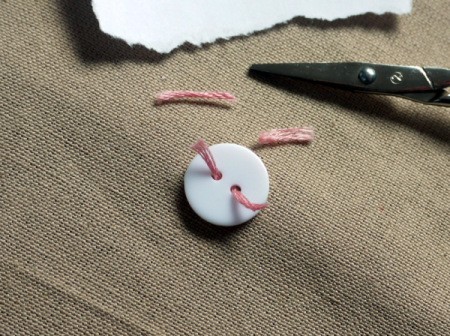
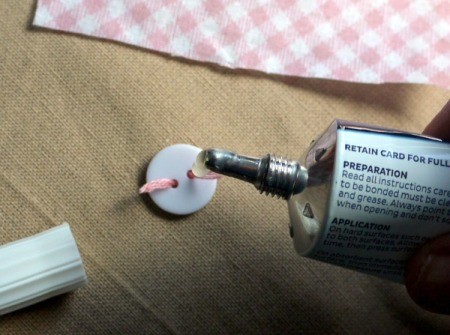
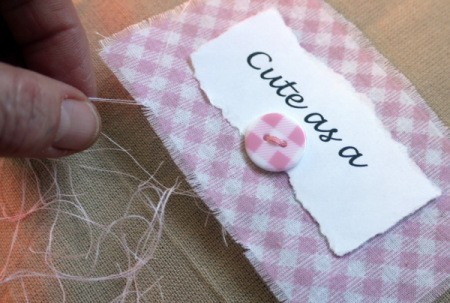
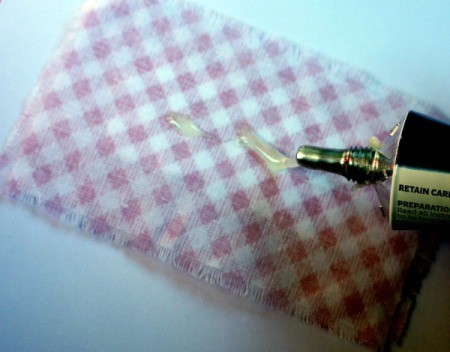
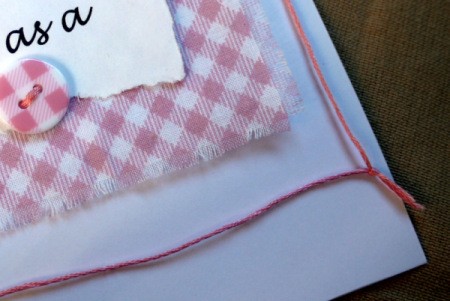
Steps: