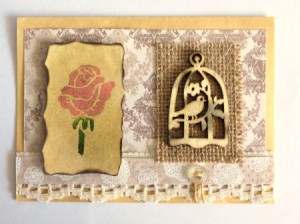
 Use a selection of embellishments and stamping techniques, and create a card with a vintage feel. The card can be ideal as a birthday card for an older lady, or by adding a touching message, it can be turned into a special card for Mother's Day. This vintage card is sure to be cherished by the recipient.
Total Time: 25 minutes
Yield: one card
Supplies:
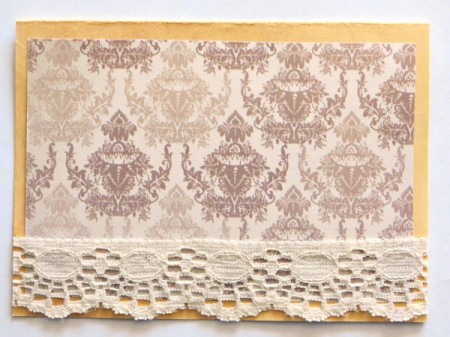
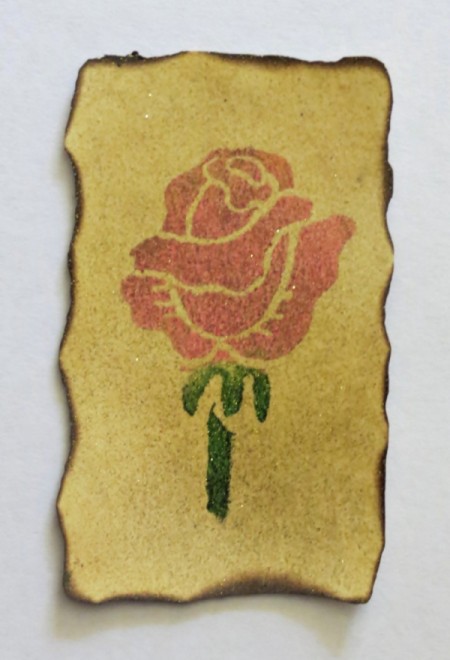
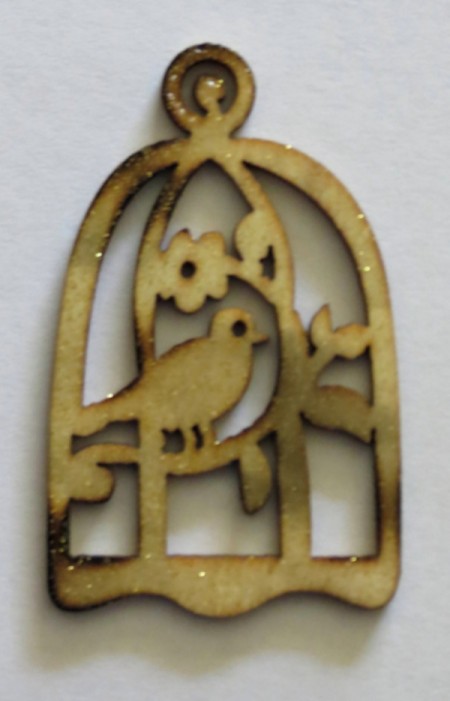
Steps: