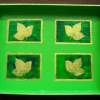
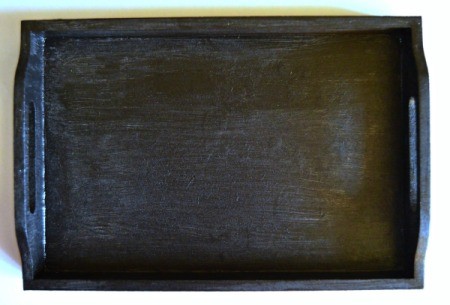
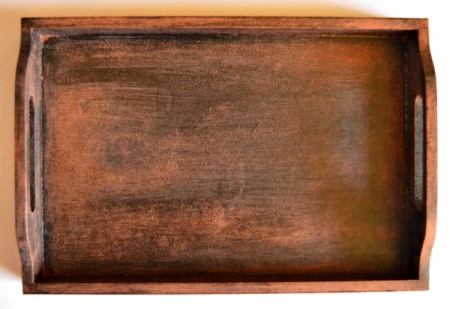
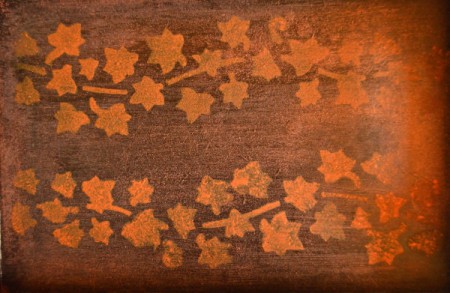
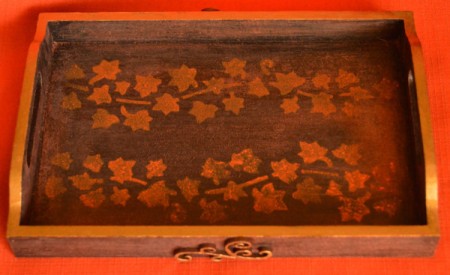
Christmas is getting ever so close. It is time to start making some meaningful gifts for friends and colleagues without breaking the bank in the process. Here is a clever way to turn an ordinary natural wooden tray into a mock inlay tray that looks more expensive than what it is. The tray holds two mugs, so it will be a perfect gift for a young couple, or for a friend that regularly invites someone over for coffee.
Total Time: 45 minutes, drying time included
Yield: one tray
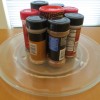
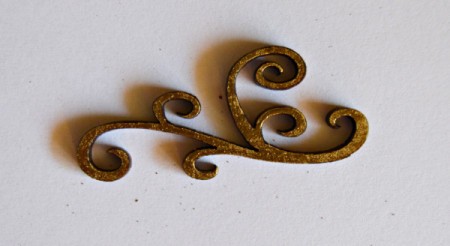
Supplies:
Steps:

That's really beautiful and gives me a lot of great ideas! Thank you for sharing your wisdom and skills with us!