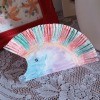
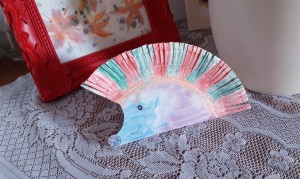
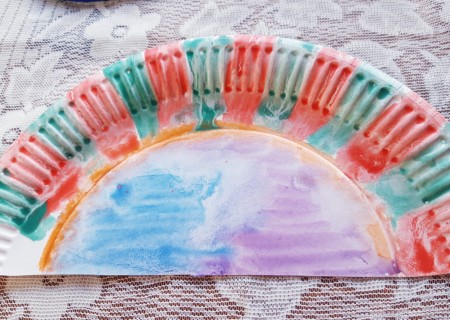
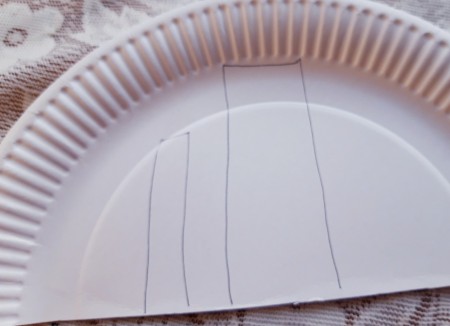
 Try this fun colourful hedgehog made from a paper plate that kids will be proud to put on display. Little ones may need a bit of guidance getting the right shape and help with the cutting out, but older children should do just fine on their own.
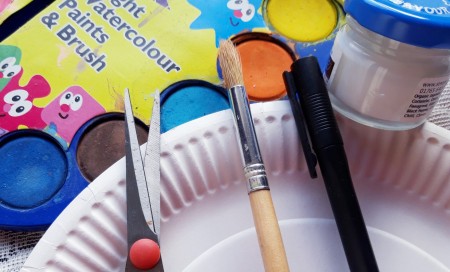
Supplies:
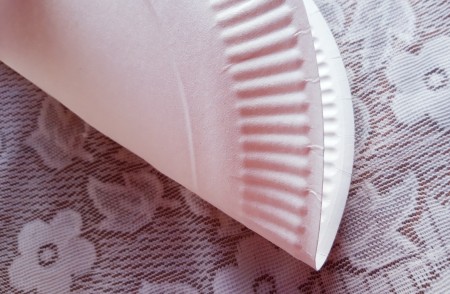
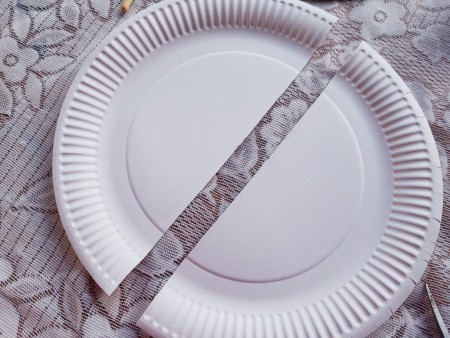
Steps:


Add your voice! Click below to comment. ThriftyFun is powered by your wisdom!