DianaHM
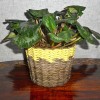
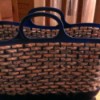
Silver Answer Medal for All Time! 440 Answers 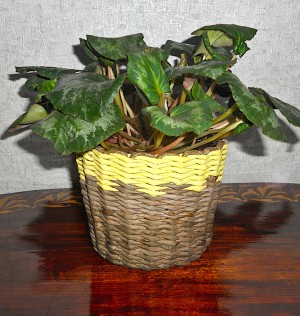 I wanted to weave a nice basket to hide a plastic flower pot inside. Sheets of paper were perfect for this. It is not difficult at all and very cheap.
Total Time: 2-3 Hours + 2-3 days for the glue, stain / paint, varnish to dry
Yield: Round woven paper basket
Supplies:
- sheets of A4 paper with a density of about 45 g/m2
- ruler
- pencil
- knife
- brushes
- stain, I used the color of the oak
- yellow acrylic paint or white acrylic paint and yellow dye
- scissors
- PVA glue (white glue)
- knitting needle 2.5 mm thick
- hot glue
- container of the required volume for the basket (larger than a plastic flower pot)
- 20 clothespins
- awl
- varnish (better in spray can)
Steps:
- You need to have two types of paper tubes: stronger for the uprights (vertical tubes around which you will weave) and more flexible paper tubes for weaving.
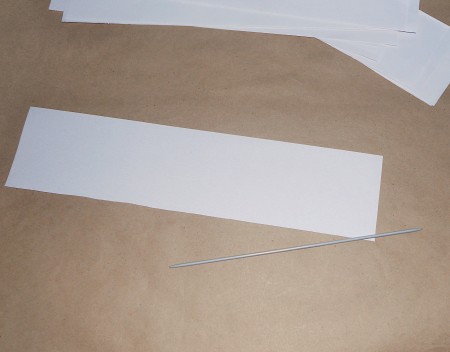
For upright tubes, fold a sheet of A4 paper 3 times along and cut it into 3 strips. Make 20 strips.
For flexible tubes, fold a sheet of A4 paper 4 times along and cut it into 4 strips. 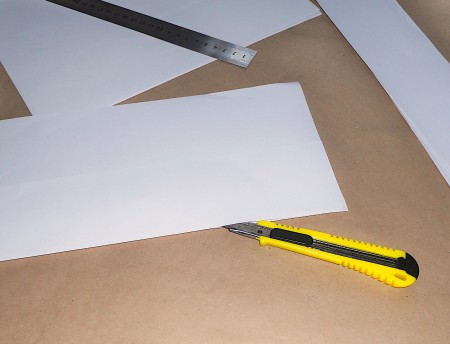
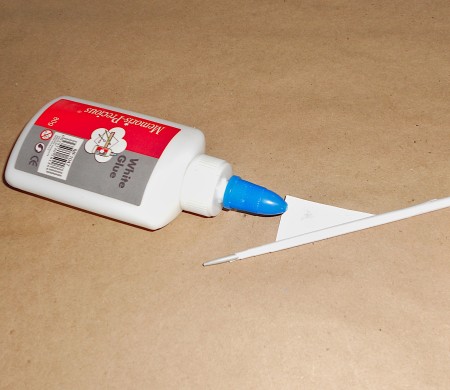
- Put the end of the knitting needle on the corner of the strip of paper at an angle of about 30 degrees and wrap the paper tightly around the knitting needle. If your needle is not long enough, then gradually push it inside the tube until you wrap the entire strip of paper to the tube. Put a little white glue on the last corner of the strip of paper and glue it to the tube - this will fix paper. Take out the knitting needle.
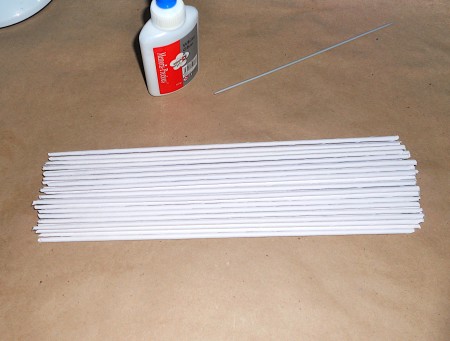
- You need to lengthen the upright tubes. Each paper tube has one narrow end (you started to roll paper from it), and the other end is slightly wider. To connect the tubes, add a little PVA glue to the narrow end of one tube and insert it into the wide end of the other tube. Make sure that the tubes do not separate during weaving. Connect two upright tubes. You will have 10 long upright tubes.
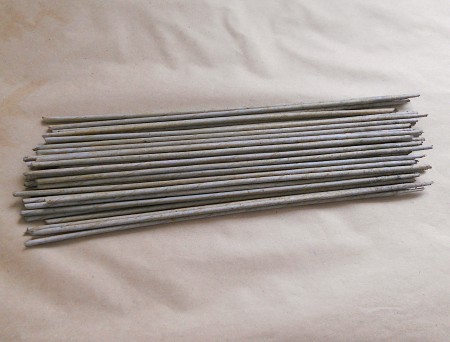
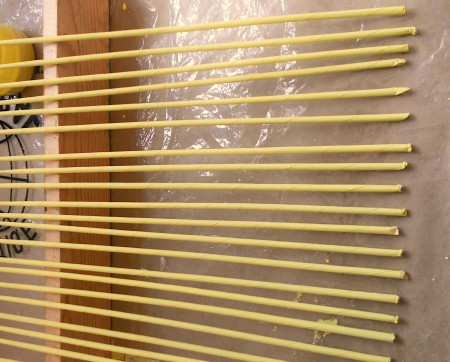
- Paint upright tubes and a part of the flexible tubes with a stain and the other part of the flexible tubes with the yellow paint (save a little paint to correct the basket later).
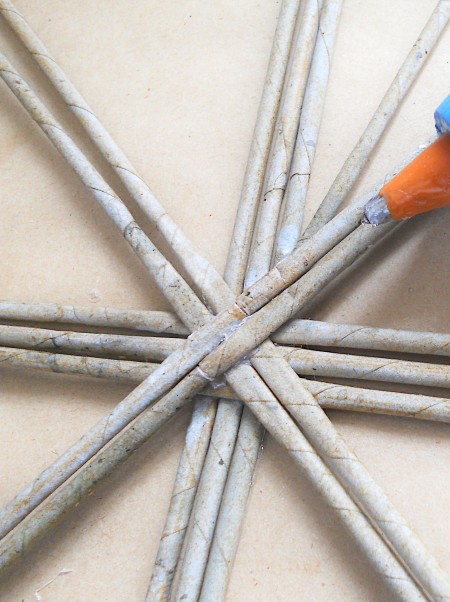
Allow the tubes to dry, but not to dry completely. - Put three upright tubes. Add a little hot glue in the middle and put three more upright tubes on top perpendicularly, gluing them in the middle. Then, glue 2 more upright tubes from above (at an angle of 45 degrees), and then 2 more upright tubes. As a result, you will get 20 paper upright tubes sticking out of the center (3 + 2 + 3 + 2 + 3 + 2 + 3 + 2).
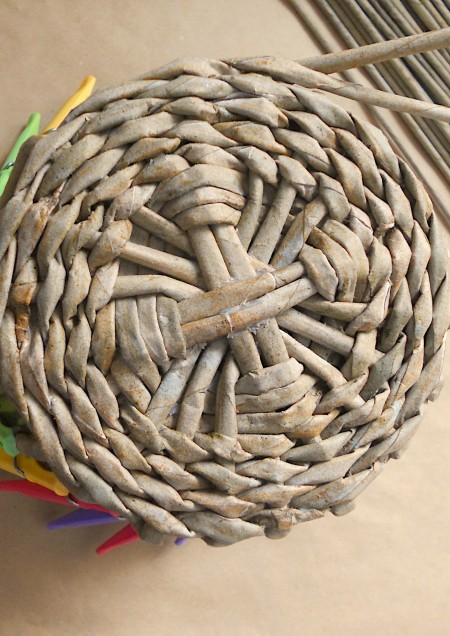
Glue the first flexible tube to the center with hot glue and round it around the upright tubes: first around two upright tubes, then around three upright tubes, etc. Make 3 rows using the same method. When the tube ends during weaving, glue the second one to it (as described in the previous step). Gently continue weaving, making sure that the tubules do not separate.
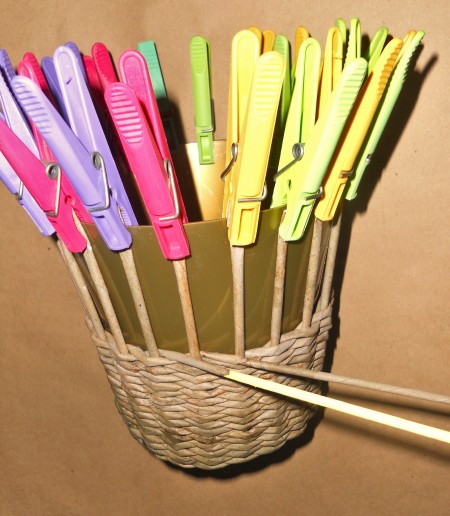
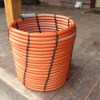
Then glue another flexible tube using hot glue, disconnect the upright tubes and continue weaving around each upright tube, working with two flexible tubes (crossing them together). Form the bottom of the basket in this way (it should be equal to the size of the container for weaving the basket). I made 5 rows for a bottom diameter of 13 cm. - Place the container in the center for the weaving, bend the upright tubes around it, distributing them evenly and fixing each using clothespins.
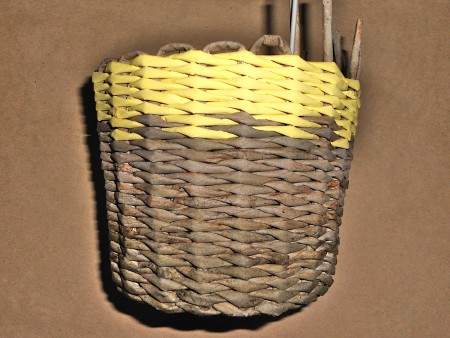
Weave 14 rows using brown tubes: unfix the clothespin from the upright tube, weave around it two flexible tubes, fix the upright tube again, unfix the next upright tube, etc. Then glue a yellow tube instead of the brown tube and weave 2 rows with brown and yellow tubes. Then glue a yellow tube instead of the second brown tube and weave 5 rows with only yellow tubes. - Having made the last row, bend an upright tube and cut it at an acute angle at such a distance that the end of the tube is between the next two upright tubes. Using the knitting needle, insert the end of the tube near the next upright tube. Do this with all of the following upright tubes.
Add some PVA glue in the places of insertion of the ends of the upright tubes.
Turn the basket over and place a few books on top to press. Let the glue dry well. 
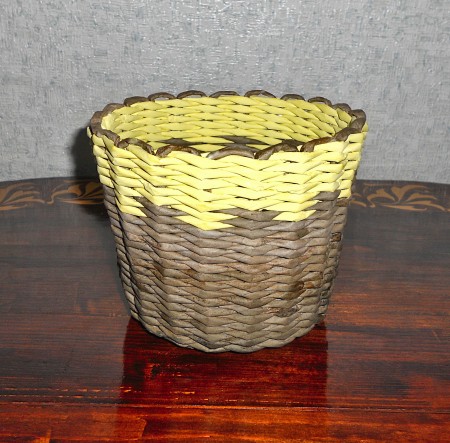
- Add some PVA glue in the places of insertion of the ends of the upright tubes. Turn the basket over and place a few books on top to press. Let the glue dry well. I made the basket 12.5 cm (about 5") high, with a diameter of 13 cm (5,1") at the bottom and 15.5 cm (5.9") at the top.
- If you find translucent white paper at the junction of the tubes, then color them with the remaining yellow paint.
To get the effect of amber, you can apply a little more stain to the bottom of the already finished basket.
To protect the basket from external influences, coat it with varnish on all sides. Let it dry well.
Add your voice! Click below to comment. ThriftyFun is powered by your wisdom!
wordswork
Bronze Feedback Medal for All Time! 170 Feedbacks August 9, 20211 found this helpful
Nice job! (Could also be a contest winner at instructables.com.)
DianaHM
Silver Answer Medal for All Time! 440 Answers August 9, 20210 found this helpful
Thanks
Add your voice! Click below to comment. ThriftyFun is powered by your wisdom!