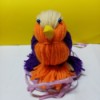
When there's Mr. Octopus yarn, then here's Ms. Birdie yarn. It just started with collecting yarn in preparation for my baby's upcoming christening, but it turned out that I had to procure some more as I discovered these cute little masterpieces.
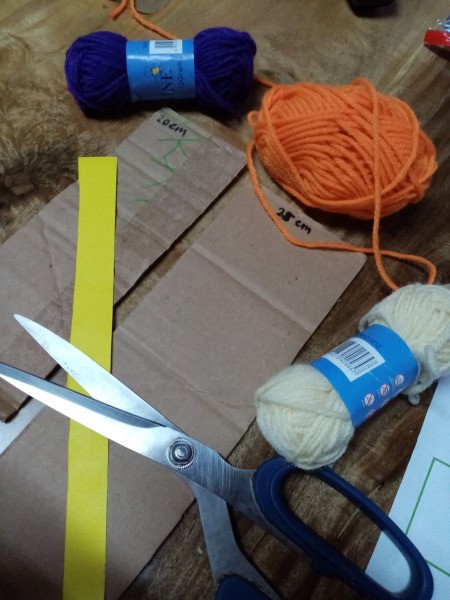
Supplies:
- 3 different colors of yarn
- 20 cm cardboard strip
- 25 cm cardboard strip
- scissors
- 2 black push pins /wiggly eyes
- 1 piece long felt strip (preferably color yellow)
Steps:
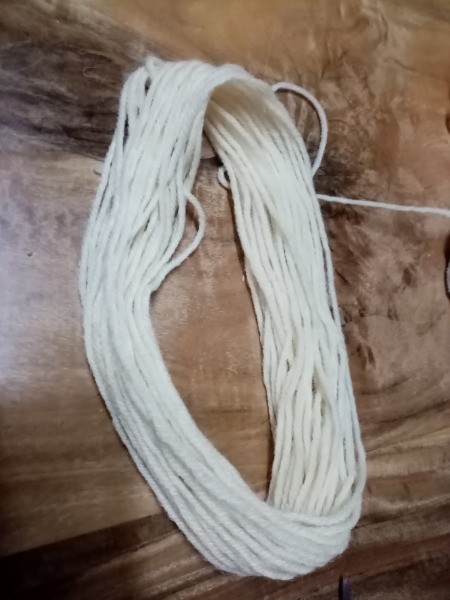
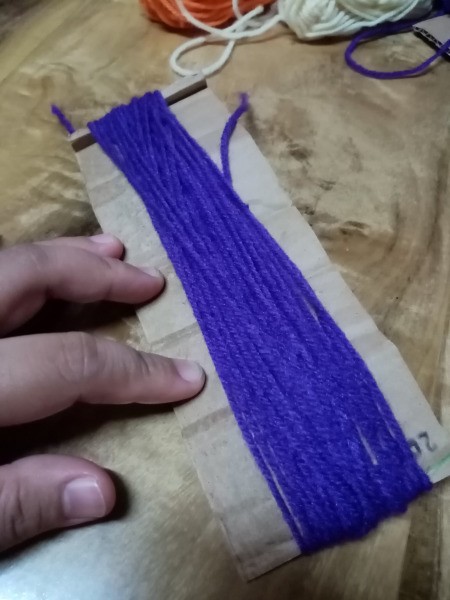
- Roll one color of yarn on the 25 cm cardboard. Make a thick layer.
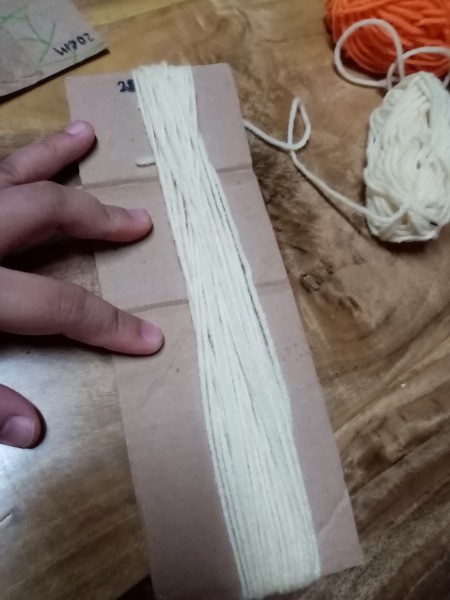
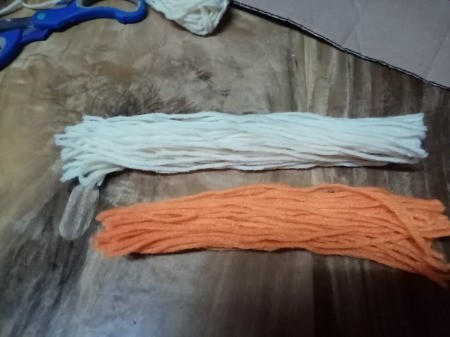
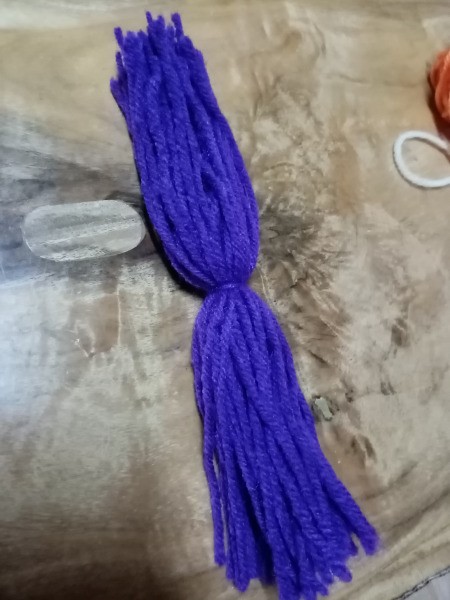
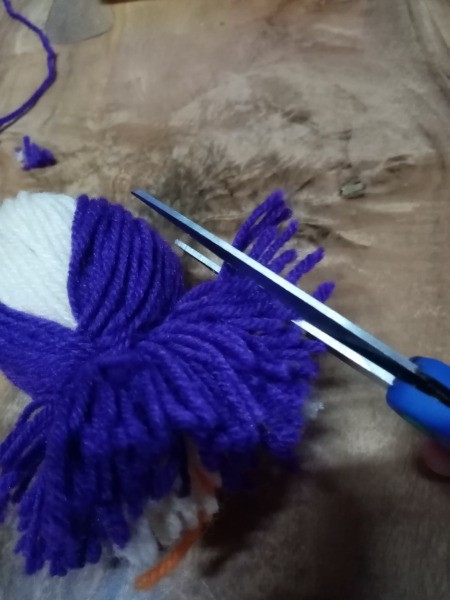
- Remove the yarn from the cardboard then cut the loops and set aside.

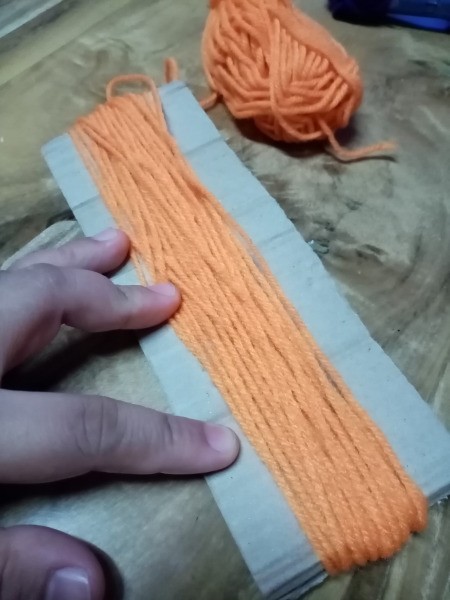
- Roll another color on the 20 cm cardboard. It should be as thick as the first roll.
- Do the same with the first roll.
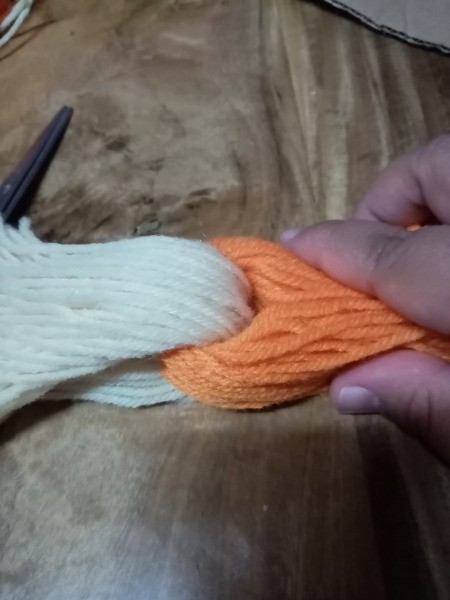
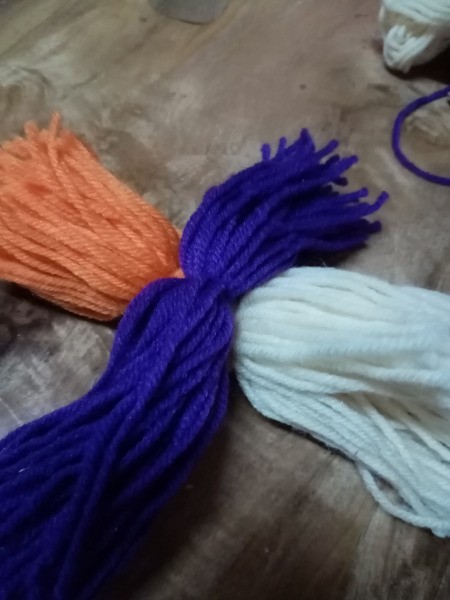
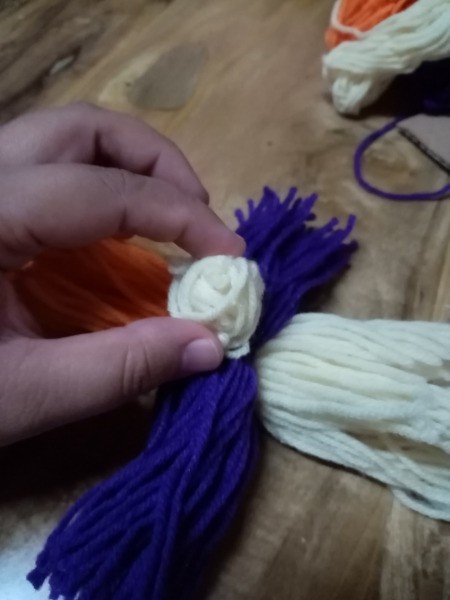
- Now, place the shorter one across the longer one. See photo.
- Gather up both sides then secure with yarn or rubberbands.
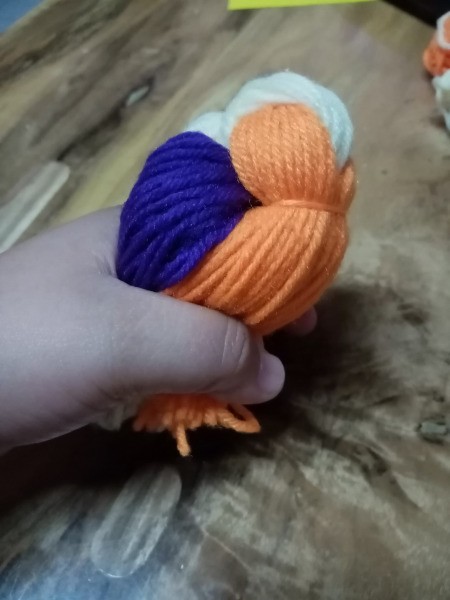
- Roll one more color on the shorter cardboard.
- Cut the loop and tie up the center.
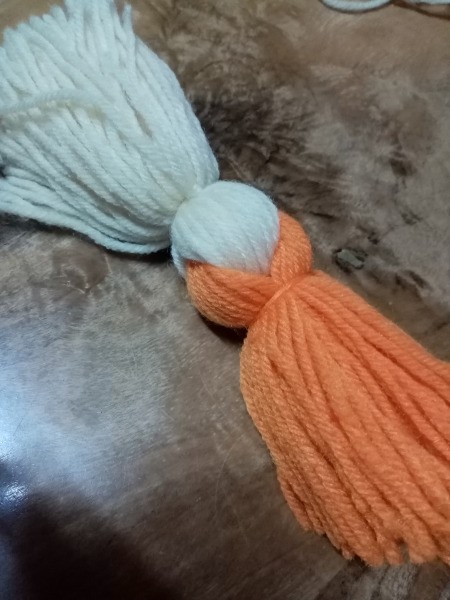
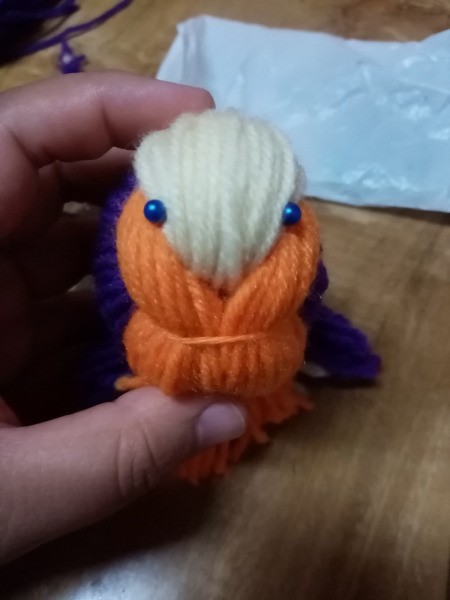
- Place the last bundle of yarn in the middle of the other two.
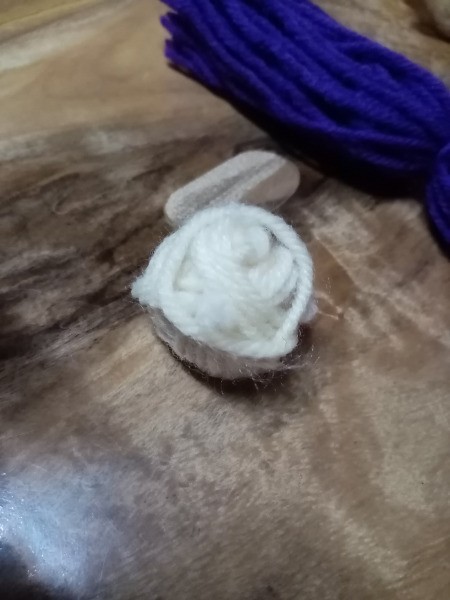
- Make a small ball of yarn and put it in the middle (under the layers of yarn). You can use the trimmings or scraps to make this ball.
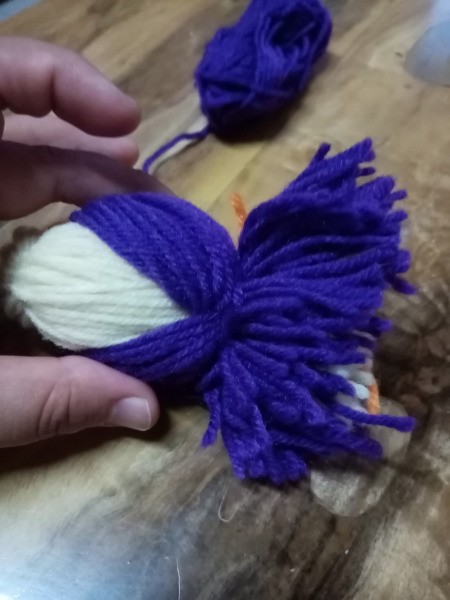
- Close the layers and arrange them properly.
- Secure the ends with yarn or a rubber band. Make it tight and neat.
- Trim the ends if necessary.
- Stick wiggly eyes or push pins on both sides. See photo.
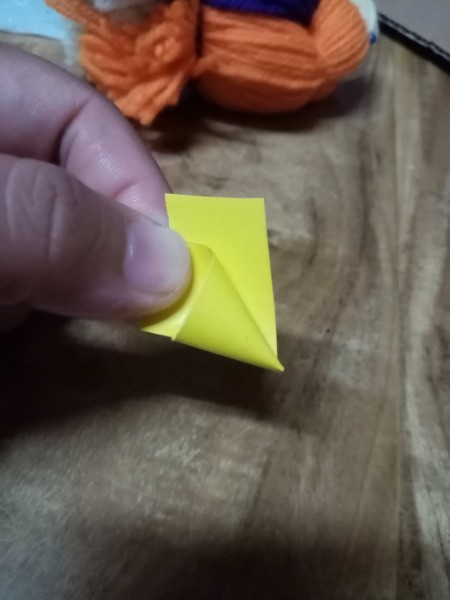
- Take a strip of felt and roll it to form a cone.
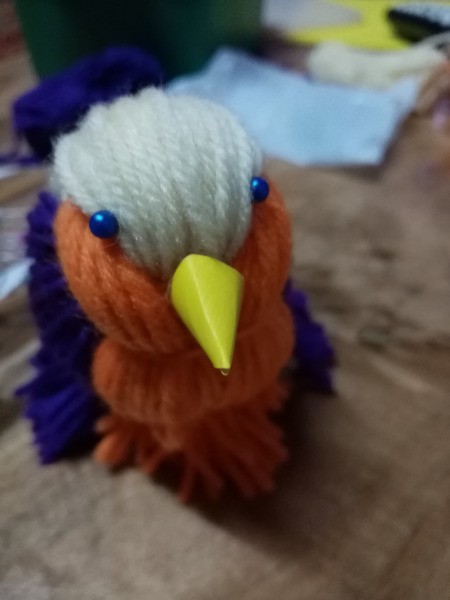
- Glue this onto the face of the bird for its beak.
- Done!
Add your voice! Click below to comment. ThriftyFun is powered by your wisdom!
attosa
Diamond Post Medal for All Time! 1,246 Posts August 5, 20190 found this helpful
I ADORE MS. BIRDIE!! so so so cute
Add your voice! Click below to comment. ThriftyFun is powered by your wisdom!