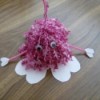
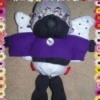
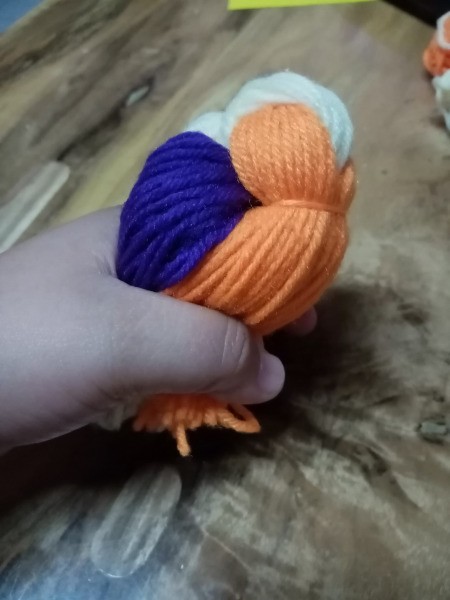
When there's Mr. Octopus yarn, then here's Ms. Birdie yarn. It just started with collecting yarn in preparation for my baby's upcoming christening, but it turned out that I had to procure some more as I discovered these cute little masterpieces.
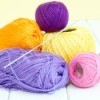
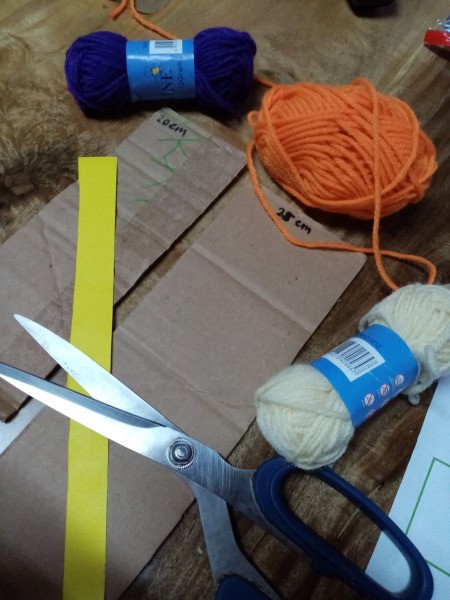
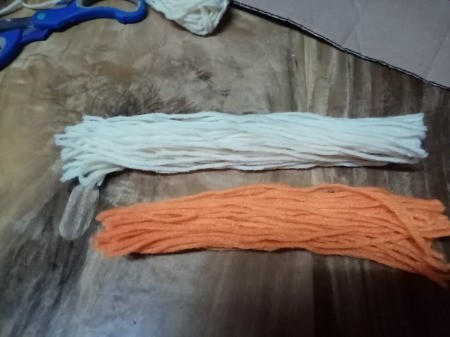
Supplies:
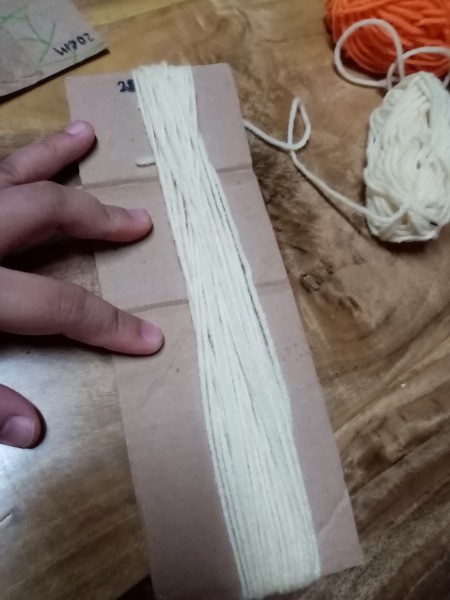
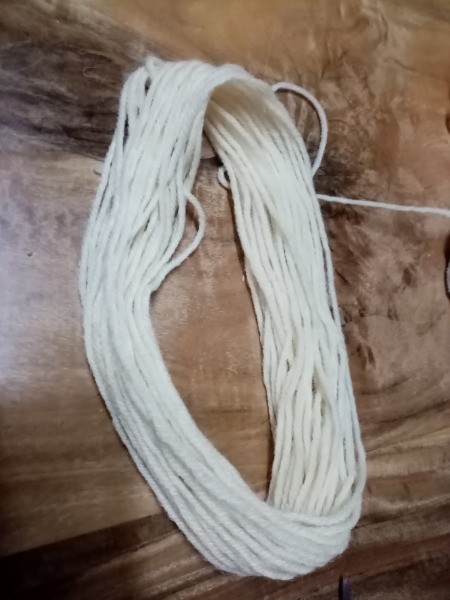
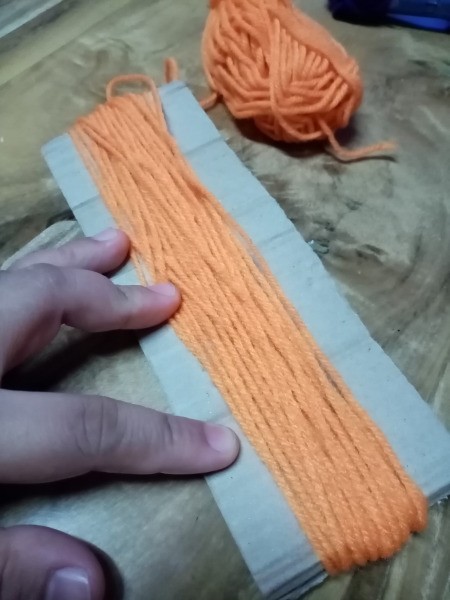
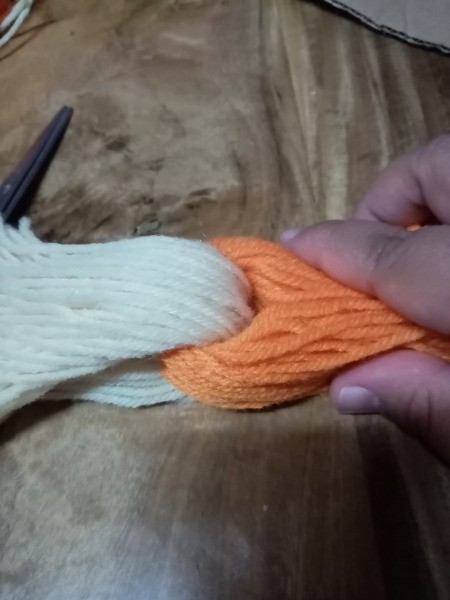
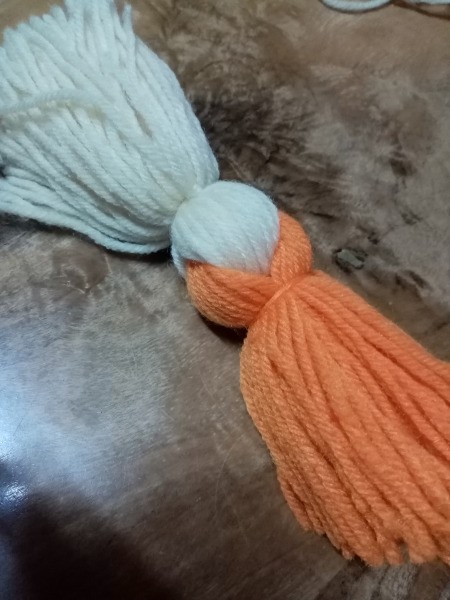
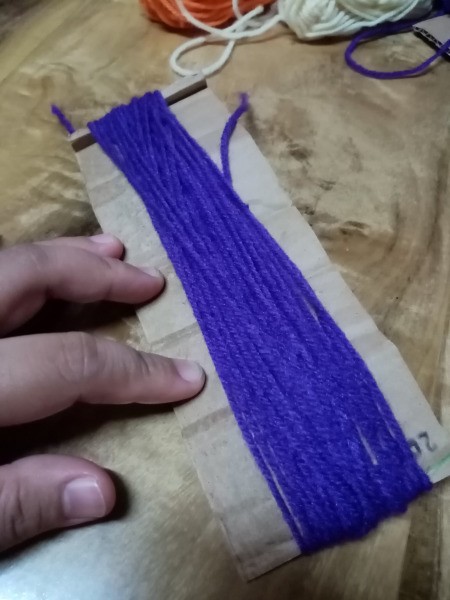
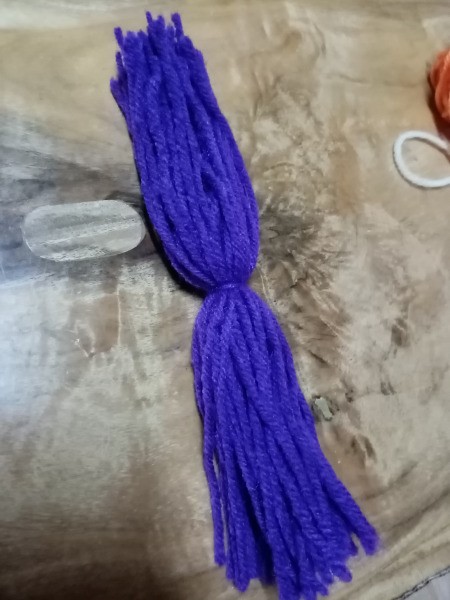
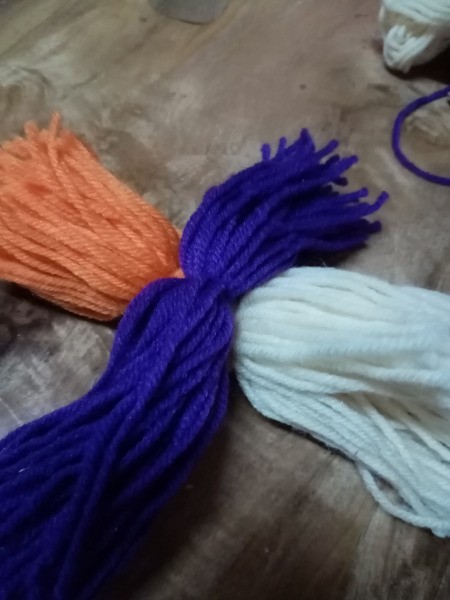
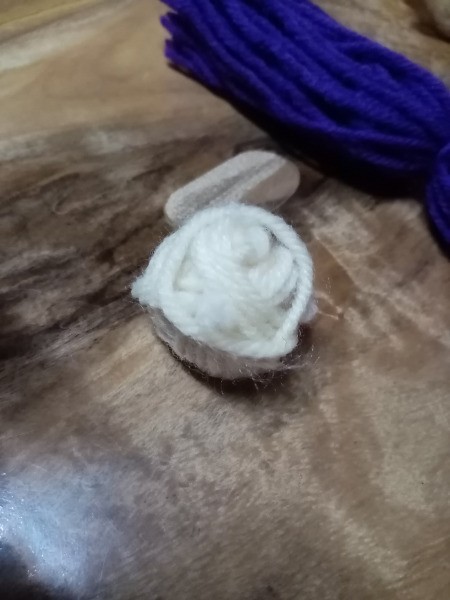
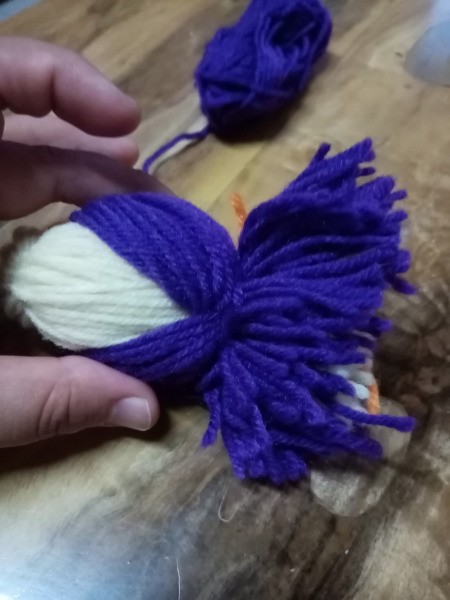
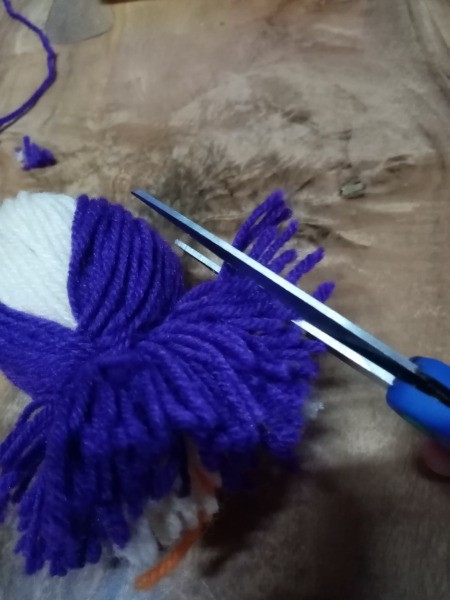
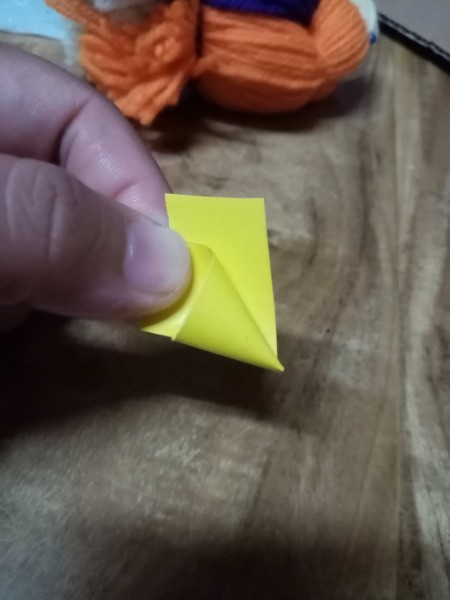
Steps:

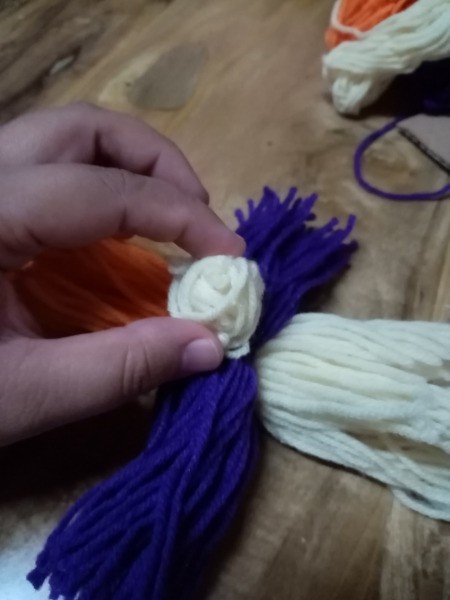
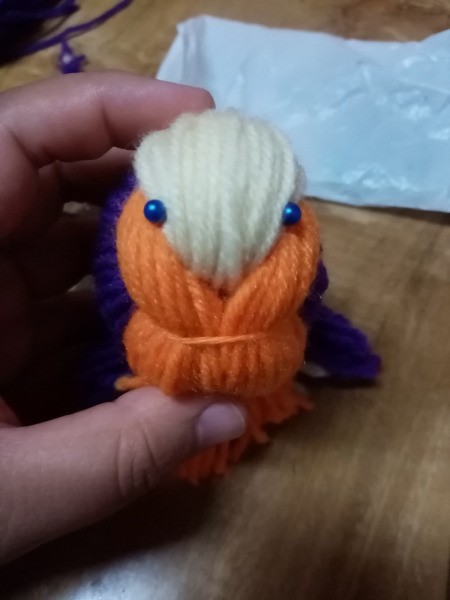
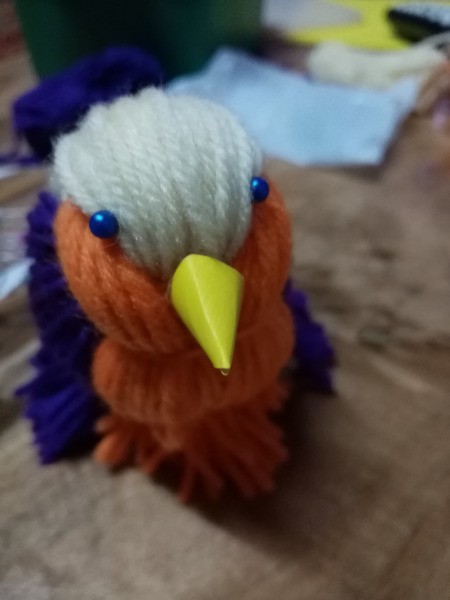

I ADORE MS. BIRDIE!! so so so cute