 A very simple project kids can make to decorate their rooms.
Approximate Time: 15 - 20 minutes
By Marie from West Dundee, IL
This page contains the following solutions.
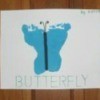
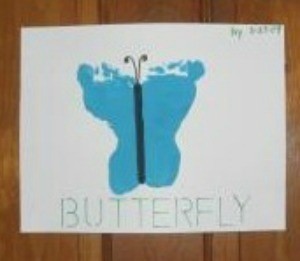
Kids will love it when they get to use their feet to make these cute butterfly prints. No matter the age, all feet will get a tickle from the paint being applied to their footsies.
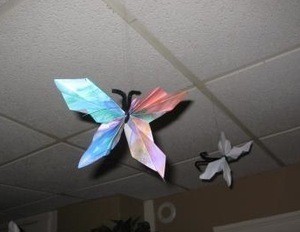
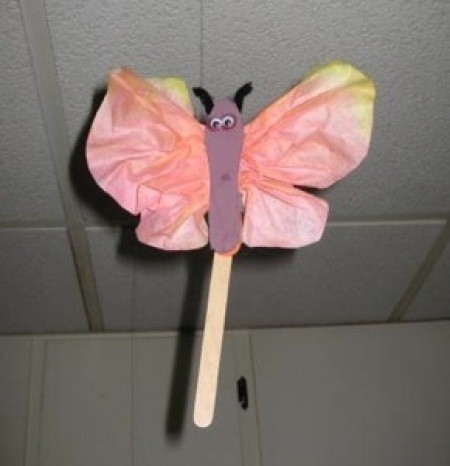
Spring is here! I will be submitting different "buggy" crafts that my daughter and I worked on for her birthday party. This butterfly is made from paper that she painted.
This stick craft butterfly is fun to wave in the air like it is flying through your house. Or, use the stick as a plant stake to add something extra to an inside potted plant.
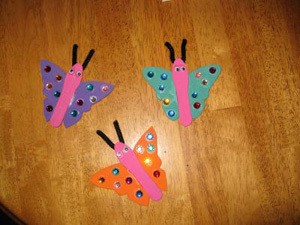
Another "buggy" spring craft! These butterflies are so cute and so easy to make. Show them off on your refrigerator for lot's of comments from admirers!
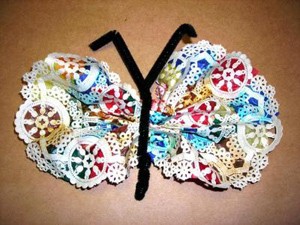
Make these butterflies with colorful, lacy wings, and use them to decorate your windows.
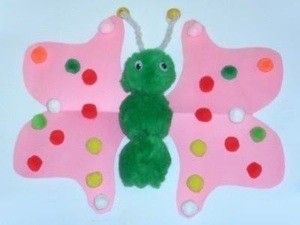
This cute butterfly has pom-poms as a body and as decorations on its wings. The wings are made from paper and the antennas are made from chenille stems and beads.
This video shows you how to make a simple butterfly container from a plastic drink bottle that your kids will have a lot fun putting together and they can store crayons or other items in it when they are done.
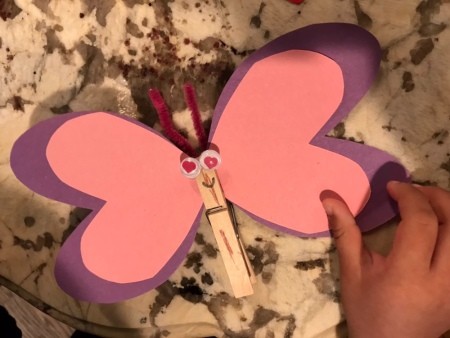
A spring clip style clothespin, scissors, construction paper, glue, a pipe cleaner, googly eyes, and a marker or other decorative embellishments are what you will need to make this fun flying butterfly with your toddler. Give it a try following the steps below.
Paint and your child's feet are the tools needed to make these pretty butterfly prints. This is a page about making footprint butterflies.
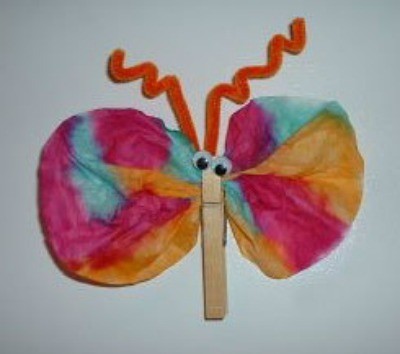
These coffee filter butterfly magnets are an inexpensive kids' craft that your children or students are sure to love. Make several using the instructions on this page.
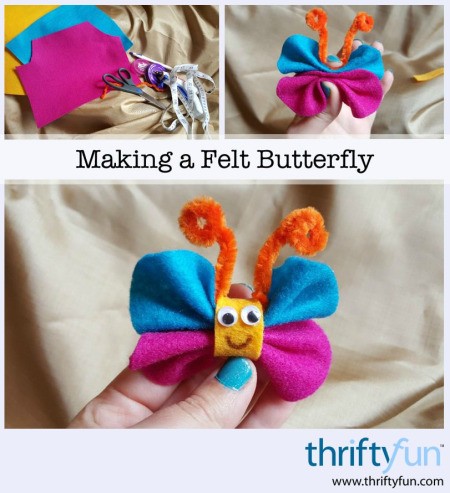
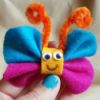
This is a page about making a felt butterfly. Felt is an easy material for kids to craft with.