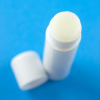
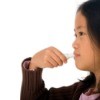
 My lips have been so dry lately and I couldn't find my usual lip stuff. Instead of going out and buying yet another one, I made some. I had all the ingredients, but that's because I make lots of homemade hand salves and foot balms, etc. The most expensive supply is the beeswax. You can buy the beeswax pastilles. I bought a huge 1 pound block with a 60% off coupon at the craft store (for about $5) and I grated it myself. It took some work and I don't recommend using a grater that you want to use again for food (it is hard to clean off). But, it has lasted a long time and I use it a lot. This lip balm worked perfectly. My lips are no longer dry and I saved a few bucks!
Total Time: 10 minutes, plus cooling time
Yield: 3 containers
Source: http://www.everydayroots.com
Supplies:
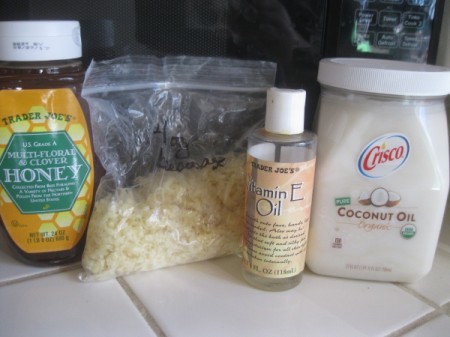
- 1 Tbsp grated beeswax, to act as your moisturizer
- 1 Tbsp coconut oil, to promote hydration
- a dash of honey - The instructions call for raw honey, but I had none. Regular honey worked, too.
- 2 vitamin E capsules (I didn't have the capsules, so I squirted in what seemed like 2 capsules-worth)
- pot to heat water
- clean can or glass jar
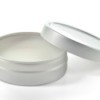
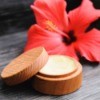
- containers to put your lip balm in
Steps:
- Heat a small pan with about 1 inch of water to simmering. I use an old pot that I don't cook with.
- Take a small clean metal can and add the grated beeswax. If you are opposed to using the can, you could use a glass jar. It's hard to clean out, but you could use it over and over again. Add the can or glass jar to the water.
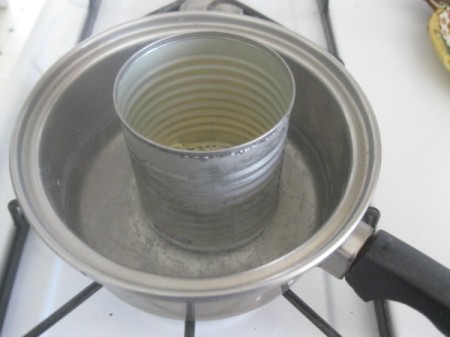
- Melt the beeswax about halfway.
- Add the coconut oil and honey. Stir with a plastic utensil, chopstick, or Popsicle stick. Once the mix hardens, it's hard to clean off. Use something that you don't mind tossing.
- Once melted, carefully take the can out of the pan of water. Use a towel or potholders.
- I squish my can so that it has a spout to pour out without getting the mixture all over my counter.

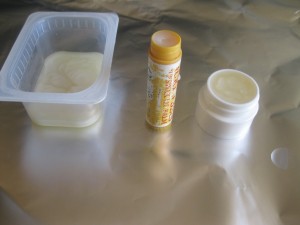
- Pour into your containers. I had a couple of old lip stuff containers. I also poured some into a cleaned baby food container.
- Don't touch your containers as they cool. It takes about 15 to 20 minutes to harden. Enjoy!
November 27, 20160 found this helpful
Top Comment
Just sacrifice a glass jar you will never need to use for anything else. That is much healthier than the can. I've made several lip glosses of varying flavors and ingredients and love the homemade kinds much more than purchased ones. Plus no unhealthy ingredients on your lips! Thanks for the post.