 This was a super simple project after weeks of time intensive, complicated ones. If you like easy crafts, this one is for you.
Total Time: About 4 hours
Yield: 1
Source: I saw something similar on Pinterest
Supplies:
- size G hook
- 3 oz double strand red crochet thread...or your choice of color ($.15)
- 1 round or squared off candy dish/candle holder ($.99)
- 1 embellishment for center of ribbon bow ($.05)
- 1 scrap ribbon to go around the jar top and make a bow.
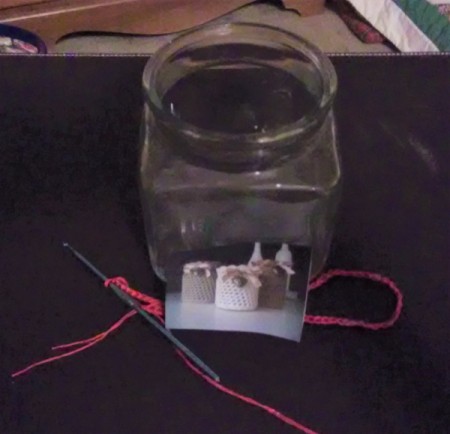
- 1 darning needle
- glue gun
Steps:
- My jar was 4" on each side, so I chained 20 stitches for each side. If your jar is larger or smaller, measure accordingly. I chose not to join and work in the round. I prefer the seam up the back. This allows me to add some in the back should my measurement be too small. Also, if it's too big, I have worked in vain. I made mine double crocheted for a more stable base. You can do it either way.
- When you make your last double, chain 3 and turn. Skip the first stitch on the base row, chain one, and make a double in the next one. Now you will see why it's important to have the stitches be an even number. Repeat this row/pattern till you get to the height you need for your jar.
- When you have the height you need, start a new row and don't chain anything. Instead, make a half double in the stitch that has a double on it from the last row. Make three other half doubles and slip stitch in the next double from the last row. This is called a scallop stitch and it will work out evenly when you follow this pattern.

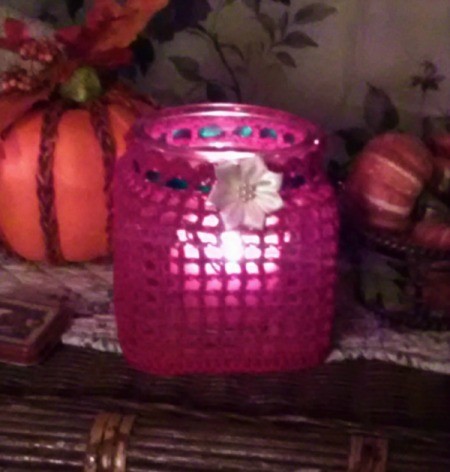
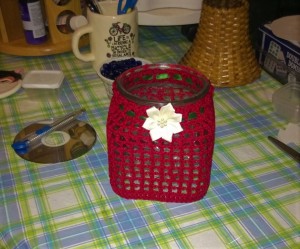
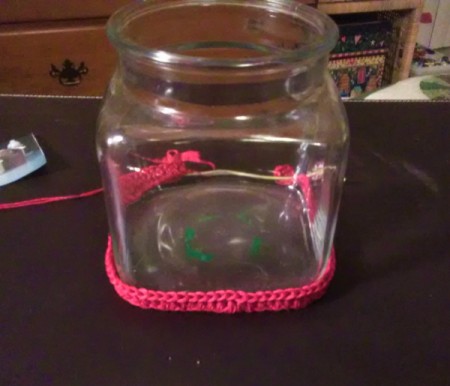
- When you have done the scallop row, leave about 12" of tail and use a darning needle to whip-stitch the back together. It will be like a "tube". Put your ribbon through the "grid" starting in the middle front. When you have that done, slip your work over the glass jar you chose. You may have to use a bit of hot glue to secure the base down. Sometimes when you draw the ribbon taught, it "lifts" the work up and you don't want that.
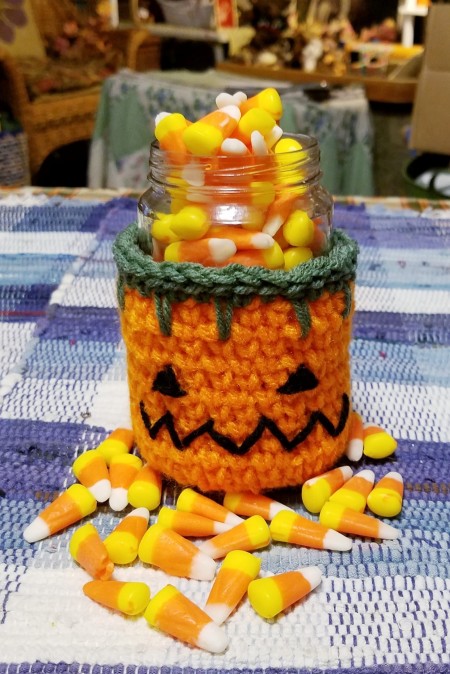
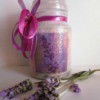
- I put a pretty petaled flower in the center of the ribbon. You can use an old gem, crochet a flower, use a country button, or anything you want. As you can see from the fuzzy photo (sorry low light is hard to get clear) you can use it for a candle, candy, a planter, or whatever you like. N-JOY!!