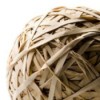
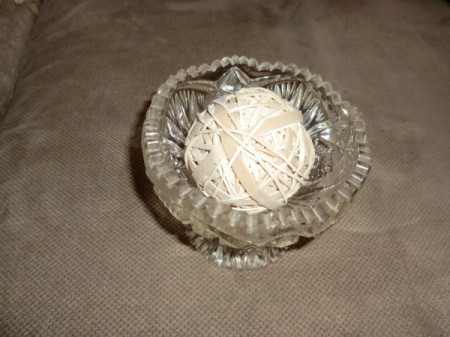
I have always been tempted to buy the rubber band balls at the office stores. They seem like a decent way to store extra rubber bands and honestly just seem like a fun thing to play around with too! But instead of spending the money on one I decided to make my own since I had a huge bag of assorted rubber bands laying around.
Approximate Time: 30 minutes
Marble or bouncy ball core: If you choose to use a marble or bouncy ball, you will start your rubber band ball by wrapping a rubber band around your object. Then turn it and wrap one across your first one, creating an X.
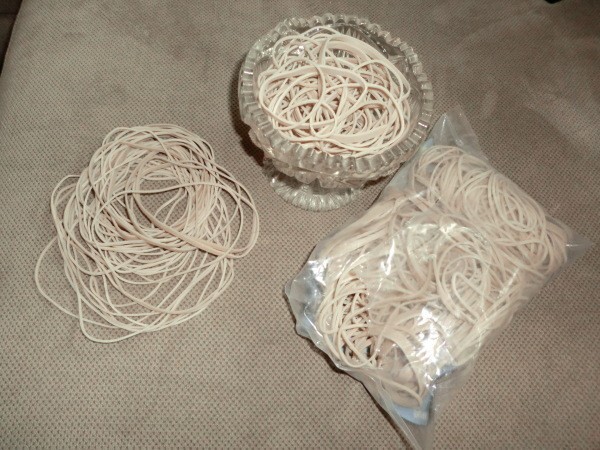
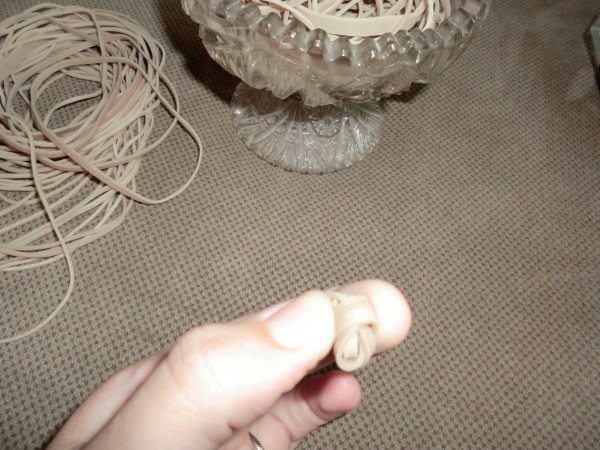
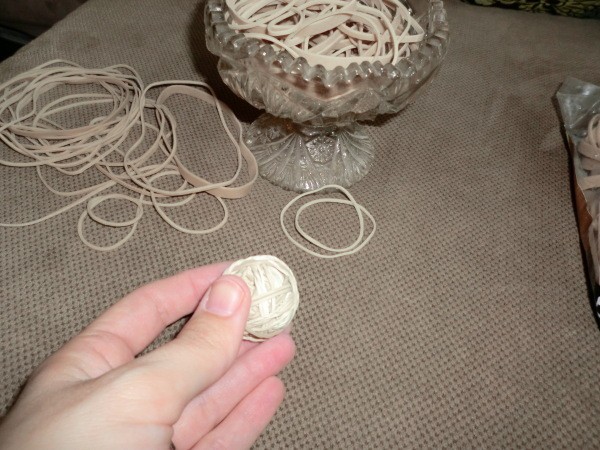
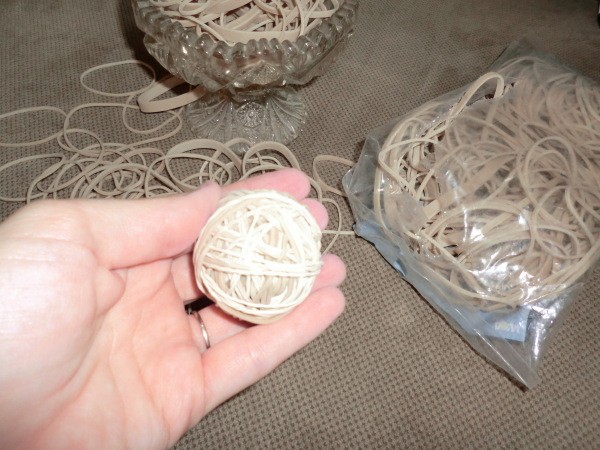
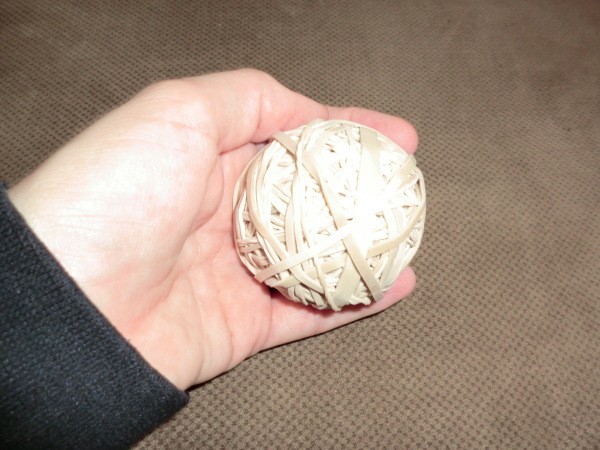
Rubber band core: If you choose to make your core with rubber bands, it is best to choose a few wider, thicker rubber bands. Start by flattening your rubber band and then rolling it up into a ball shape. Then take another one and wrap it around to secure it in the ball. Then turn your core and wrap a rubber band across your first one, creating an X.
Note: One thing I discovered is the rubber bands really dried out my fingers and I needed to apply lotion afterwards. It was fun to make though! :)
By lalala... from Port Orchard, WA
Add your voice! Click below to comment. ThriftyFun is powered by your wisdom!
I used to work at an office where our mail (we got lots of letters) was held together by rubber bands when delivered. I made these rubber band balls as a way to keep the rubber bands together in one place, nice and neat.
Add your voice! Click below to comment. ThriftyFun is powered by your wisdom!