social

Repairing a Sisal Wrapped Cat Scratching Post

Cat Scratching Sisal Post
Once an active cat has taken to a scratching post, they can tear it to shreds in a few months. Repairing it is an economical way of keeping your cat happily scratching the post instead of your furniture. This is a page about repairing a sisal wrapped cat scratching post.
Advertisement


Bronze Post Medal for All Time! 190 Posts
January 1, 2014

Finished post.
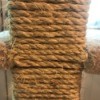
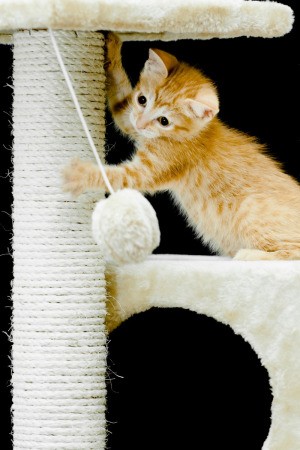
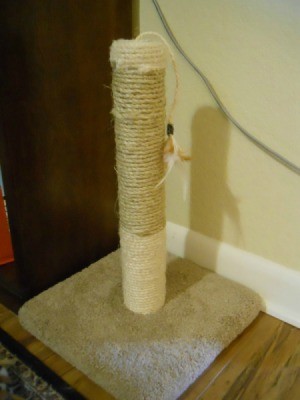
My kitties really love their sisal scratching post. They had finally shredded the the sisal in the area that they use the most. Rather than buy a new one, we decided to repair this one. I purchased a spool of 1/4 inch sisal from Lowe's.

Supplies:

  • existing sisal covered scratching post
  • spool of sisal - make sure you purchase a brand that is recommended for cat posts. Some sisal has been chemically treated; you do not want that kind. You can smell the spool at a home improvement store to check if the labeling does not say.
  • scissors
  • hot glue gun and glue sticks
Role of 1/4 inch sisal cord.
 

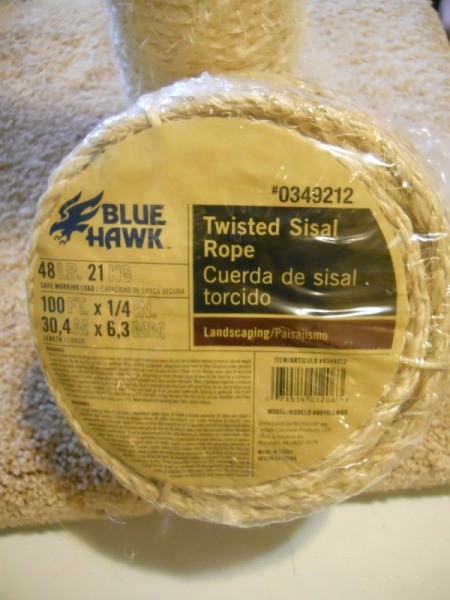
Make sure that you purchase sisal that is intended for this purpose or that has not been treated. I recently redid this post a second time with the incorrect type and had to remove the new sisal. On close examination I noticed a very distinctive chemical odor. The cats would not use the most recent fix until I removed the new material and used sisal approved for scratching posts.

Advertisement

Steps:

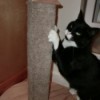
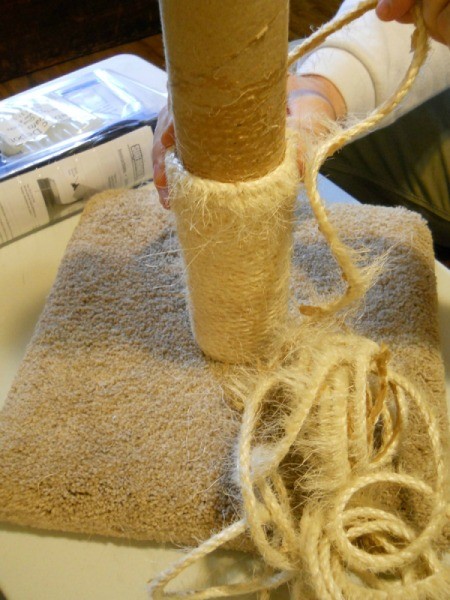
This can be done by one person, but we found that it worked much better with two. One person applied the glue and the other attached the sisal, adjusting and tightening as we went.

  1. Cut the damaged sisal and remove from the post down to the intact part at the bottom.
  2. Unwinding damaged sisal.
     
  3. Cut off the unwound sisal.
  4. Cutting end of stripped sisal.
     
    Stripped post.
     
  5. Begin running a bead of glue around the circumference of the post and wrap the sisal tightly, pressing into the glue.
  6. Gluing the sisal onto post.
     
    Advertisement

  7. Continue until you either reach the top, or in our case the intact sisal near the top. Cut the sisal and glue the end. We needed to insert a small length to fill a bit of a gap where we ended. Now your kitties are back in the scratching post business.
  8. Pressing in the end of sisal.
     
    Closeup of finished end.
     

I did notice it took a day or so for them to start using the repaired post. I assume that either the glue or the sisal had an odor that needed to dissipate first.

Comments


Bronze Feedback Medal for All Time! 135 Feedbacks
January 1, 20141 found this helpful

Thanks for this great tip.... and the step by step instructions. I'm going to try it. I bought one of those cardboard scratching pads and even put a bit of catnip on it, but my kitty prefers his posts.

 
October 30, 20180 found this helpful

Thanks! I have been wanting to do this exact thing for a while. Your step by step instruction makes me want to do it now...I did't think of the glue all the way around..

 
February 25, 20190 found this helpful

What type of glue did you use?


Silver Post Medal for All Time! 267 Posts
March 5, 20191 found this helpful

This craft uses a hot glue gun so any glue gun sticks would work fine.

 
Read More Comments
Categories
Pets Cats Cat ToysJanuary 6, 2014
Pages
More
🍀
St. Patrick's Ideas!
🎂
Birthday Ideas!
💘
Valentine's Ideas!
Facebook
Pinterest
YouTube
Instagram
Categories
Better LivingBudget & FinanceBusiness and LegalComputersConsumer AdviceCoronavirusCraftsEducationEntertainmentFood and RecipesHealth & BeautyHolidays and PartiesHome and GardenMake Your OwnOrganizingParentingPetsPhotosTravel and RecreationWeddings
Published by ThriftyFun.
Desktop Page | View Mobile
Disclaimer | Privacy Policy | Contact Us
Generated 2024-01-23 13:32:15 in 13 secs. ⛅️️
© 1997-2024 by Cumuli, Inc. All Rights Reserved.
https://www.thriftyfun.com/Repairing-a-Sisal-Wrapped-Cat-Scratching-Post-1.html