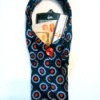
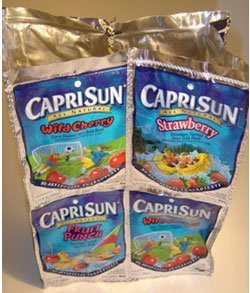
This gift bag is easy to make and durable. It makes good use of Kool-Jammer or Capri Sun pouches. It's very similar to the lunch bag I published in the past, but instead of a Velcro enclosure, it uses eyelets and ribbon to make a gift bag handle. It's a bit of work, but it makes an extra special gift bag that can be reused as a purse.
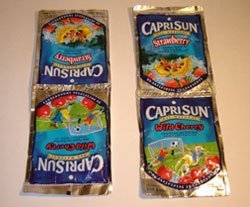
After the juice has been drank use an x-acto knife to slit the bottom of the juice pouch.
Clean the inside of each pouch with hot soapy water and let dry.
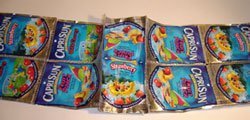
Take four juice pouches and sew them together 2 by 2.
Do the same with four more juice pouches, having two sets of four. These are the front and back of the bag.
Sew two juice pouches together, one above the other, two tall and one wide.
Do the same to two more juice pouches, have two sets of two. These are the sides of the bag
For the bottom of the bag you will need to determine how long it will need to be by taking two juice pouches and laying them next to the side piece (the set of four juice pouches). Instead of having one juice pouch full size and having a small part of another showing for the bottom I laid them on top of each other and sewed down the middle of them both to make it the appropriate length. Then I cut off the extra bit, leaving approximately and 1/2", then sewed that end down flat.
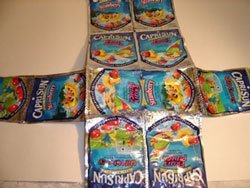
The next step is to sew the bottom to one of the sets of four.
Sew the other set of four to the other side.
Next sew one of the sets of two to the bottom, then the other.
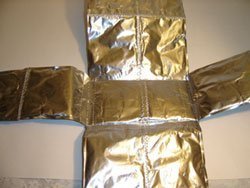
Note: If you like the look of the silver, you could consider using that as the outside of the bag.
Now sew all the ends together, the front to the sides and the back to the sides.
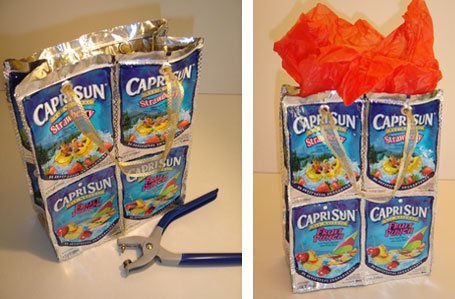
Punch two holes slightly smaller than your eyelet about 3-4 inches apart on the front and the same on the back side of the bag, four total.
Place your eyelets and secure them with the pliers.
Find some yarn, string, ribbon or raffia to make the handles on your gift bag, be sure to make the knot big enough on each end so that the handles do not get pulled out through the eyelets.

Add your voice! Click below to comment. ThriftyFun is powered by your wisdom!
Ok, stupid question, here goes. I can sew this bag on my regular sewing machine? With a regular needle? It doesn't seem like it would hold together. Aren't the Capri sun bags just made from some type of foil? Sorry if I sound dense LOLOL
Sandy from Pittsburgh
That's really cool! It's amazing the kinds of things you can make out of anything! Really cute, thanks!

Good Question Sandy. Yes you can use your regular sewing machine. I have used both an old gear driven Singer and a Featherweight Singer. Sometimes as layers get thicker it can be a bit difficult but I have made it work. Although on the gear driven it worked much better.
A few years ago my sister made my daughter a bag made from Mountain Dew cans. This reminded me of hers, only hers she had to crochet them together.
This is a cute idea!
Add your voice! Click below to comment. ThriftyFun is powered by your wisdom!