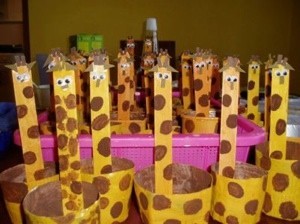
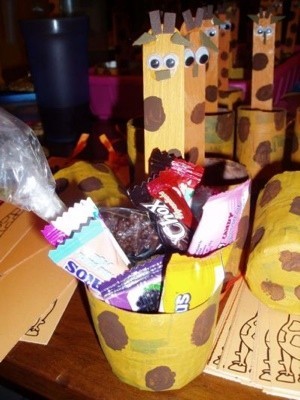
Fun paper-mache animal party favor made from recycled materials. Easy enough for kids to make, too!
Approximate Time: 2 hours (including drying time)
Supplies:
- 1 tongue depressor/ice cream stick*
- 1 pair wiggly craft eyes*
- 1 small piece brown fun foam*
- newspaper or other recycled paper
- flour
- water
- bowl
- craft glue
- orange and brown paints
- paintbrush or cotton swab
- small plastic cup*
*Use one for each treat cup you wish to make.
Instructions:
- Cut/tear strips of recycled paper about 6” long. Newspaper is typically used for paper- mache, but brown packing paper, used wrapping paper, or any scrap paper can be used.
- Make paper-mache "paste" with flour and water, just enough flour to make the water milky. Too much flour leaves white "gunk" on the dried project.
- Dip paper strips into paste, squeeze out excess water, and begin wrapping cup. Cover bottom of cup first. Wrap evenly, covering the cup 3-4 times. The more coverage, the better. Your finished cup will be sturdier.
Tip: Be sure to stagger each layer as to cover "seams." Smooth any bumps by applying paste with your fingers. Also, make sure each layer is "taut."
- Set the covered cup near a fan or window to dry. Don't try to remove the covering until it is completely dry.
- After the paper cup is completely dry, carefully slide the paper cup off the molding cup. Reshape if needed.
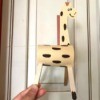
- Paint your cup and ice cream stick! Acrylic paints are best for coverage. First cover with orange paint. When dry, add brown giraffe spots to the cup and the stick. (When dry, you can also spray with a gloss or sealant for a shiny look.)
- Cut foam into ears, horns, and a nose. Be creative with your shapes. Give your giraffe personality! Glue on eyes and the foam pieces and admire your work. Pretty cute, cheap, treat cup, huh?
By Kelli from Sentani, Indonesia