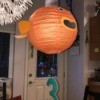
 These are easy and beautiful paper mache balloon lanterns. They work great as party decorations, house decorations, and out door lanterns for the summer time.
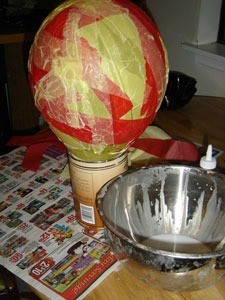
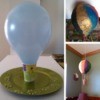
WARNING: Do not leave this candle unattended. This lantern is made off paper and is highly flammable. When you place the candle inside, feel around the lantern and make sure you can not feel heat on it, just coming out the top. Battery operated tea lights would work as well and be safer.
Cute, but so tippity, so flammable? you're right, keep it right with you. Bet the light looks nice through the tissue.
They would make nice centerpieces at showers or weddings if you filled them with mints or nuts.
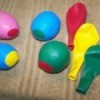
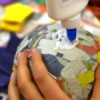
This is a great way to keep my 2 and 4 year old entertained for an afternoon, and to make it easier to keep the paper from twisting and scrunching, drip some glue on the balloon, then lay down the piece of paper, then use your finger to smooth glue over the top. This is especially fun for kids who love to get messy! There are some many uses for this project, and the one we just made will hold my daughter's hair bows and clips!
This is a great way to keep my 2 and 4 year old entertained for an afternoon, and to make it easier to keep the paper from twisting and scrunching, drip some glue on the balloon, then lay down the piece of paper, then use your finger to smooth glue over the top. This is especially fun for kids who love to get messy! There are som many uses for this project... and the one we just made will hold my daughter's hairbows and clips!