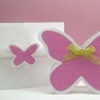
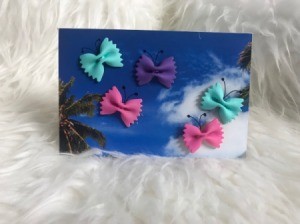
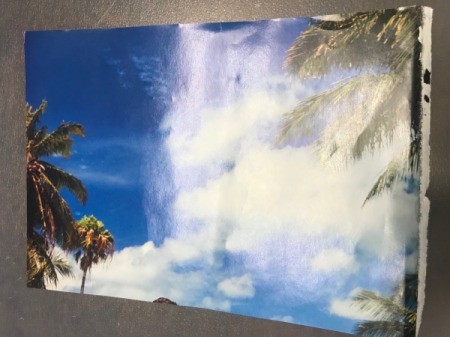
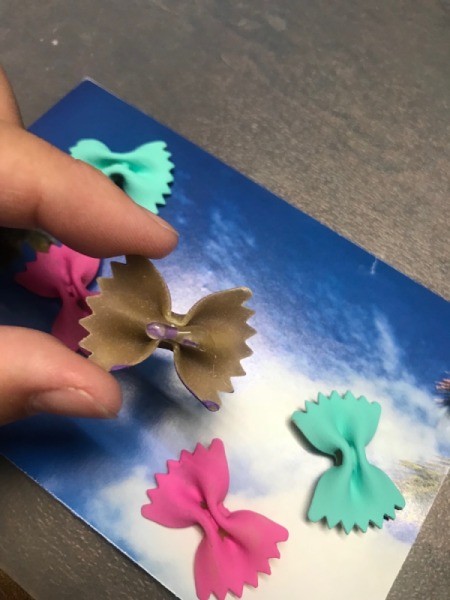
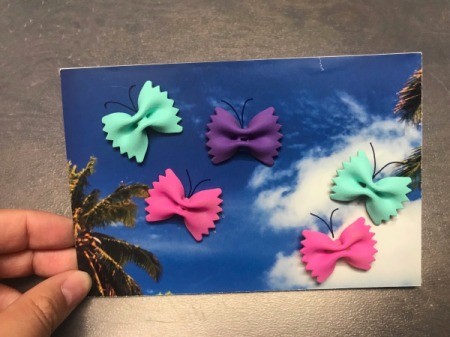
 This greeting card is a butterfly themed card. It can be used as a "Feel Better" card or is essentially universal for any occasion: birthday card, just because, condolences card, etc.
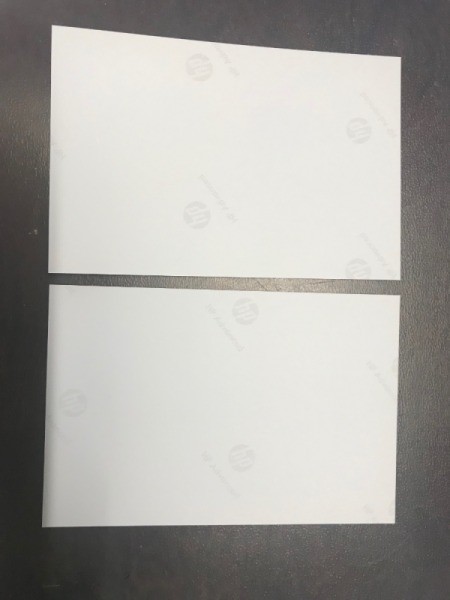
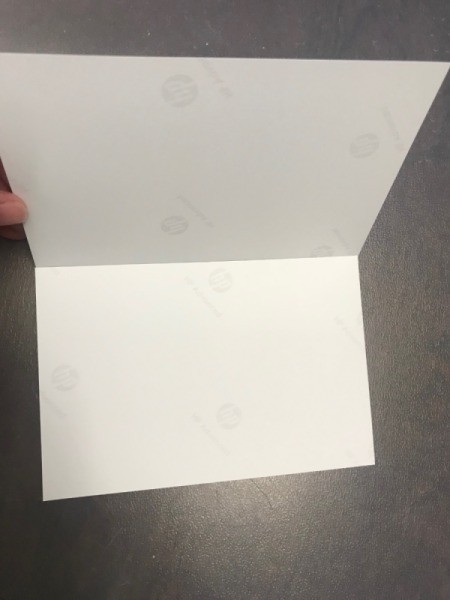
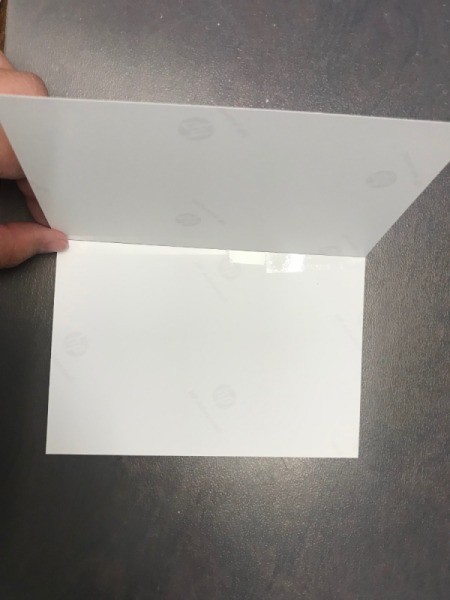
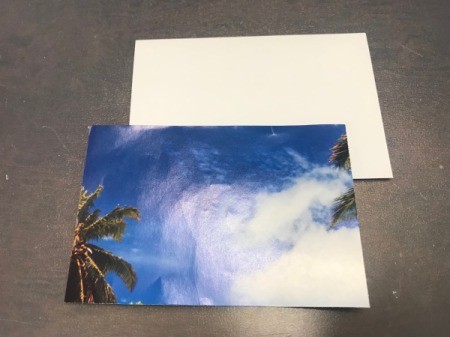
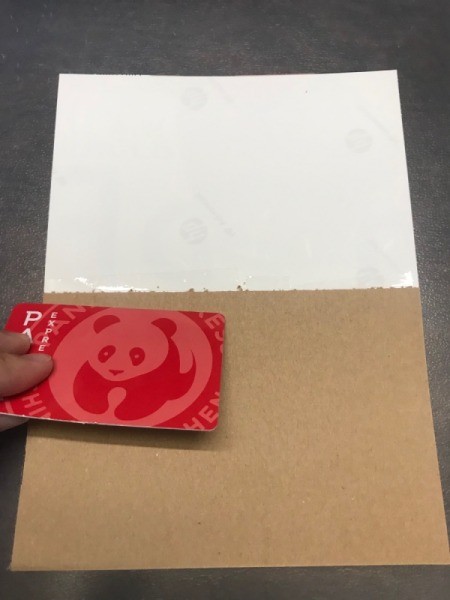
*With my printer, I was given a complimentary pack of photo paper. I don't print photos at home because that would consume a lot of ink. I turned photo paper into a greeting card.
Total Time: 25 minutes
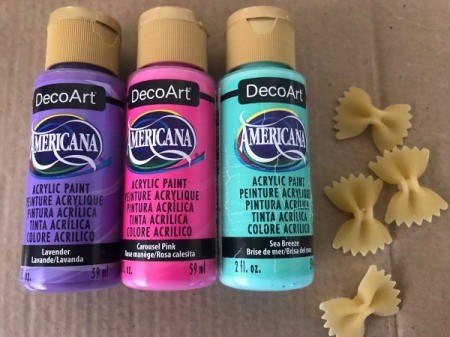
Supplies:
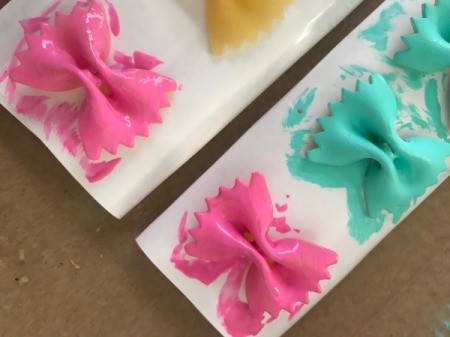
Steps:


Add your voice! Click below to comment. ThriftyFun is powered by your wisdom!