R Barbara
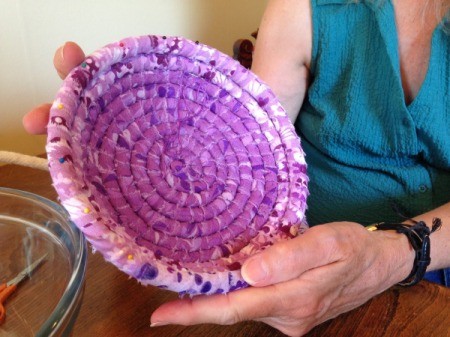
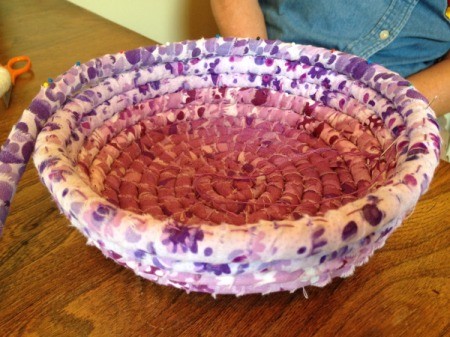
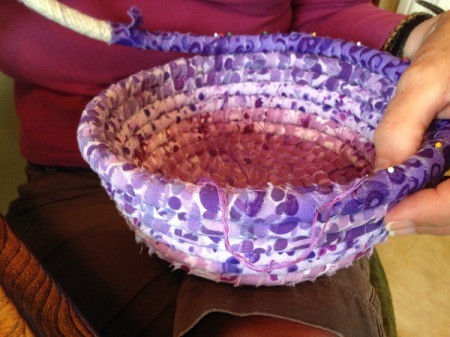
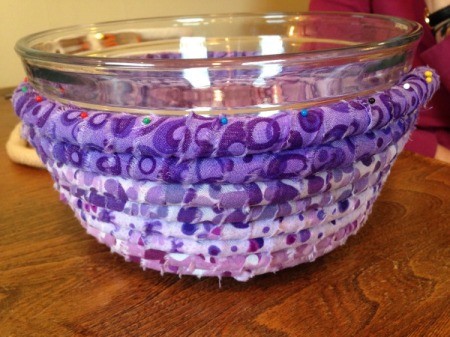
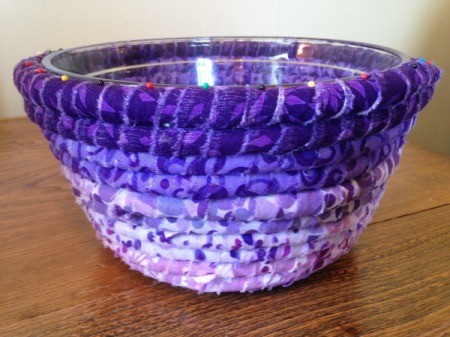
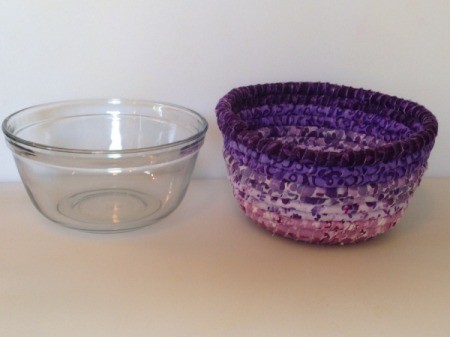
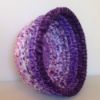
Bronze Post Medal for All Time! 190 Posts 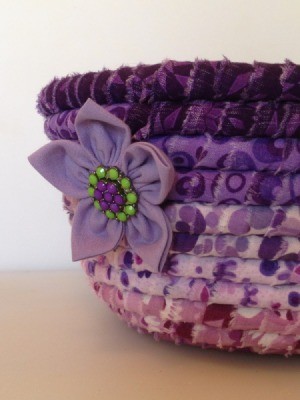 I saw a pretty coiled rag bowl on Pinterest and decided to make one for myself. Here it is. I hope you are inspired to make one too. I really like how it turned out.
Total Time: 5+ hours
Yield: 1
Source: the original site is: weefolkart.com
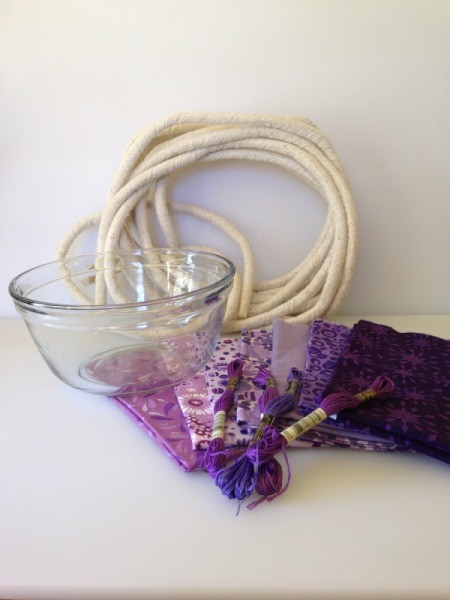
Supplies:
- 1 bowl, mine was 5 1/2" at base, 8 1/2", at the top and 5" tall. You can use any size and adjust your supply needs as appropriate.
- 9 yards of 1/2 inch upholstery cording
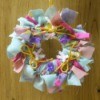
- 6 fat quarters, the solid was not used for the bowl but to make the decorative flower
- embroidery floss
- pins
- needles
- scissors
Steps:
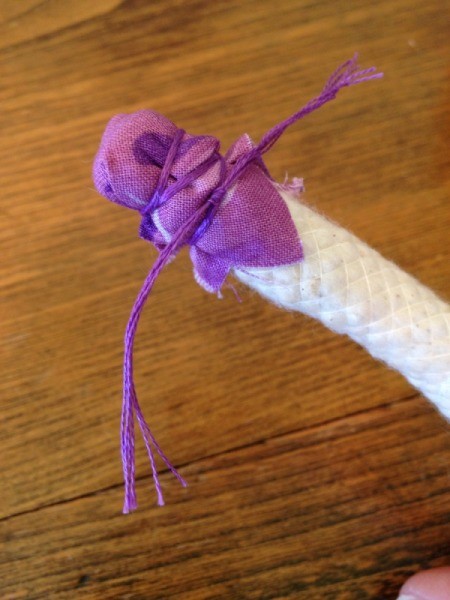
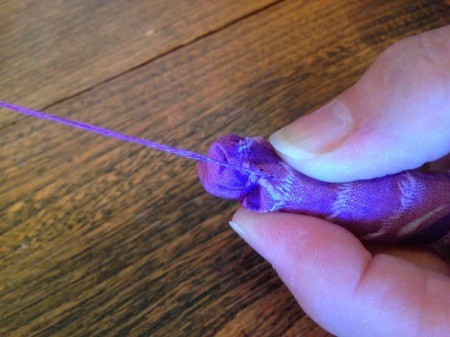
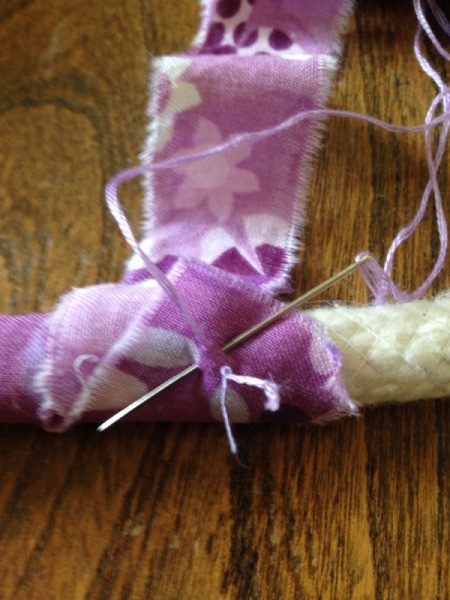
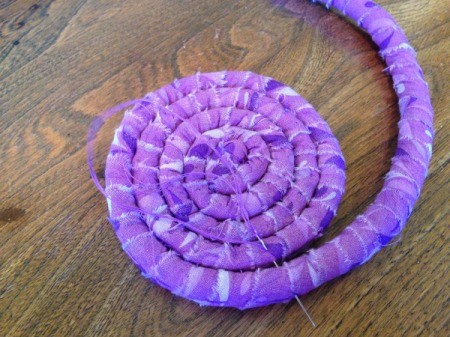
- Choose your first fabric and cut a 2" square. You will wrap this around the starting end of your cord. Holding the square wrap it with embroidery floss to hold it in place.
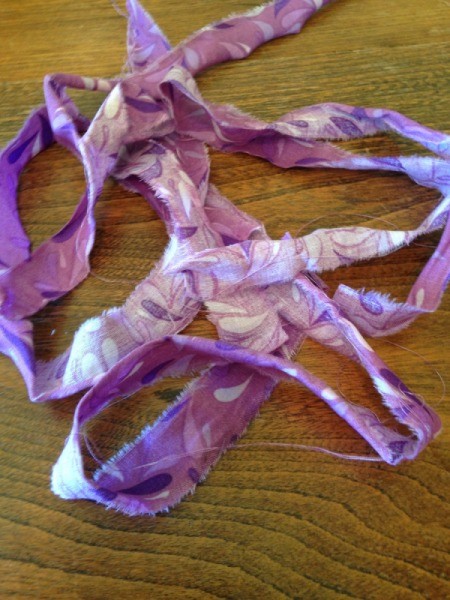
- Tear 1 inch strips of your fabric. The number you will need of each will vary with the size of your bowl. I used a minimum of 5 strips per color. I tore additional strips as I needed them.
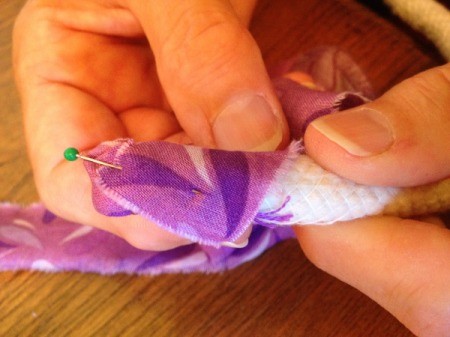
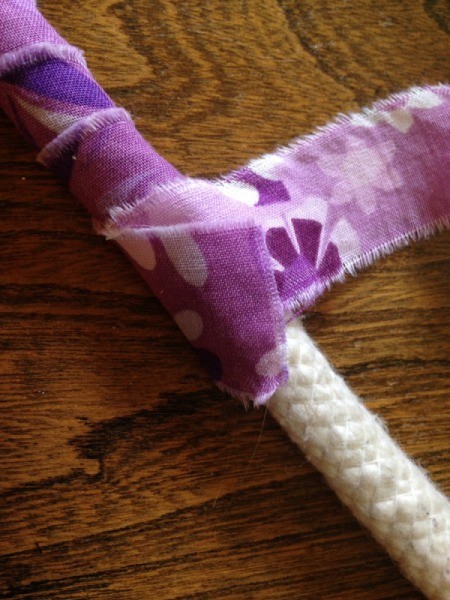
- Begin wrapping the cord using your first color. You can pin the beginning of the strip in place until you have completed the first couple of wraps, then go back and sew it to the cording. As you wrap do it at a slight angle and cover approximately 1/2 inch of the previous wrap. Continue wrapping until you are about 1-2 inches from the end of you strip, leaving this tail to incorporate your next strip.
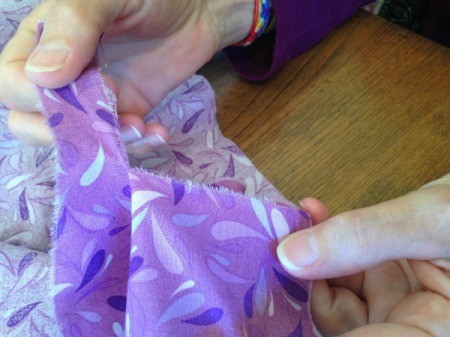
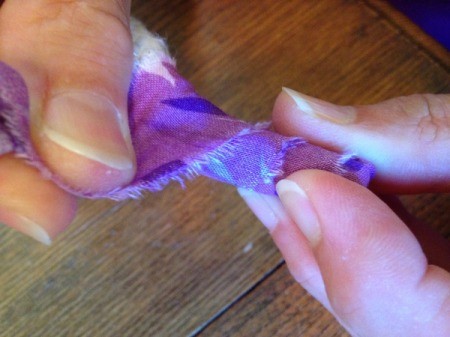
- Adding a New Fabric Strip: Stop wrapping about 1 to 2 inches from the end of the strip. Lay the next strip of fabric, right side down to wrong side of strip in use. Continuing wrapping until the tail of the previous strip comes up and tack the two strips onto the cording using embroidery floss. Then continue wrapping with your new strip. For more help with adding a new strip go here: Adding a New Fabric Strip to a Coiled Project
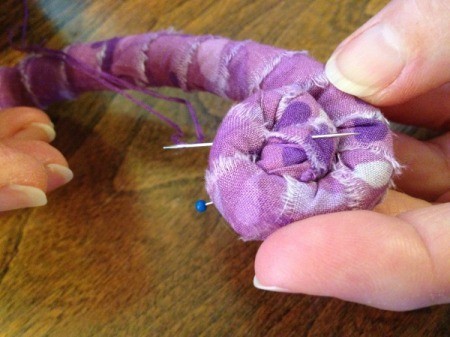
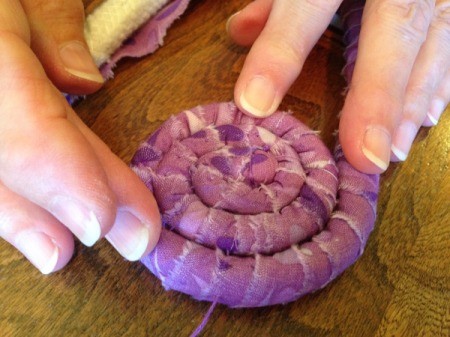
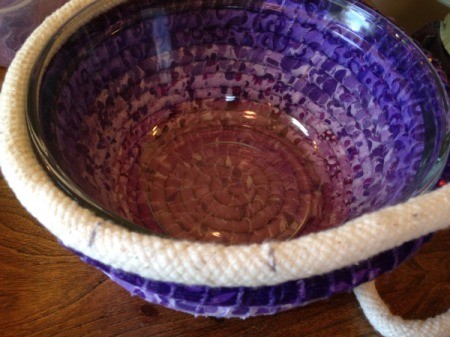
- Begin by coiling your wrapped cordage to cover the bottom of your bowl. You will be pinning and tacking as you go. I followed the tacking method described on the original website and tacked my work by bringing the thread down through the new coil and coming up about 1/3 to 1/2 of the way down the previous one. My stitches are about 1/4 inch in length. We will talk more about the tacking method when we begin to work up the side of the bowl. For more help on tacking go here: Tack Stitching a Coil Project
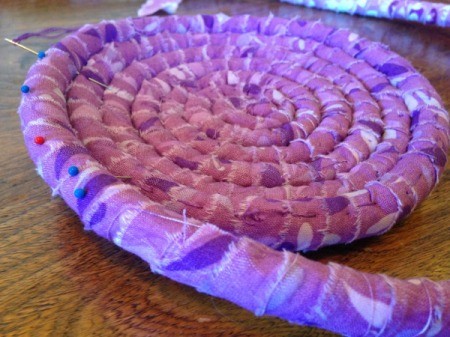
- Continue coiling, pinning, tacking, and adding new strips until your disk covers the bottom of your bowl.
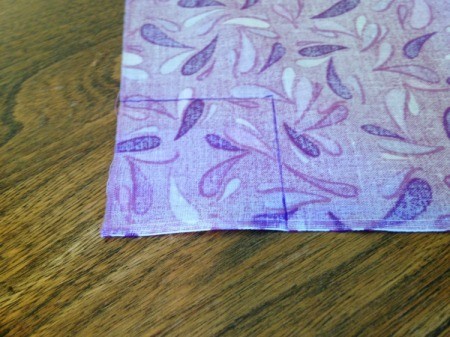
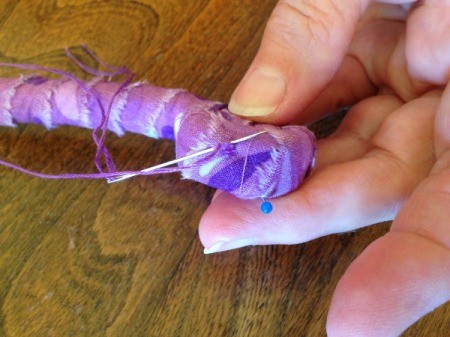
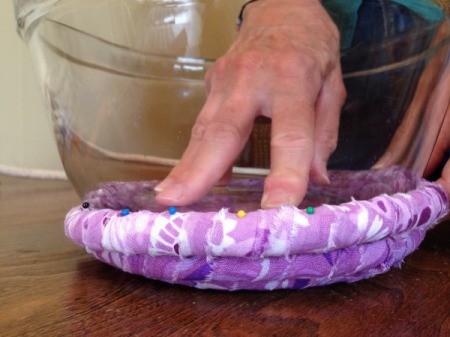
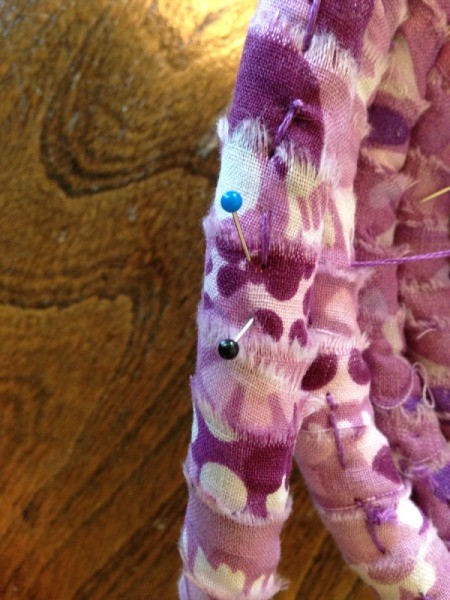
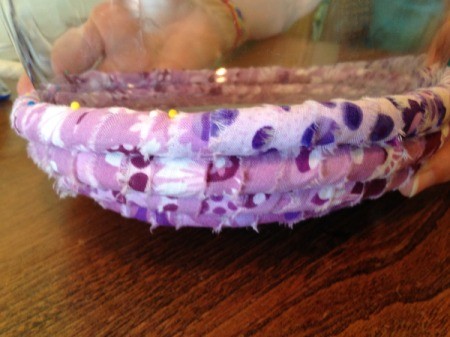
- Now you will begin wrapping up the side of the bowl. With the bowl on top of the coiled base, begin wrapping the cording around the side of the bowl and pin in place. Tack the pinned area, then place the bowl back inside the coil and wrap another row. TIP: When you get to the end of a section to pin, if you put in 2 pins going in at opposite angles, it will hold better. (See photo below.)
- Continue wrapping, pinning and then tacking the coils together, as you work your way up the height of the bowl. Place your stitches so that they are covered by succeeding coils.
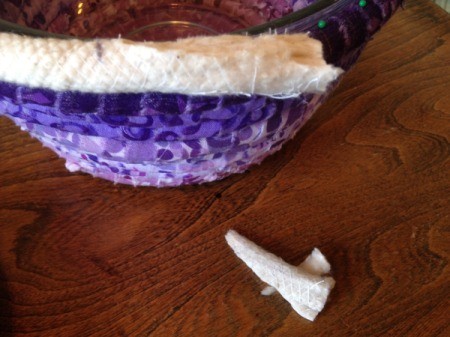
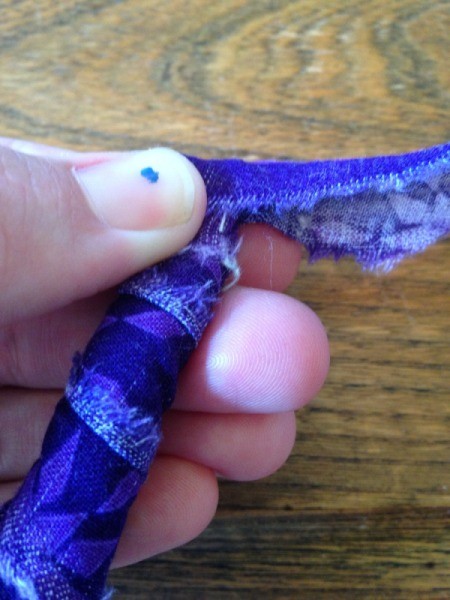
- When you get to the final coil you will need to finish the bowl, mark the last 2 inches of cording and cut off any excess. Then trim the marked area with a diagonal cut, making it thinnest at the end, as shown below. Because you are cutting through the woven casing the cording will puff up, that is OK you compress it as you do your final wrapping.
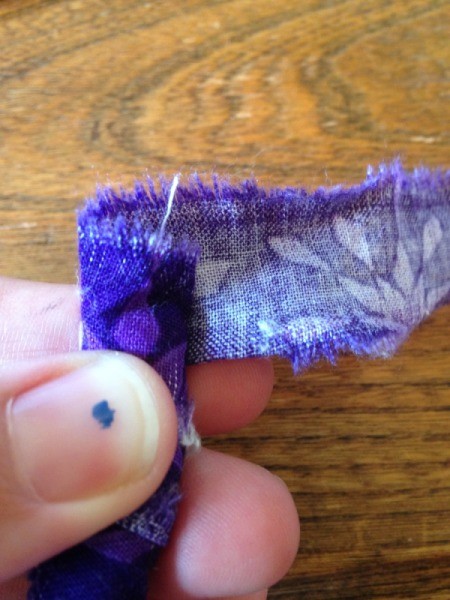
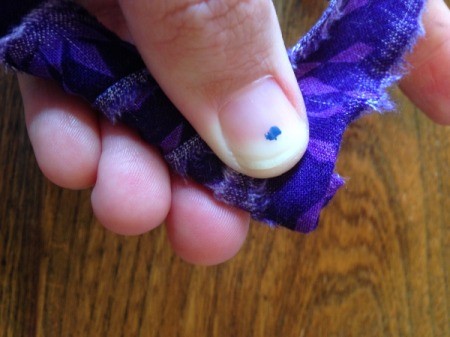
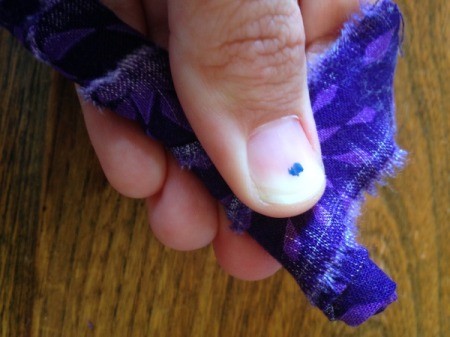
- Wrap the fabric just past the end of the cord, making sure to keep the fabric tightly wrapped. Fold the excess fabric back over the end of the cord, then start wrapping the fabric back down the cord a few wraps. Sew in place and trim off excess fabric.
- Continue coiling around the bowl as before. When you get to the end, sew the end of the cord securely to the bowl.
- Optional: This Folded Fabric Flower pin makes a great decorative addition to this bowl.

Add your voice! Click below to comment. ThriftyFun is powered by your wisdom!
Ginnee
Bronze Feedback Medal for All Time! 135 Feedbacks July 19, 20152 found this helpful
Just beautiful! I love the colors you chose and the flower just sets it off perfectly.
Donna
Gold Post Medal for All Time! 555 Posts July 26, 20161 found this helpful
Nice! I want to make coiled kitchen chair cushions like this but always thought it involved braiding which I can't seem to do! You have my vote of thanks!
July 24, 20200 found this helpful
I used to make these basket/bowls a lot several years ago. I really enjoyed making them. I have seen a lot of them on the Internet where they have sewn the baskets but theyre not the same. When I came to the end of the strips of fabric I tied the ends together in a knot and then continues wrapping the coil. It was relaxing and they made really nice gifts. The one you have made here is really pretty and you did a great job.
Add your voice! Click below to comment. ThriftyFun is powered by your wisdom!