 Recently, my girlfriends and I were part of our dear friend's wedding. Everyone decided to get lash lifts and lash extensions. I was interested in a long-lasting lash lift so I wouldn't have to curl my lashes anymore, however, the $80 base price was appalling. I decided to get an at-home kit, which is essentially a similar process to giving yourself a hair perm. I got a full kit for $18, which has enough supplies to do at least 6 lash lifts. At $3 a lash lift, that's a lot of money saved. Here are some tips on how to do a great lash lift at home.
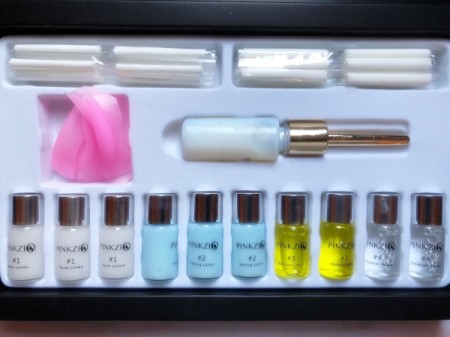
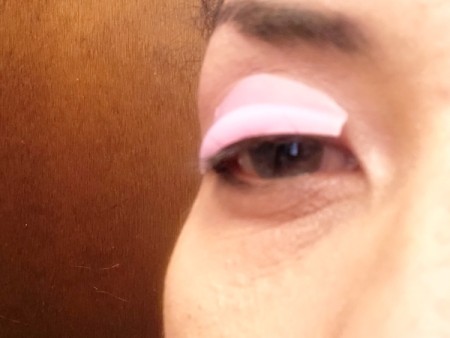
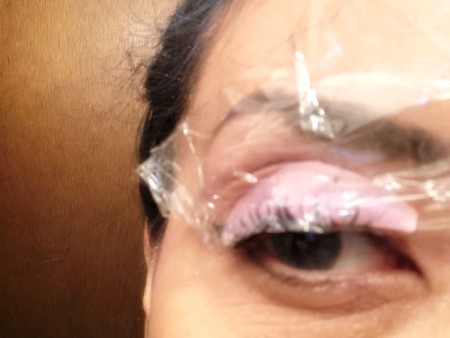
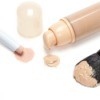
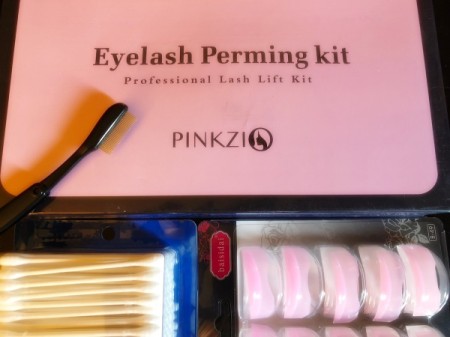
The kit comes with most of what you need. Some come with only small lash pads. Since the size dictates what kind of curl you get, getting bigger pads is optional. The smaller the bump on the pad, the higher the lift you get. A larger bump will give you more of a curve and a more natural lift. I got a pack of larger pads for a few bucks. The first time I did this, I did one eye at a time. Now I do both at the same time, which saves my day!
Total Time: 1 hour
Supplies:
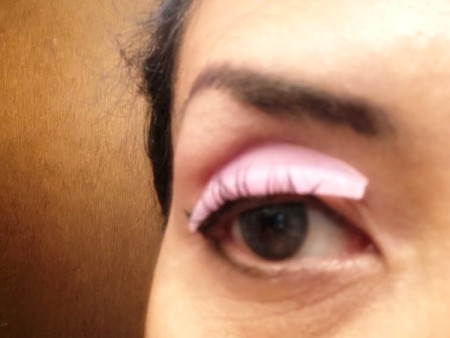
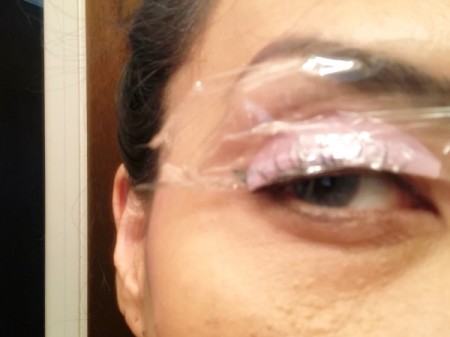
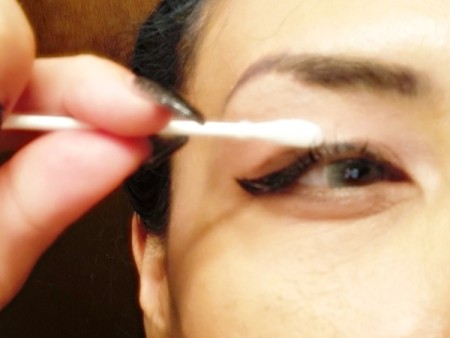
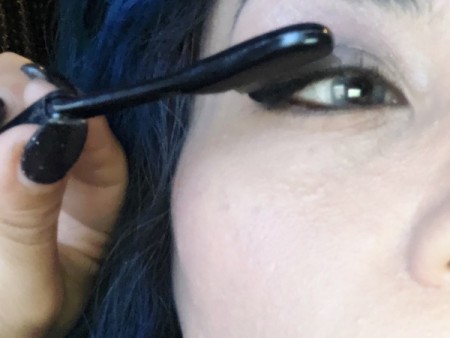
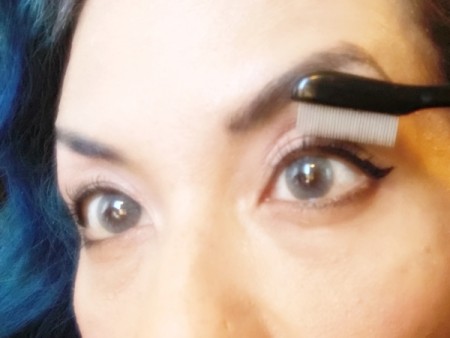
Steps: