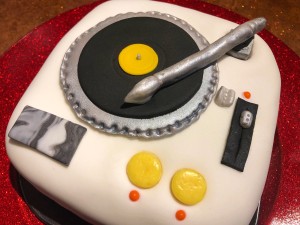
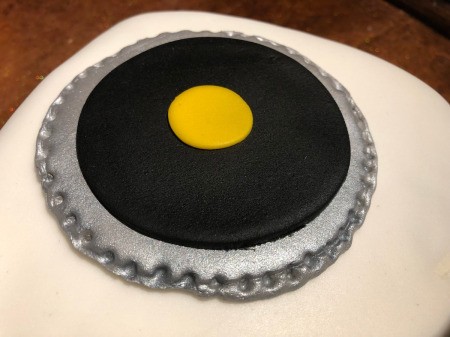
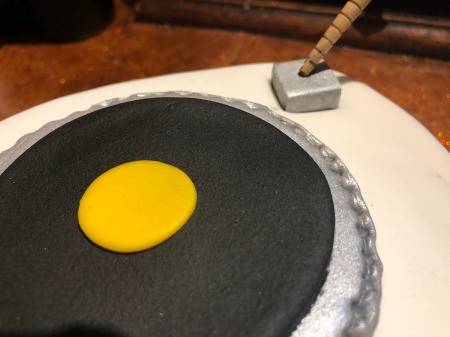
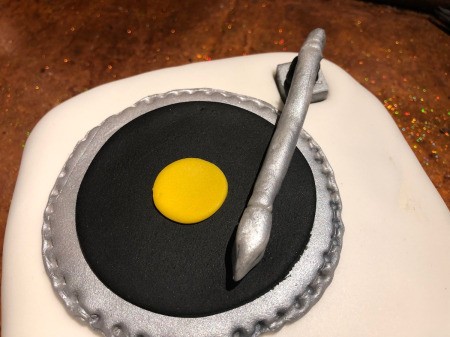
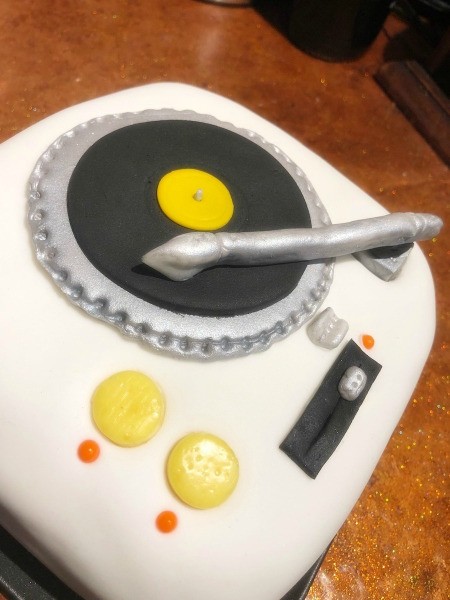
 I'm not a professional baker or cake decorator, but I do love making personalized desserts for my friends and family. I made this cake for my band bassist who adores collecting vinyl records (and playing them on his turntable all day). I've made it so the tonearm can be moved on and off the record, while staying 100% edible.
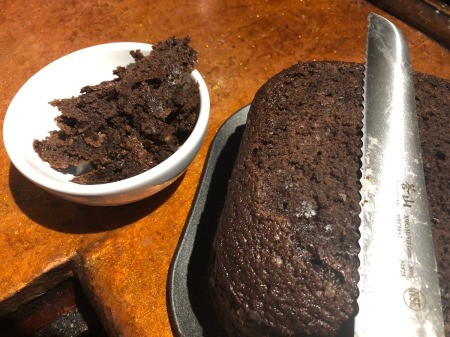
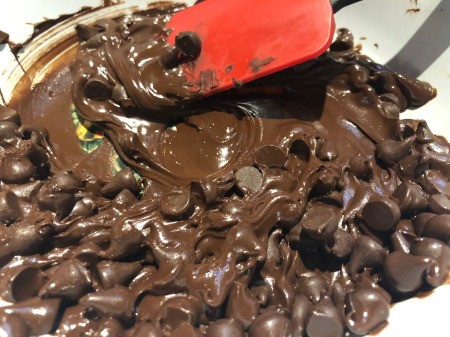
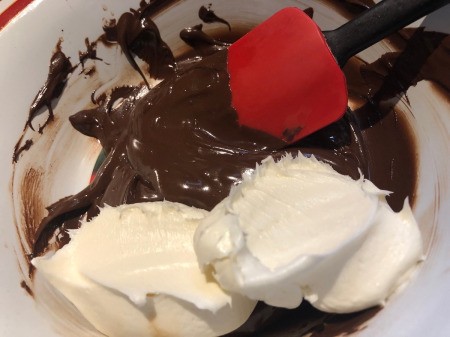
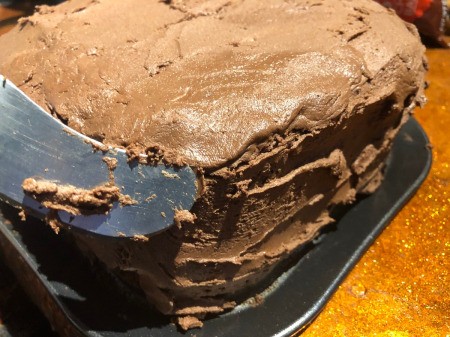
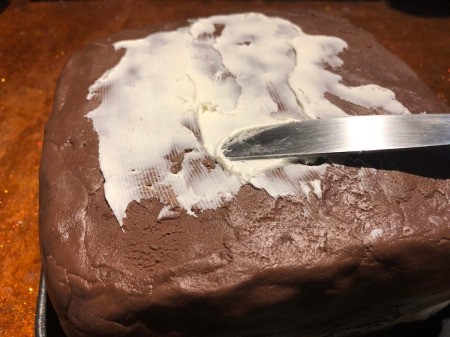
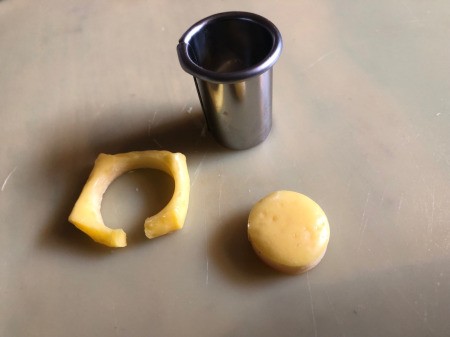
I used my recipe for a standard dense cake where I used one less egg, added some applesauce, and 1/4 cup melted chocolate chips. This makes for a good stable cake to decorate. You can use a box cake mix and use egg yolks instead of whole eggs, and add milk instead of water.
Total Time: 3 hours
Yield: 1 very fun cake!
Source: My crazy head ;)
Link: Video of this cake in action!
Supplies:
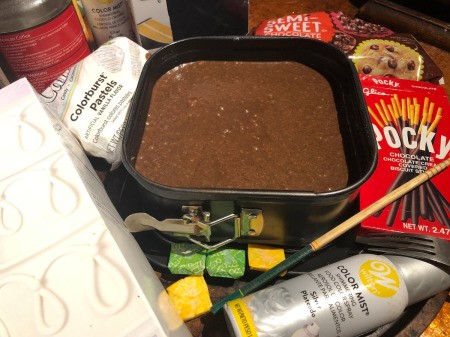
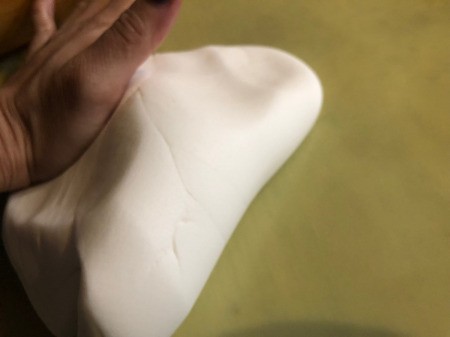
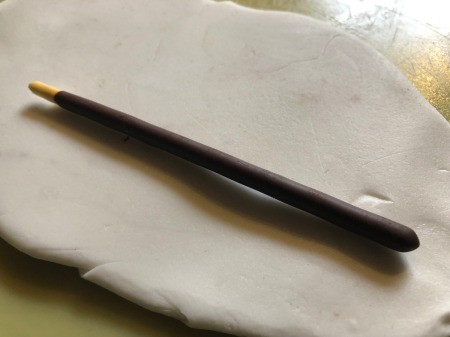
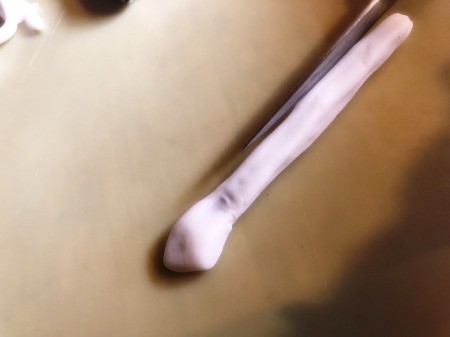
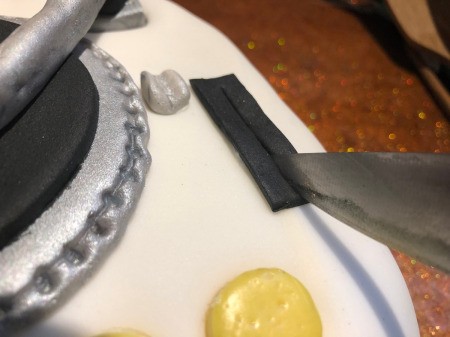
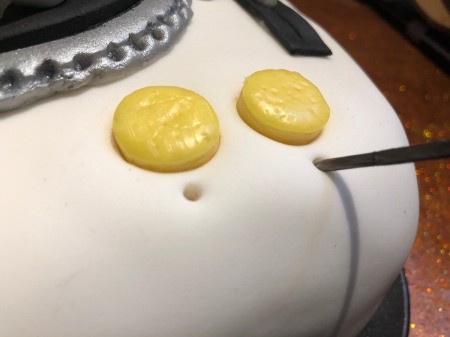
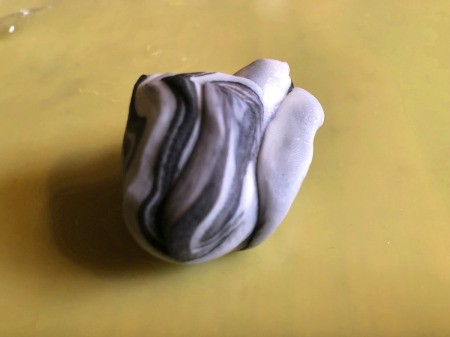
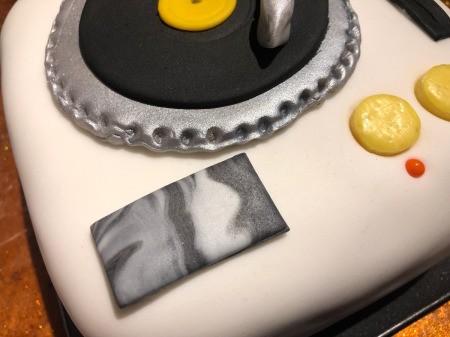
Steps:


Its a very pretty cake. Thank you for the instructions. I really love it.
Attosa,
WOW, what a spectacular master piece you made!
What a perfect cake for the band bassist who collects vinyl records.
You sure did one incredibly great job with this special cake.
The details are really something else. It's beautiful.
Thank you for sharing "how to", and the video.
It's real cute, Attosa! Love it.
Its a very pretty cake. Thank you for the instructions. I really love it.