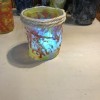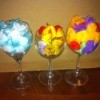
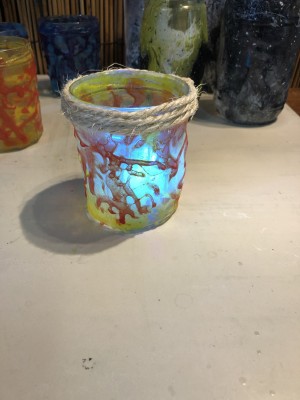
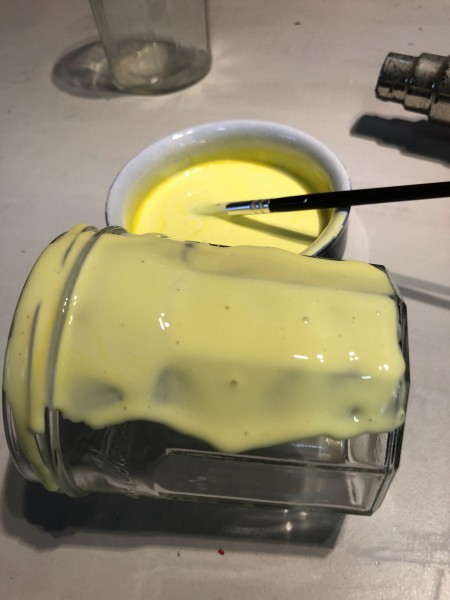
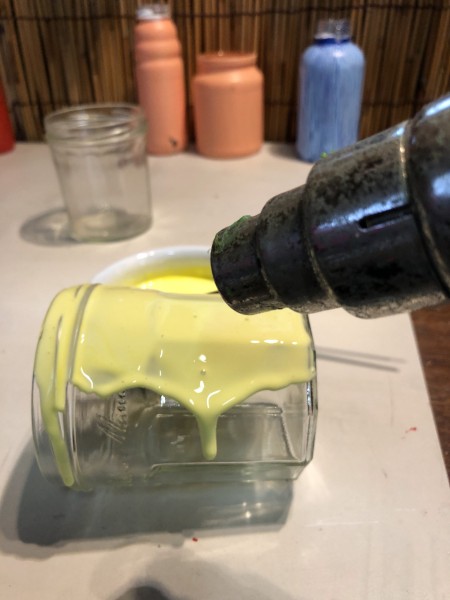
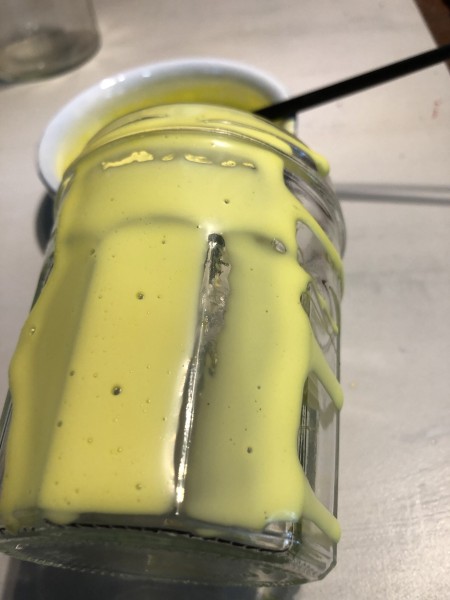
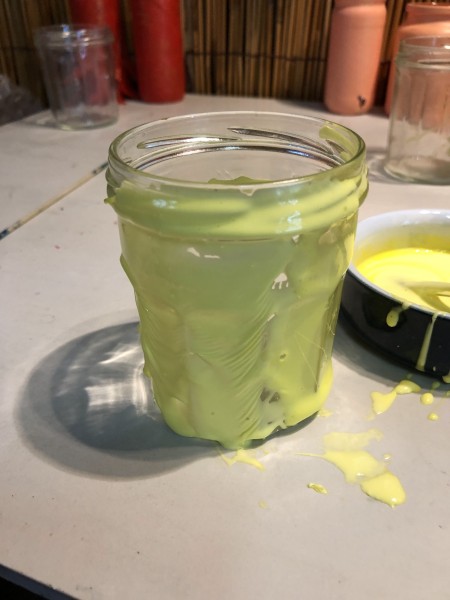
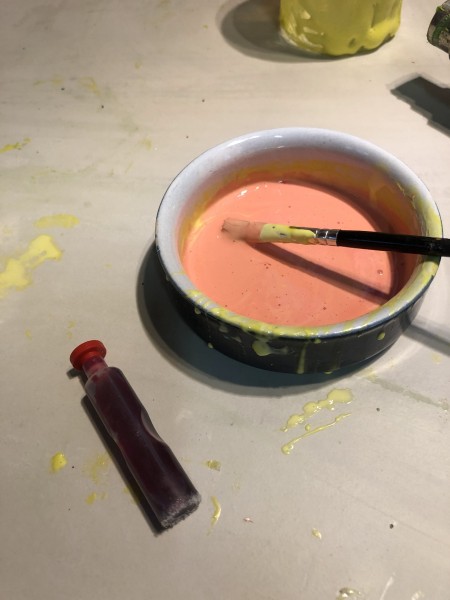
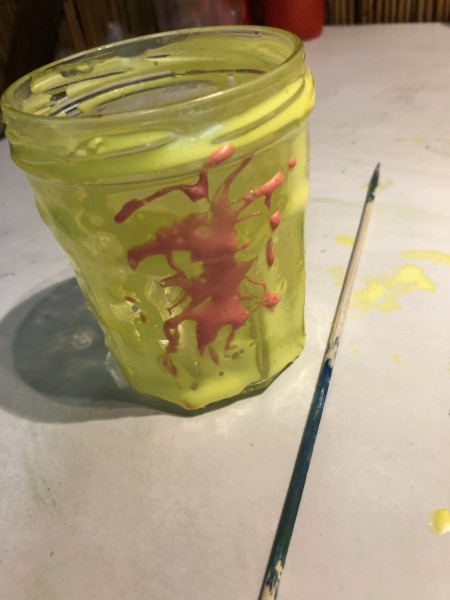
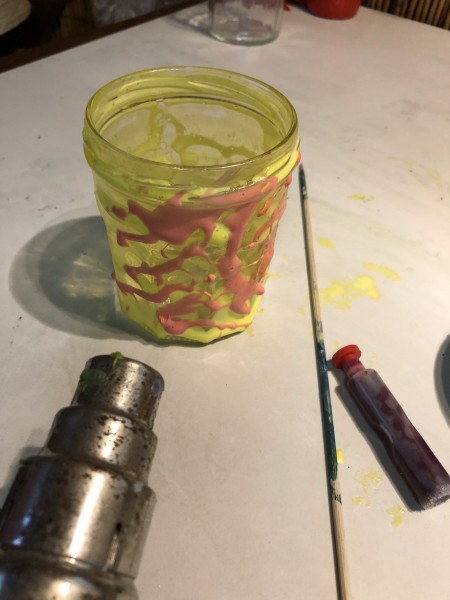
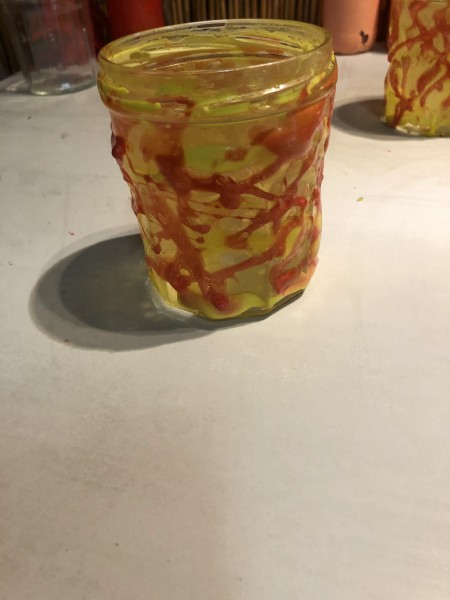
 This is a technique I have perfected over the years of playing with glass bottle decorations. Many people will add food color to glue, pour it in a glass jar, and bake it in the oven. This effect looks like a colored glass jar. I never found this too interesting and decided to take it a step further and create a faux wax drip jar using food coloring and glue. This is so easy to make and it looks great when you add a tea light to the jar.
Total Time: 45 Minutes
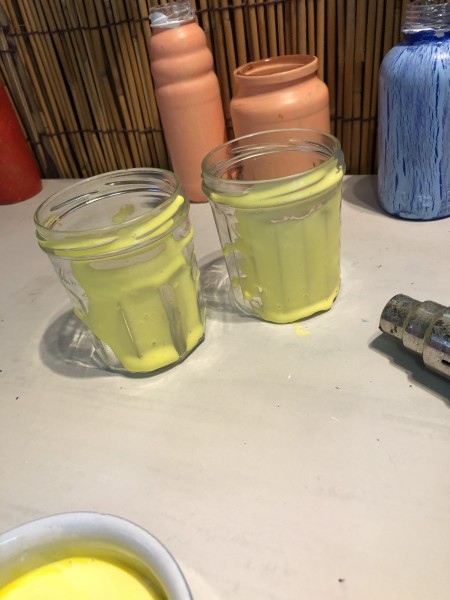
Yield: 2 Candle holders
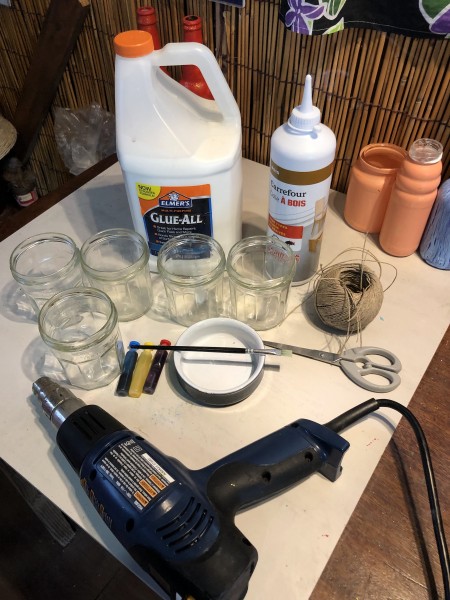
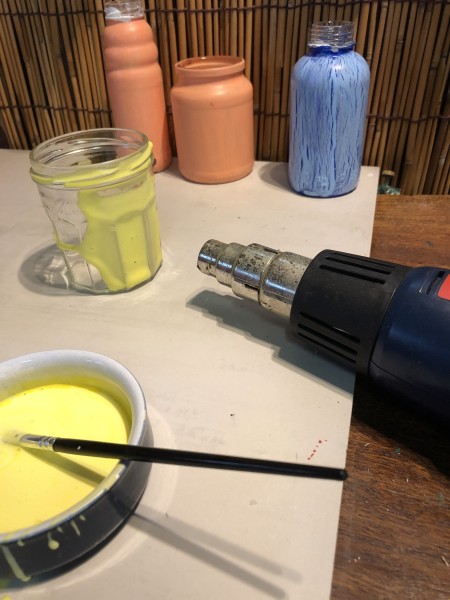
Supplies:
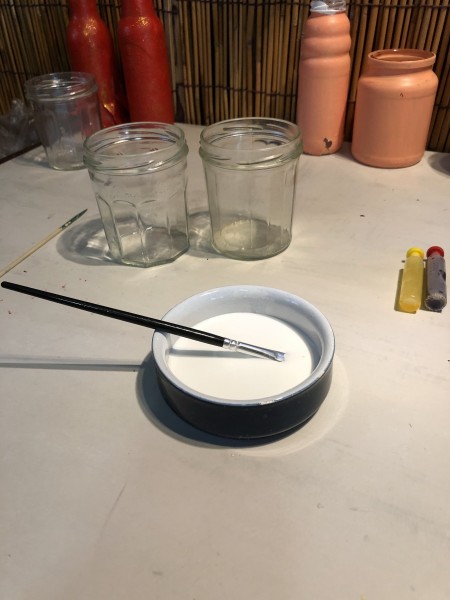
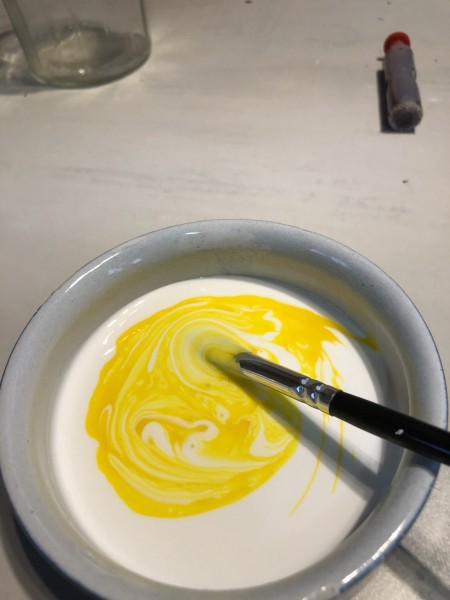
Steps:
Add your voice! Click below to comment. ThriftyFun is powered by your wisdom!