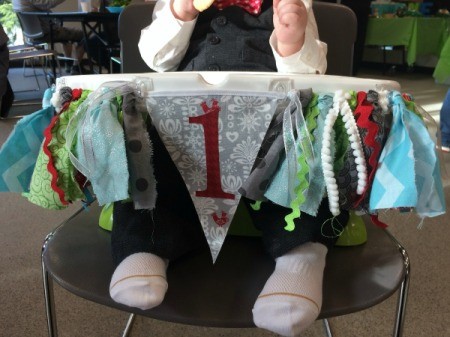
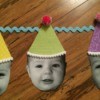
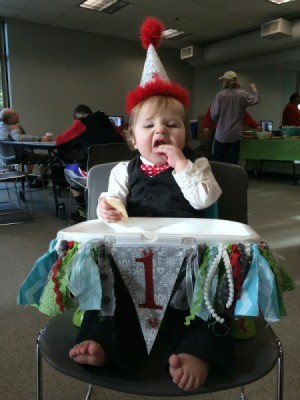
I made this winter themed highchair banner to use at my son's 1st birthday party. I absolutely love it and plan to use it as a decoration in his room now.
Measure the outside edge of the highchair tray. Add a few inches to each end for tying. Then measure and cut the bias tape for the banner.
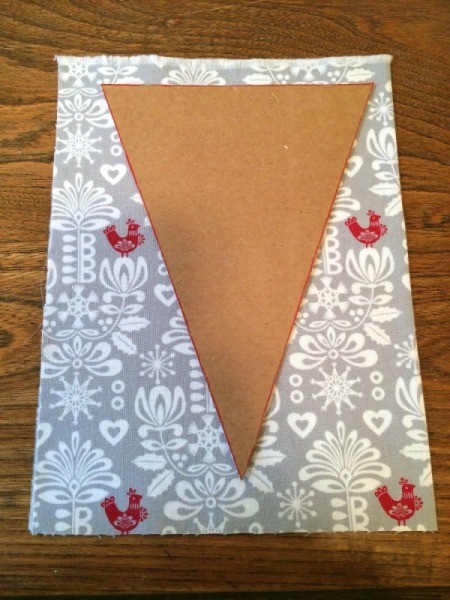
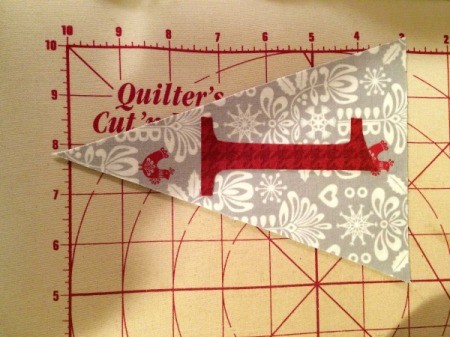
Create a 5" x 8" template for the pennant. Cut out two pieces of fabric (be aware of directional designs) bigger than the pennant size. Cut out a piece of double-sided fusible webbing and iron it in-between the pieces of fabric, following the instructions. Attach the template to the fabric using rolled pieces of tape. Cut around the template.
Advertisement
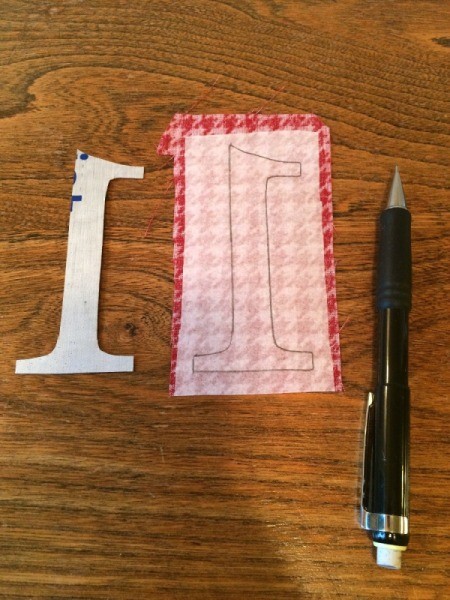
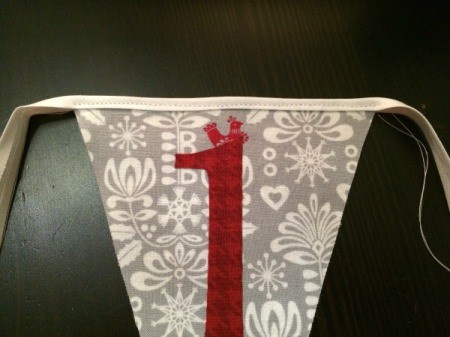
Create a template for the #1. Cut a piece of paper-backed webbing just bigger than the template. Iron the webbing onto the wrong side of the fabric, following the instructions. Trace around the template and cut out the shape. NOTE: Be sure to trace your number backwards, since you will be turning it over when attaching it.
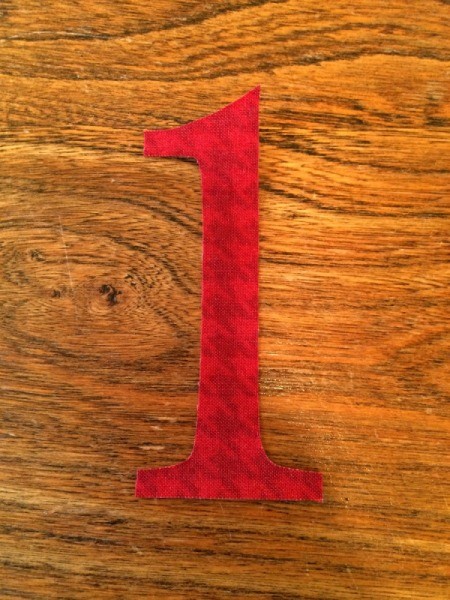
Remove the paper backing from the #1 and adhere it to the pennant, following the instructions.
Find the center of the bias tape. Lay the pennant edge on the bias tape and fold it over. Then sew the bias tape to the pennant.
Advertisement
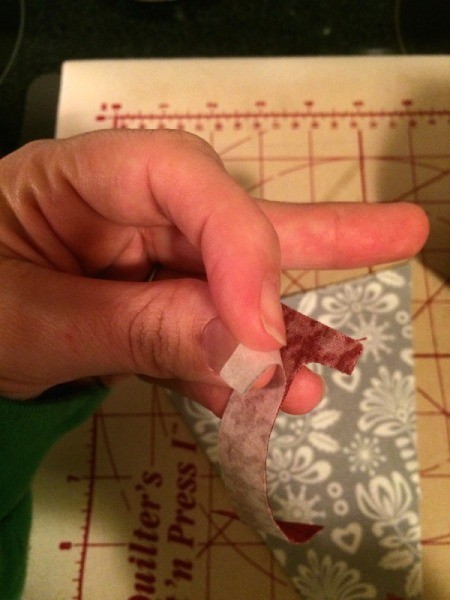
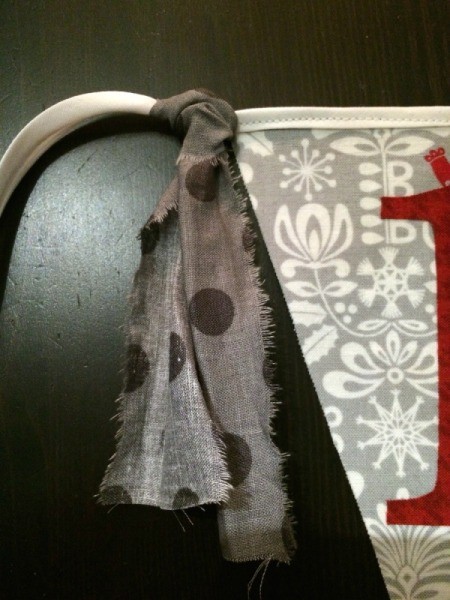
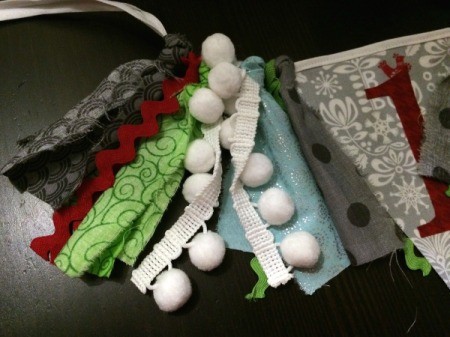
For the scrap strips, tear fabric into 2 inch wide strips. Because it will tear along the grain (from selvage to selvage) your first strip will likely be crooked and unusable. So after tearing the first strip, tear two more for the banner.
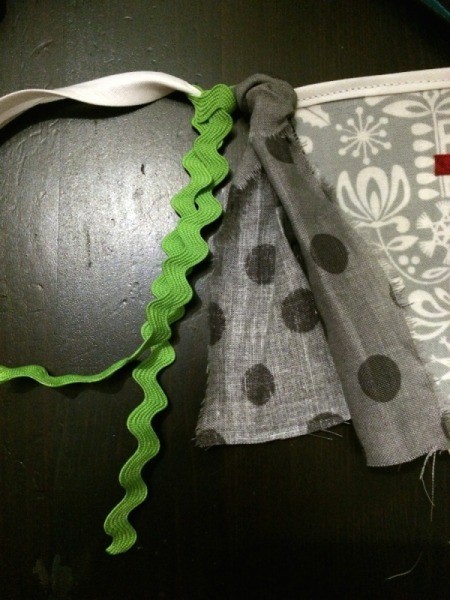
Cut each strip in half and then in half again. This will give you 4 pieces from each strip. Measure the fabric strips, then cut trim pieces of equal length.
Fold each piece of fabric or trim in half, lay it across the bias tape for the banner and bring the ends through the loop to attach them. Pull gently to tighten. Continue until the banner is full to the ends.
Tie loops at the ends of the banner. Attach clear hooks to the highchair tray and hang the banner on the hooks.
 I made this winter themed highchair banner to use at my son's 1st birthday party. I absolutely love it and plan to use it as a decoration in his room now.