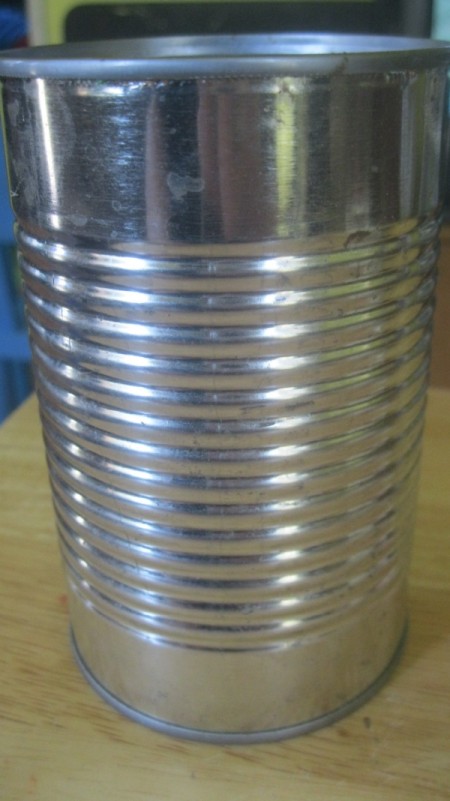
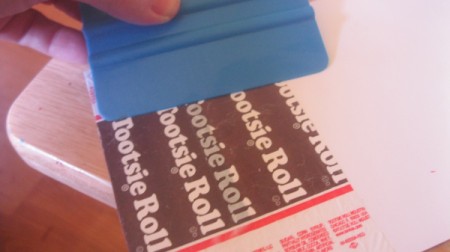
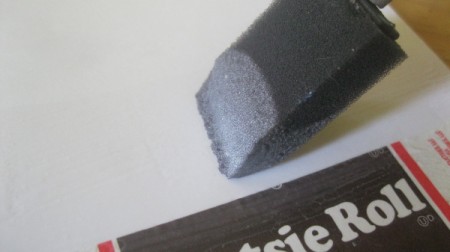
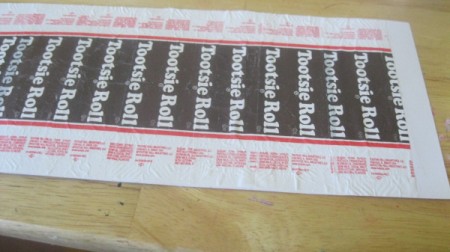
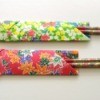
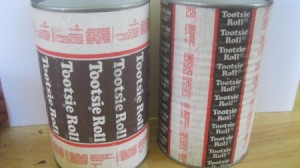
 Many years ago, I saw a project similar to this, done by Martha Stewart. She used Mary Jane candy wrappers, decoupaged onto a box, I think. For this project, I used Tootsie Roll wrappers. But you could use Tootsie Pop wrappers or Now and Later wrappers, or whatever you like! This project was very simple and quick. I will show you 2 different ways to make them. Now I am debating whether to use them as pencil holders or put a plant in there, with some drainage holes added.
Total Time: About 30 minutes
Source: Martha Stewart
Supplies:
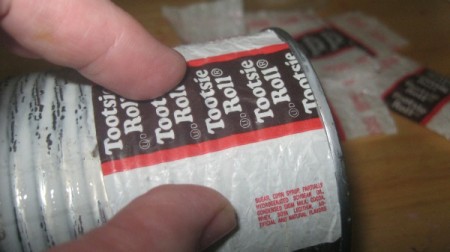
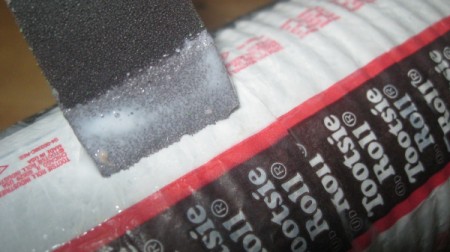
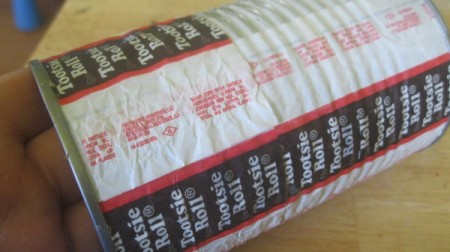
Steps: