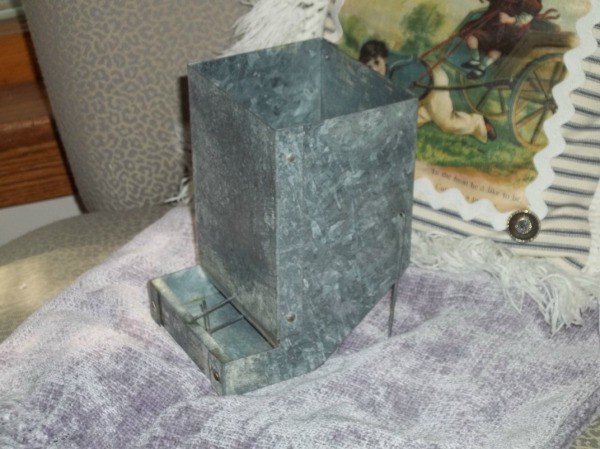
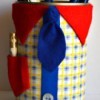
A few months ago I was given a box of small galvanized chick feeders. We no longer have chickens, but I knew I could find a use for them. I immediately pictured them as desk organizers, or more specifically, as pen holders. The little trough in front is also perfect for storing business cards. I tested the function of one feeder as a pen holder for a few weeks and loved it. It has a whimsical charm, while providing order.
Advertisement
Approximate Time: 2 hours
Supplies:
old book
scissors
ruler
small galvanized chick feeder
masking tape
Mod Podge
water
small bowl
sponge brush
paper die-cut
raffia
charm, button, or bead
Instructions:
Note: If your chick feeder has been used, wash and dry it thoroughly before beginning.
Tear or cut the pages out of an old book. I used an old poetry book, and the pages were already falling out. To make the pages more manageable for a small surface and lots of little corners, I cut the pages into approximate 2-inch squares.
Pour a small amount of Mod Podge into a small bowl. Add water until the mixture is the consistency of thick milk.
Stand the chick feeder right side up. Adjust the wire legs so that the feeder stands straight up. Apply a bit of masking tape to the legs, securing them to the feeder. The tape will be covered up by the book pages.
Advertisement
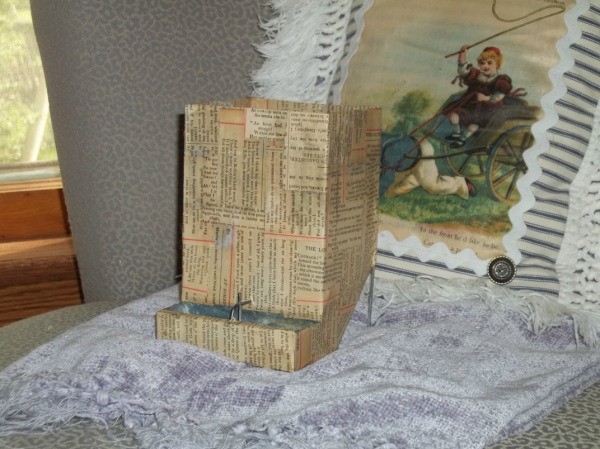
Turn the feeder over with the bottom facing up. Apply the Mod Podge mixture to the bottom and just over the side edges of the feeder using a sponge brush. Place one book page square over the Mod Podge. Paint over the top of the square to smooth out the wrinkles and seal the top. Place additional squares to the bottom of the feeder and over the edges in the same way. Cut slits in the paper to manipulate it around corners and the legs. Allow the Mod Podge to dry.
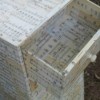
Turn the feeder over with the top facing up. Continue to apply book pages to the sides. I folded about 1 inch to the inside top opening of the feeder. Since I knew it would be visible, before pressing the pages on the inside into place, I trimmed the edges to all be even and uniform. Allow the Mod Podge to dry.
Advertisement
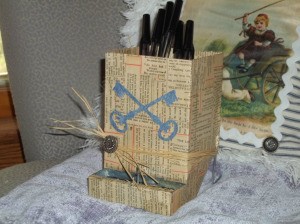
Choose a paper die-cut shape or cut a shape using a personal die-cut machine, such as a Cricut. Apply a layer of Mod Podge to the front of the decoupaged chick feeder. Lay the paper die-cut in the Mod Podge. Paint over the top of the shape to remove wrinkles and adhere it to the feeder. Allow the Mod Podge to dry.
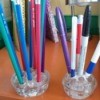
Wrap a few strands of raffia around the feeder. Tie the ends in a knot just above the trough. Trim the ends as desired. Hot glue a charm, button, or bead over the knot. Place a cushion of wadded up raffia in the feeder. This will provide a nest for your pens, and prevent them from sliding in too deep.
 A few months ago I was given a box of small galvanized chick feeders. We no longer have chickens, but I knew I could find a use for them. I immediately pictured them as desk organizers, or more specifically, as pen holders. The little trough in front is also perfect for storing business cards. I tested the function of one feeder as a pen holder for a few weeks and loved it. It has a whimsical charm, while providing order.