coville123 Silver Post Medal for All Time! 433 Posts
January 8, 2012
My kids love this project. It makes a great outdoor project.
Approximate Time: less than 1 hour, not including drying time
Supplies:
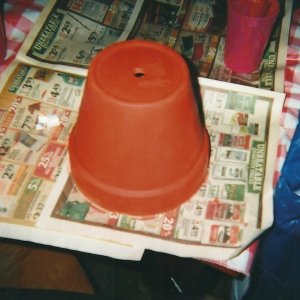
clay pot, big or small
Advertisement
red acrylic paint
paint brushes
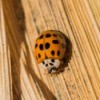
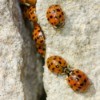
pictures of lady bugs
glue
scissors
dirt (optional)
seeds (optional)
newspaper
water cup
Instructions:
Put down newspaper; paint your clay pot inside and out. Don't forget the bottom.
Let dry.
Apply a second coat and let dry.
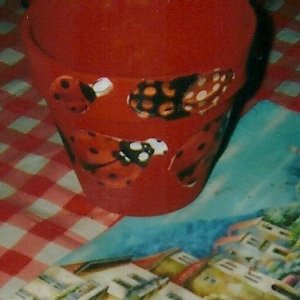
Cut out pictures of different size lady bugs.
Glue them randomly around your clay pot.
You can spray with shellac for a shiny finish.
If you want, you can let the kids plant some seeds and they can watch it grow.
They look nice outside in the summer around the yard! The kids can make them as gifts for Grandma or their teachers. Remember to bring them in when it rains.
Advertisement
You can also just paint black circles on the clay pot for the lady bug theme. Add googly eyes. My daughter uses them for holding pencils, erasers, etc.