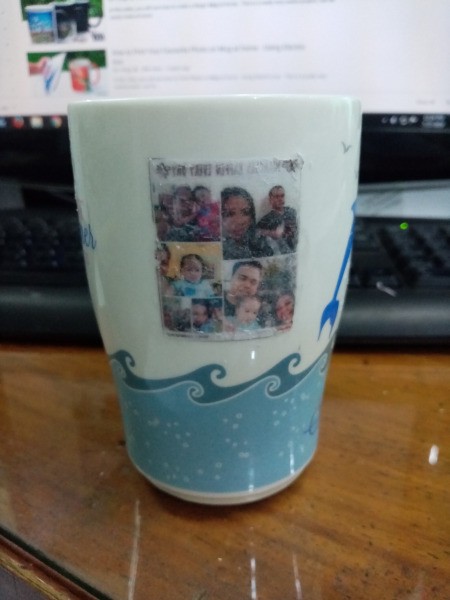
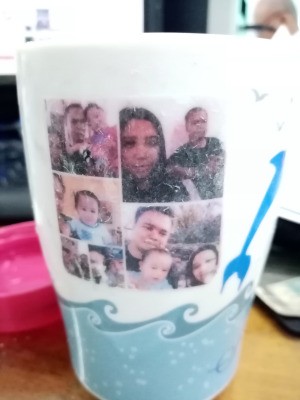
 Keep motivated during the day with simple memories of your loved ones by putting their faces on your coffee mug. A daily glance to your family's photo will get you inspired throughout the day.
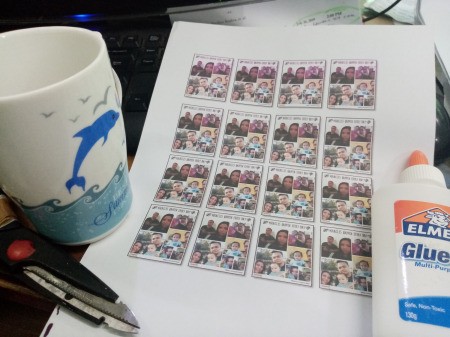
Supplies:
- photo printout(s)
- white glue
- ceramic mug (preferably white)
- scissors
- small amount of water
Steps:
- Cut out the family picture.

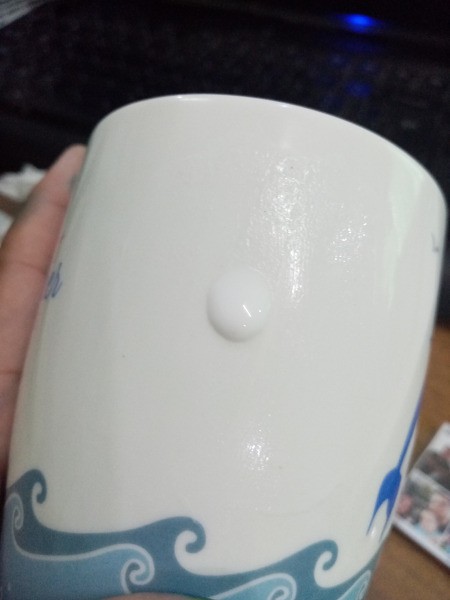
- Apply white glue onto the mug. Spread it evenly on the space.

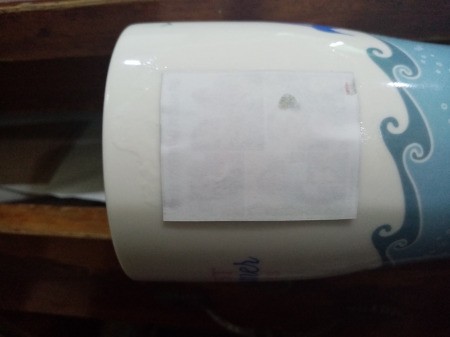
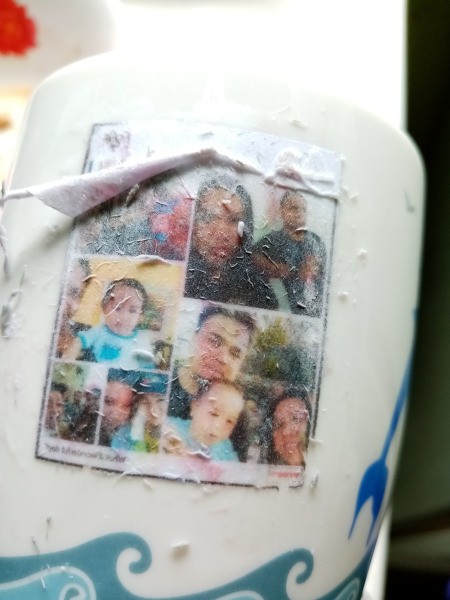
- Stick photo on the mug with its printed side facing inwards. See photo.
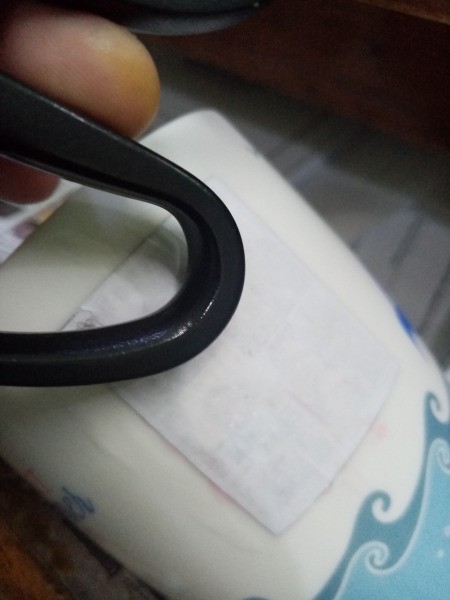
- Carefully press it with something to make sure it sticks very well and doesn't form any lumps.
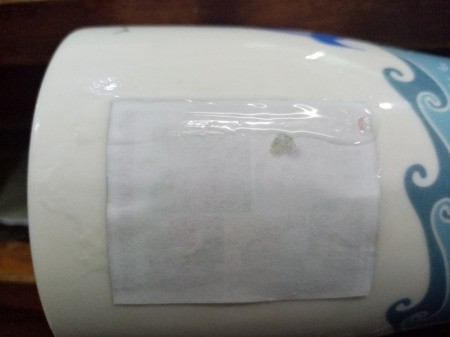
- Apply small amount of glue over the photo.
- Spread it lightly all over. Let dry for 45 minutes to 1 hour.
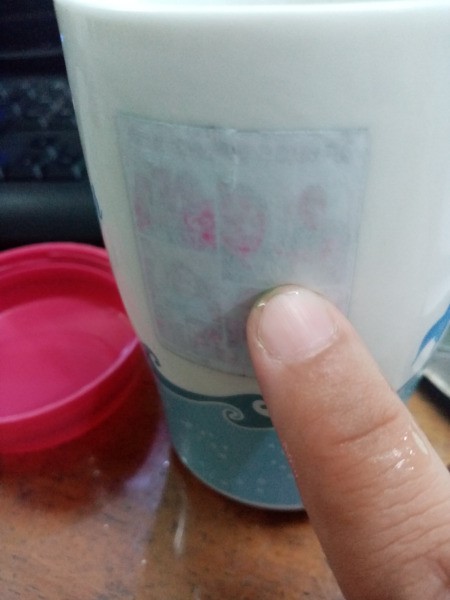
- When it's completely dried, wet your fingers with water and rub it lightly. Remember, do not use too much water.
- Continue rubbing it lightly and very carefully. Do not rush, just slowly rub off the layer until the photo is revealed.
- Apply another light layer of white glue and allow to dry to make it shiny. Then it's done.
Tip: When using a photo with words in it, set it to "mirror" before printing it out so that when you stick it onto your mug it will be readable.
- Be patient in rubbing the photo. It should be done very lightly, slowly and not too much pressure. I performed the last steps repeatedly as it tears apart on the rubbing process. Also do not apply too much water in it.
Add your voice! Click below to comment. ThriftyFun is powered by your wisdom!
Anonymous
August 4, 20190 found this helpful
But is it washable after its done?
July 6, 20210 found this helpful
White school glue is water soluble. For this reason you dont want to submerge the photo area.
Add your voice! Click below to comment. ThriftyFun is powered by your wisdom!