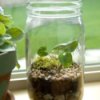
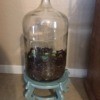
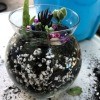
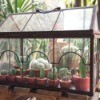
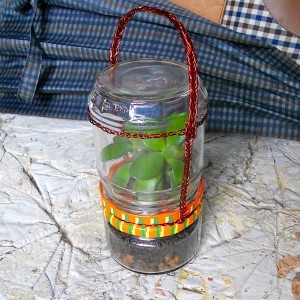
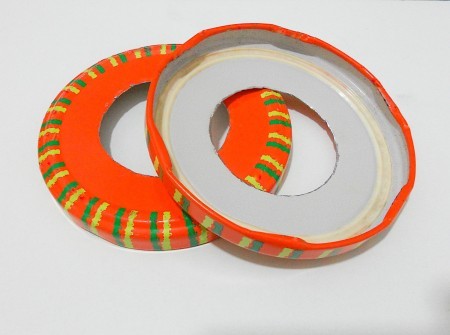
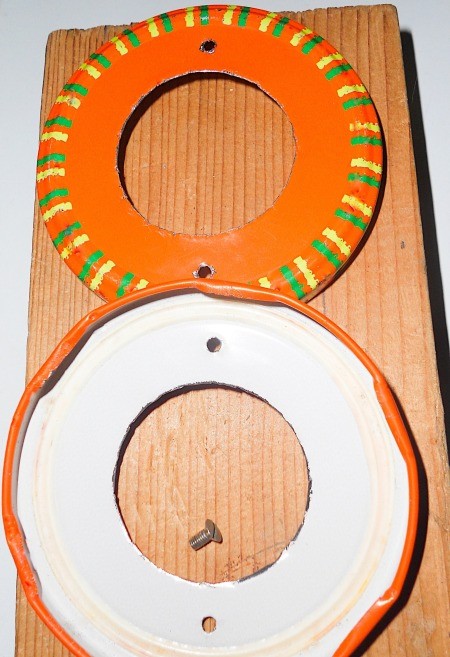
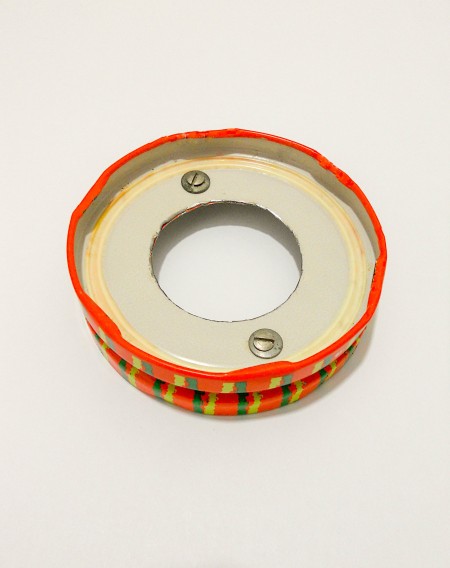
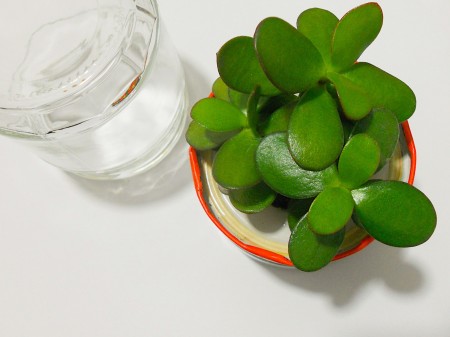
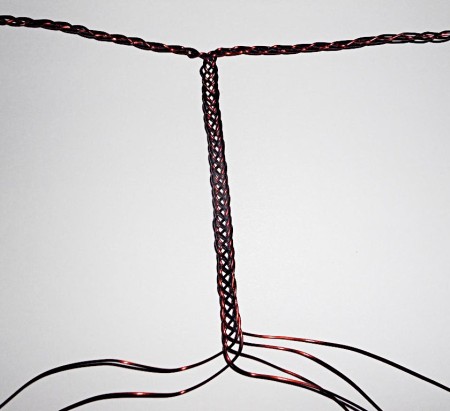
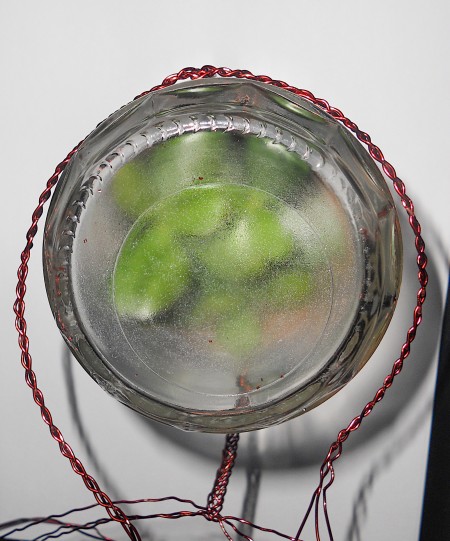
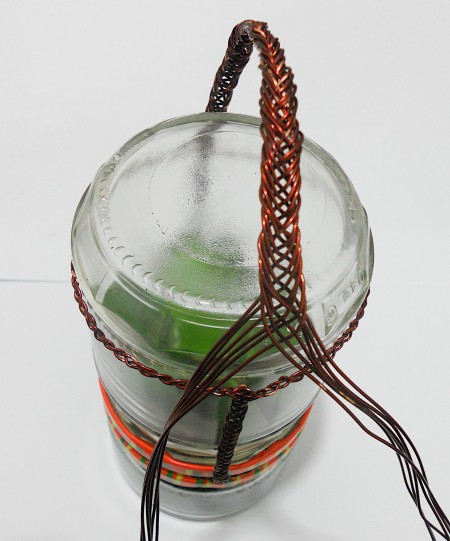
 If you have a desire to carry your favorite plant with you, then this portable terrarium is for you. I have come up with a very convenient and easy-to-make terrarium. All you need are two jars with lids and wire. I used copper wire from an old transformer.
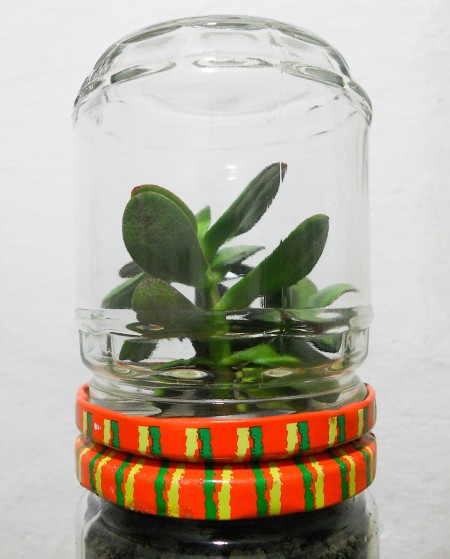
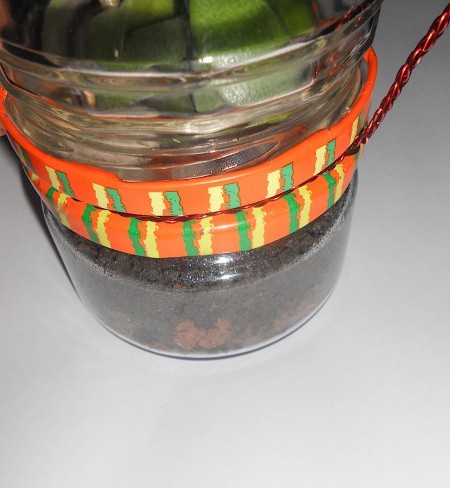
The glass dome protects the aboveground part of the plant from damage and can be easily removed (unscrewed). When assembled, the container is sealed and you can not be afraid to get your things dirty while carrying this terrarium.
Total Time: 1.5 Hours
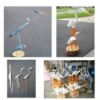
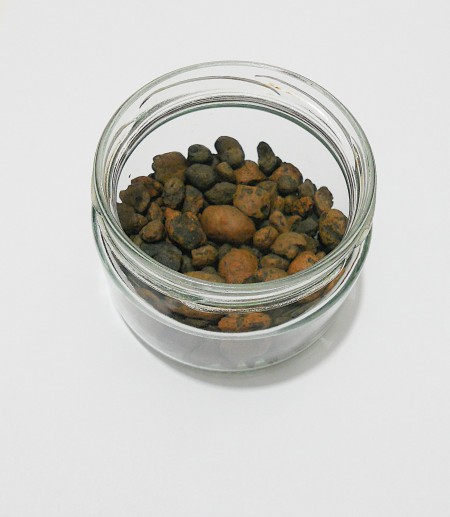
Supplies:
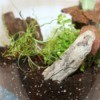
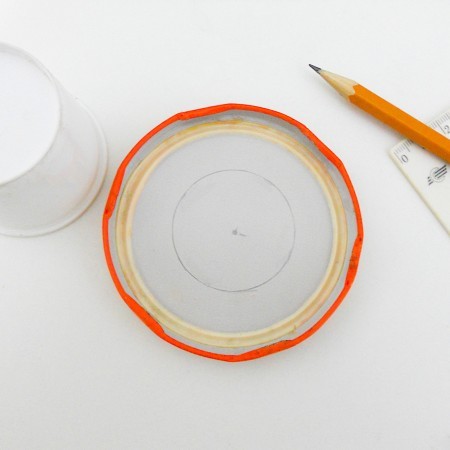
Steps:


Awesome
It's all very nice. I like the idea. But...I have to say 'The things you can do with copper wire are almost electrifying'.