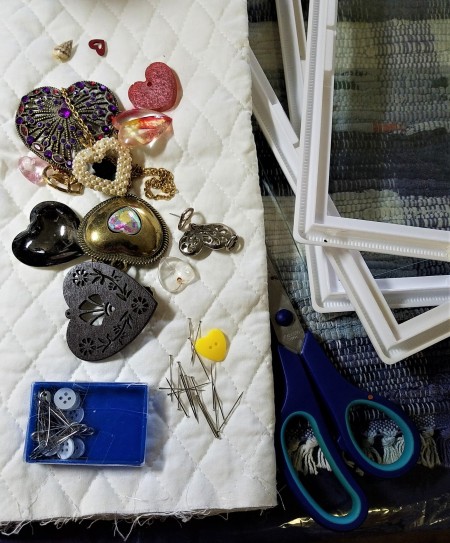
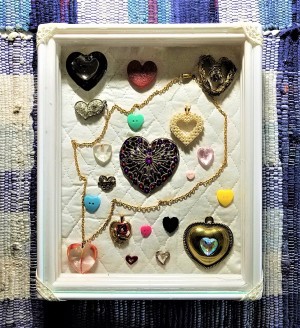
 I have been collecting hearts in all manner of shapes and sizes for about a year now. Nothing fancy or crazy, but I just began liking the various shapes they come in.
Now of course they are like the red car syndrome. I see and find them every where. So over the week, I decided to protect them so they didn't get lost or damaged.
I hope you like it.
Total Time: 2 hour
Yield: 1
Supplies:
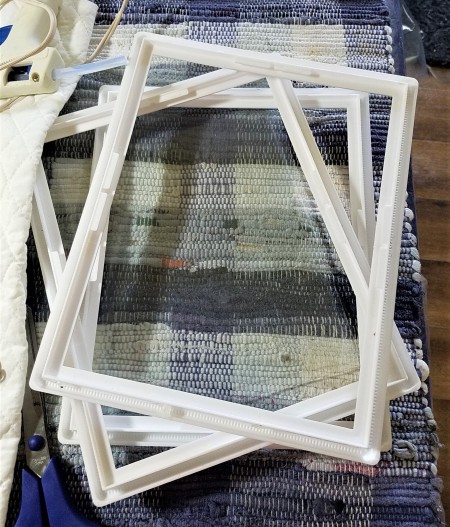
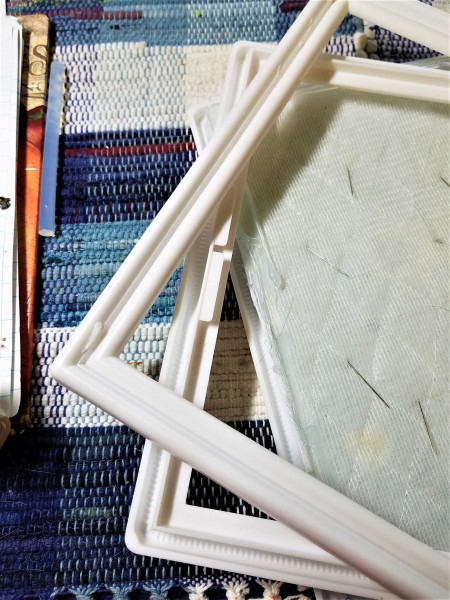
- 3 identical frames
- 2 glass inserts
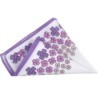
- 1 ft scrap fabric
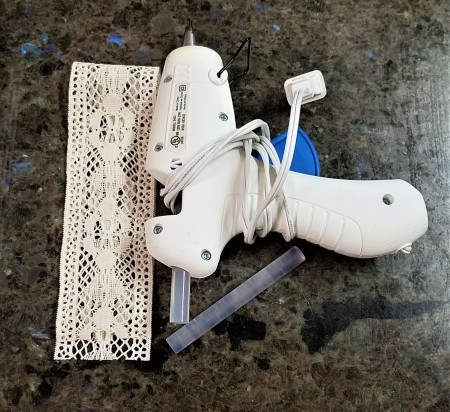
- 6 in scrap lace
- 10 straight pins
- 1 hot glue gun and 4 sticks
- scissors
- butter knife
Steps:
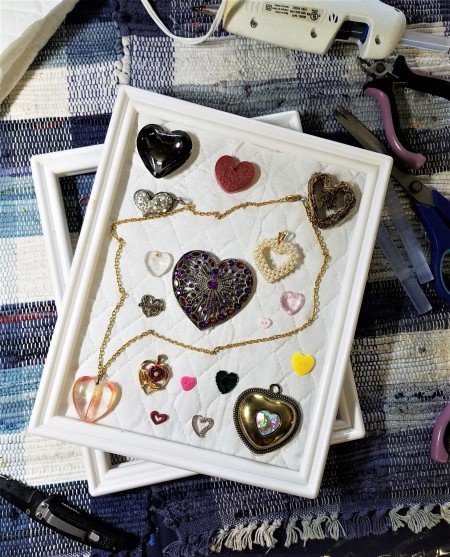
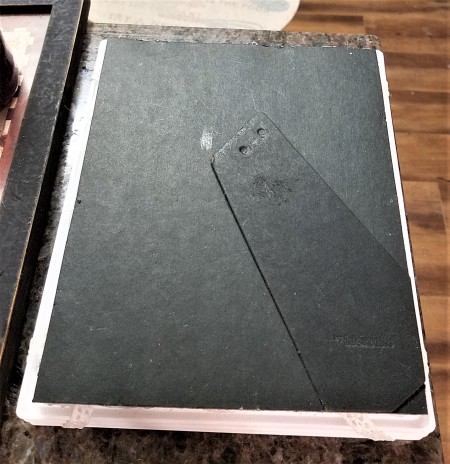
- I have had these white plastic frames for a couple years now. It was always my plan to create a shadow box style display using my littlest snails.
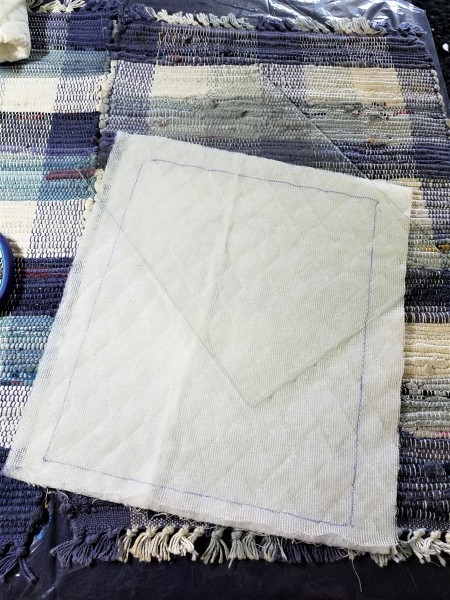
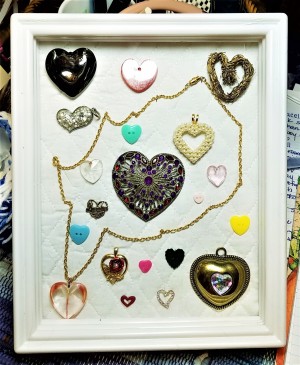
- But this week, I decided to make them for my hearts instead. I took one of the glass pieces and covered it with quilted fabric.
- Once the fabric was cut exactly to size, the same as the glass, I glued it on so the glass would be on the outside of the frame and the fabric facing the inside. Then I put my hearts in, just sitting there, to make sure I liked how they looked.

- For the ones that needed help, like the chain one, I put the pins in them, and glued that heart down and all the rest around it. Then it was time to turn over the glass and make sure it went into the bottom one.
- Once that glass and the hearts were in place, I glued that piece of glass onto the bottom frame. Then, I glued a line of hot glue into the groove from that frame and sat one of the free standing frames into it. I weighed it down and let it cool.
- When you are ready to top the "stack" with the top frame, you glue it into the 2nd frame like you did the 2nd one to the 1st, using the groove and the glue. This is basically a shadow box made from 3 frames, not a solid wall and a piece of glass or plexiglass on the top.
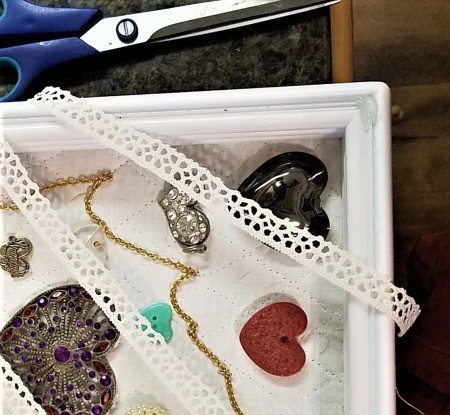
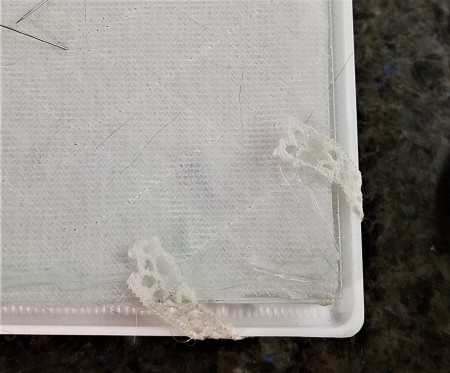
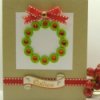
- Now you are ready to secure the top glass to the frame, only this will be on the outside of the frame. With four glue spots on each corner you set the glass inside. Weigh them down and let them cool. Then, cut the ribbon or lace of your choice to length, making sure it's long enough to wrap around all three of the frames. A small dot of glue will secure the lace to the glass so the larger glue doesn't show through. Then glue on the back and press down with a butter knife.
- Then you are ready to put the back with a pedestal stand on it, to the bottom. You can also make it so it hangs up, but I was afraid the weight of two pieces of glass might make it a bit fragile. N-JOY!!
Add your voice! Click below to comment. ThriftyFun is powered by your wisdom!

April 23, 20200 found this helpful
I missed a finished photo with the lace corners done. My bad!!
Add your voice! Click below to comment. ThriftyFun is powered by your wisdom!