 Lately I have started using food colorings with the kids in my art class, as it is more cost effective and adds bolder colors to the end product. Combining food colorings with salt and glue offers a great technique for kids to explore their own creativity.
Total Time: 20 mniutes, drying time excluded
Yield: one raised salt artwork
Supplies:
- A4 sized white cardstock
- squeeze bottle of wood glue
- table salt
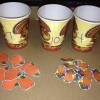
- food colorings: red, brown and yellow
- Staedtler 12-color watercolor set
- Pigma Micron 08 black pen
- 2 in high leaf stencil
- pencil
- ruler
- paintbrush
- three small plastic bowls
- optional: standard scissors
Steps:
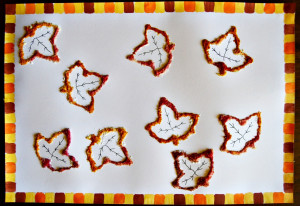
- Draw a frame of squares around the cardstock. Note: I drew 1cm x 1cm squares, so I had to cut off a bit of cardstock that remained on two sides.
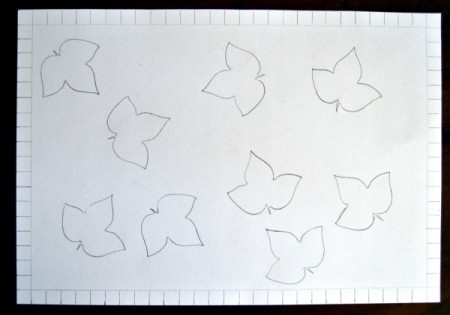
- Use the leaf stencil to trace leaves on to the cardstock.

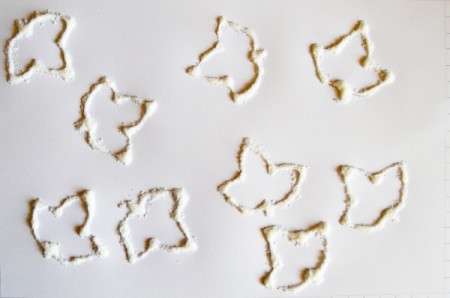
- Trace the pencil lines of the leaves with glue.
- Sprinkle salt over the glue, using enough salt so that the glue will be thoroughly covered, and shake off any excess salt. Tip: Work in a tray, as this step can become very messy!
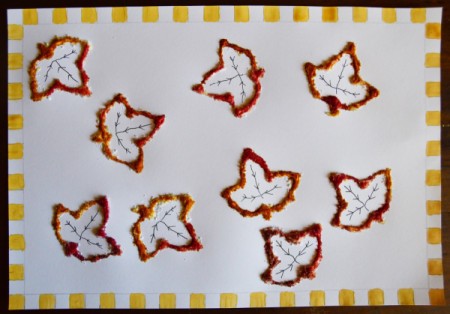
- Add food colorings to the plastic bowls, each color to its own bowl. Add one or two drops of water to each food coloring - the amount of water used will have an effect of the depth of color you will see when painting. Dip the paint brush into a food coloring and gently touch the salt covered glue lines, allowing the colors to interflow.
- Use the yellow ochre from the watercolor set to paint every second square.
- Use the black pen to add veins to the leaves.
- Paint the remaining blocks of the frame with the brown and orange from the watercolor set. Allow to dry - and voila!