social

Refurbishing a Plastic Drawer Unit


Gold Post Medal for All Time! 969 Posts
May 16, 2017

Refurbishing a Neon Drawer Unit for My Kitchen - yarn chain wrapped drawer unit
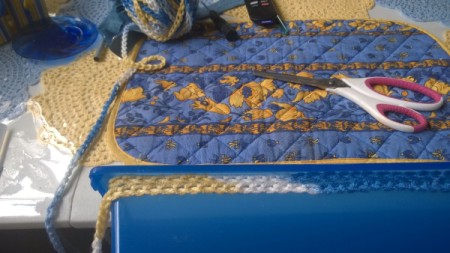
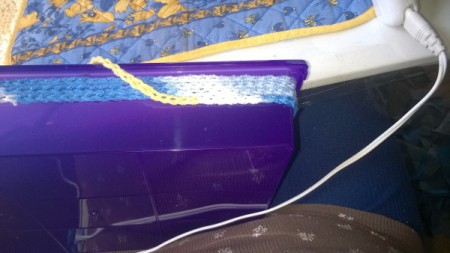
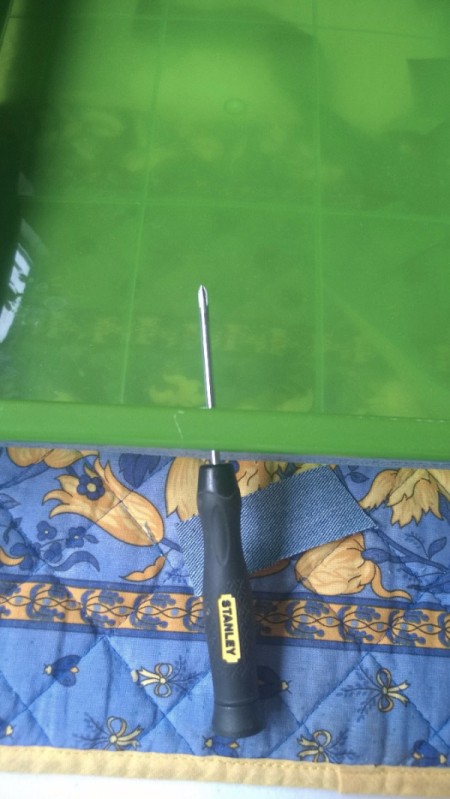
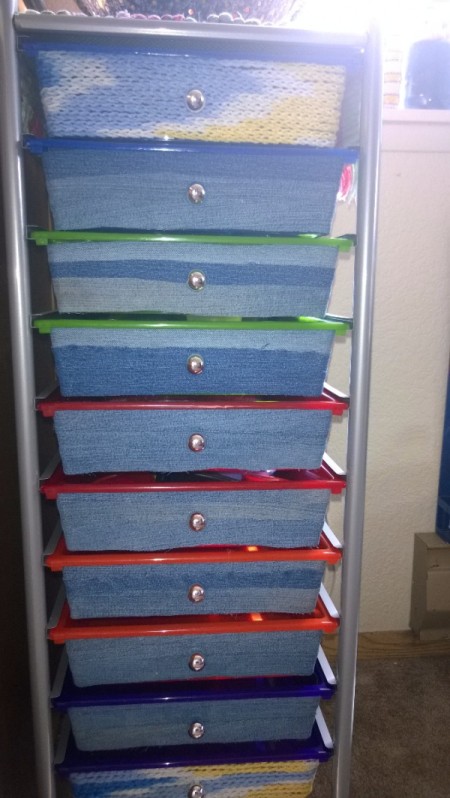
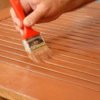
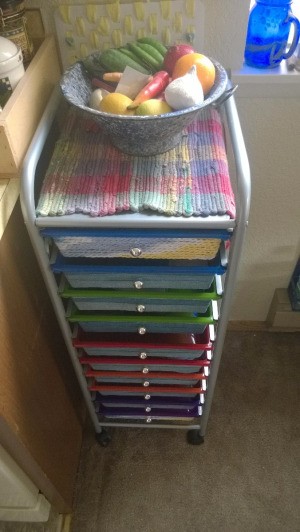
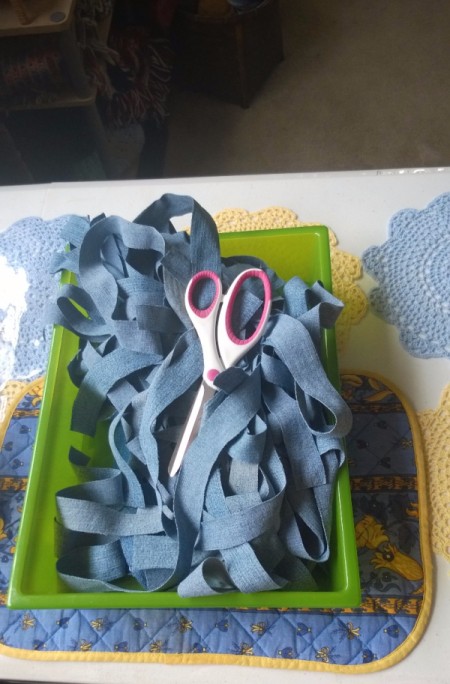
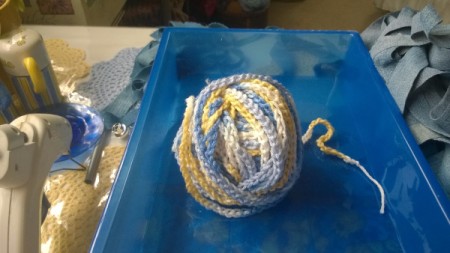
"Countryfying". Okay it's not a word but it should be! I got this drawer unit from a friend and while I love the room it provides me, I hate bright neon colors. So. I spent about 5 hours covering the drawers. I hope you like it as much as I do.

Advertisement

Total Time: 5 hours

Yield: 1

Supplies:

  • 2 Pair jeans
  • scissors
  • hot glue gun
  • 12 hot glue sticks
  • 50 yd yarn of your choice
  • size J hook
  • small screwdriver
  • butter knife to hold down yarn
Refurbishing a Neon Drawer Unit for My Kitchen
 
Refurbishing a Neon Drawer Unit for My Kitchen
 

Steps:

  1. For each drawer you will need either 24-25 yards of yarn to make the chain. It takes 1 yard to make 6" of chain, so my suggestion is just to make a ball around the size of an orange and you can unravel or add to it if you are over or under. Begin gluing it in the back, about an inch over the side. I didn't want to "spiral" it around so I started each row separately. No one will see the back of mine, but if yours is seen, you might want to do it around and around.
  2. Refurbishing a Neon Drawer Unit for My Kitchen - chain of yarn being applied to outside of drawer
     
    Advertisement

  3. Keeping in mind that hot glue can give you 2nd degree burns, keep a butter knife handy for holding down the chain when the glue is cooling. I found that this method of covering is very time intensive so I only made two and used denim strips for the other 8 drawers.
  4. Refurbishing a Neon Drawer Unit for My Kitchen - continuing to wrap with yarn chain
     
  5. When you are done, you will need to poke the back of the little knob through the back and screw it back on the front. I might cover them with fabric as I really don't like shiny things. I totally plan to wrap fabric around the shiny stand supports too, but didn't have any energy or glue sticks left!
  6. For the denim strips, I cut them just shy of 1/2" so it only took about 3 rows to finish each one. You have to poke the driver through the hole and then cut some little threads on the front to get the wider back of the knob to poke through. Repeat this step another 7 times and all the drawers are done. N-joy!!
  7. Refurbishing a Neon Drawer Unit for My Kitchen - poking hole for pull
     
    Refurbishing a Neon Drawer Unit for My Kitchen - finished yarn and denim wrapped drawer unit
     
    Advertisement

Comment Pin it! Was this helpful? 3
Categories
Home and Garden Home Improvement Decorating Trash to TreasureMay 15, 2019
Pages
More
🍂
Thanksgiving Ideas!
🎃
Halloween Ideas!
Facebook
Pinterest
YouTube
Instagram
Contests!
Newsletters
Ask a Question
Share a Post
Categories
Better LivingBudget & FinanceBusiness and LegalComputersConsumer AdviceCoronavirusCraftsEducationEntertainmentFood and RecipesHealth & BeautyHolidays and PartiesHome and GardenMake Your OwnOrganizingParentingPetsPhotosTravel and RecreationWeddings
Published by ThriftyFun.
Desktop Page | View Mobile
Disclaimer | Privacy Policy | Contact Us
Generated 2022-10-25 08:46:05 in 3 secs. ⛅️️
© 1997-2022 by Cumuli, Inc. All Rights Reserved.
https://www.thriftyfun.com/Refurbishing-a-Plastic-Drawer-Unit.html