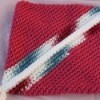
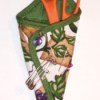
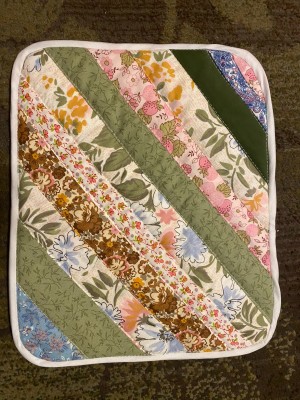
 I've become interested in quilting and all of the neat ideas for quilt blocks. Because there are so many, I decided I would make a variety of quilt blocks and turn them into potholders so I can try out a lot more designs and it wouldn't be as time consuming.
Total Time: 2 hours
Yield: 1
Supplies:
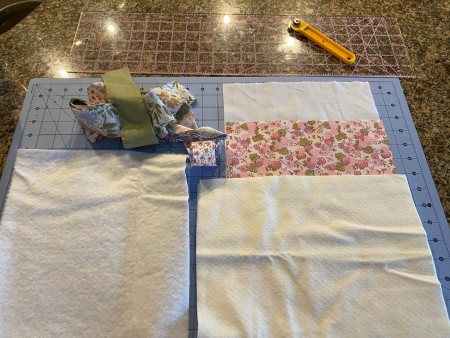
Steps:


Add your voice! Click below to comment. ThriftyFun is powered by your wisdom!