This was a three part craft project that I did with my 3 year old (the first two parts, anyway). The first part was blowing tempera paint bubbles onto paper with a straw. Part two was making the Popsicle stick frame and decorating it using foam shapes and glitter glue. Part three was using tempera paint to stain the unfinished shadow box and framing the bubble picture.

Approximate Time: Less than an hour for each step
Supplies:
- washable tempera paint
- paper
- paper towels
- drinking straw
- dish soap
- colored Popsicle sticks
- foam shapes and letters
- glitter glue
- tacky glue
- felt (your choice of color)
- low temp glue gun
- hammer
- unfinished shadow box
Instructions:
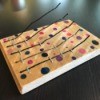
- Get a small dish of tempera paint and mix it with dish soap to make a creamy consistency. There are no exact measurements for this step; trial and error worked for me. Add a little water to make it runny.
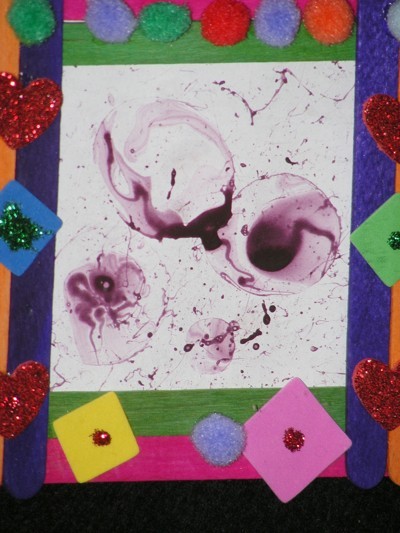
- Cut one straw in half and dip into paint mixture. Blow in the straw from the opposite end onto a piece of paper. You will get drips and splatters, so cover your surfaces! Have fun!
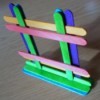
- Use 8 colored Popsicle sticks to make a square. Glue the sticks using tacky glue. Begin decorating using foam shapes and glitter glue. Have fun!
- Once the frame is dry and bubble paper is dry, use the frame as a guide for a section of the bubble paper to frame. Cut out bubble selection and use tacky glue on the back of the frame to attach paper.
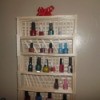
- Open unfinished shadow box frame and remove hardware and glass. Since my bubbles were purple, I used red and blue tempera paint for my frame color; you can use any colors that match anything in your Popsicle sticks or bubbles. Use a paper towel to apply your paint to the frame, then use a clean towel to wipe the paint off, creating a colored stain. Set aside.
- Using the back of the frame as a guide, cut your felt piece. Use low temp hot glue to attach felt to frame back.
- Use the same glue to attach Popsicle frame and foam letters. Set aside.
- Now that the frame is dry, the glass can be re-inserted. Be sure to put a small dab of hot glue in each corner to hold the glass in place. Replace back and attach hardware. Hang and enjoy!
By jenn from Vineland, NJ