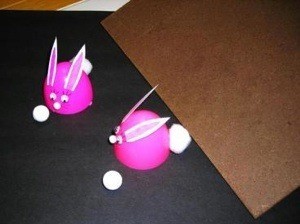
 Just add marbles to this quick craft and you have a rabbit racing game.
Approximate Time: 15 - 20 minutes
Draw and cut two rabbit ears from white paper. Color the center of the ears with pink marker. Glue these near the top of half an egg.
Glue wiggle/google eyes below the ears, and a small white pom pom nose below the eyes.
Use fine tip marker to add eyelashes and whiskers.
Glue on a white pom pom tail.
To play, set up a small ramp. Place the rabbits at the top of the ramp and slide a marble under each racing rabbit. On the start signal, release the rabbits and watch them glide down the ramp toward the finish line at the bottom.
By Marie from West Dundee, IL
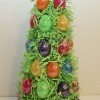
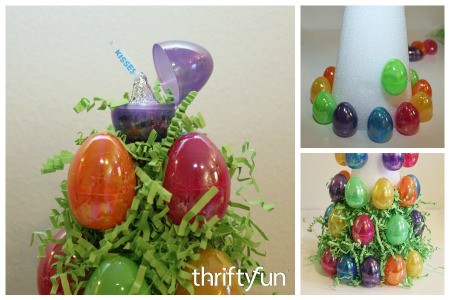
Make this cute Easter decoration for your home this holiday. This is a page about making a plastic Easter egg tree.
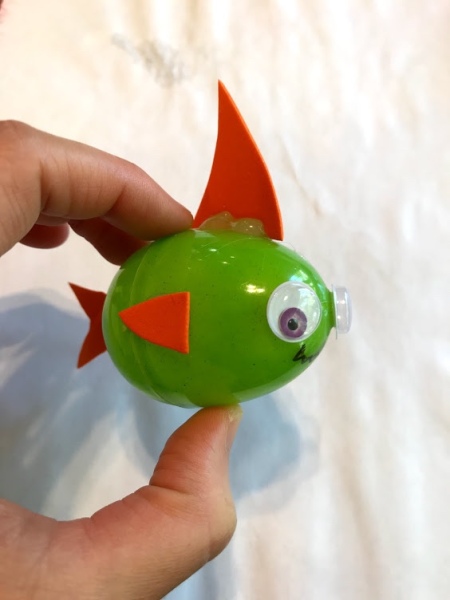
The popular toddler baby shark song influenced this cute modification of a plastic egg. This is a page about making a baby shark from a plastic Easter egg.
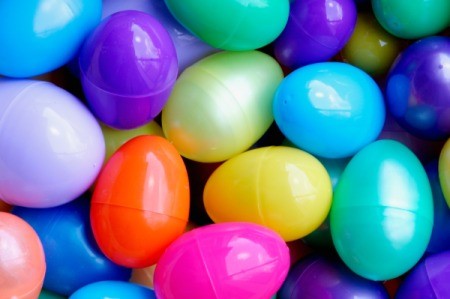
A fun inexpensive craft to make cute animals, and decorate a child's Easter basket. This page is about making plastic Easter egg animals.
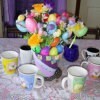
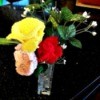
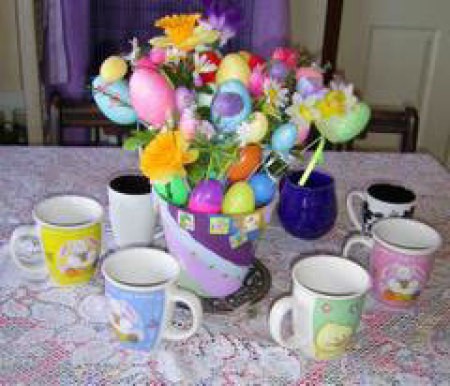
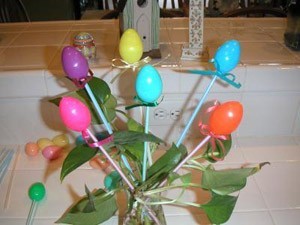
I painted a terra cotta pot that I bought at the dollar store. I picked up 3 bouquets of silk Easter flowers, also purchased at the dollar store and used left over eggs from an egg wreath project.
This page contains the following solutions.
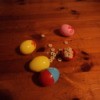
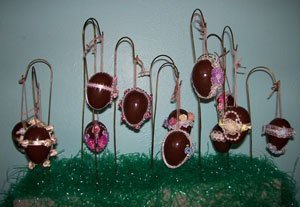
This article is in honor of my mom Patricia Churchman who, when she was alive, never let an Easter pass without going to our local chocolate shop and buying us the most beautiful chocolate eggs. They were so beautiful that we even did not want to eat them.
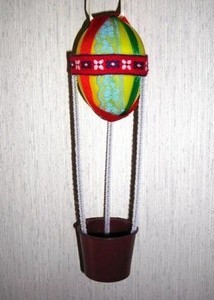
Make simple Easter egg picks from plastic eggs, straw and ribbon. I'm using small plastic eggs with regular size straws.
A colorful, fun craft just in time for spring! Glue the halves of the plastic egg together, then decorate it with pieces of ribbon and fabric trim. Cut an additional piece of ribbon and glue it in a loop to the top of the egg for a hanger.