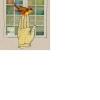
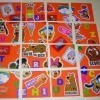
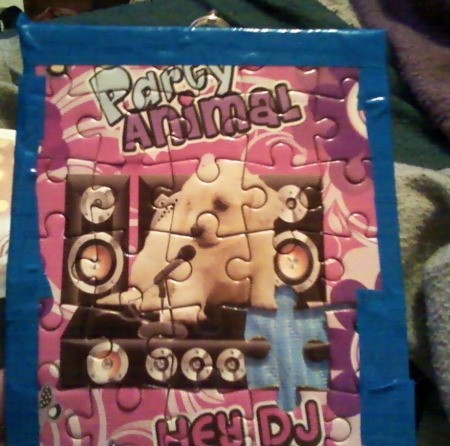
 My girls love to do jigsaw puzzles and hate to break them apart after doing them. What to do with all those puzzles? I decided to cover the puzzle with clear contact paper. I can then use it as a beautiful placemat, furniture protector under plants, dog dishes mat, and I'm sure there are other uses I will find later! Very simple to do. After completing puzzle, simply measure the contact paper, adding 1 inch on all sides.
This page contains the following solutions.
Strapped for cash, but wanting to hang pictures on your walls? Buy attractive puzzles at your local dollar store or thrift store. Put together & decoupage them. Attach a wall hanger or place in a picture frame. Also, look for pretty pictures in magazines & books, frame them as well.
Buy an old puzzle from a garage sale or from the dollar store and find two pieces that you like. Punch a small hole on one side of the puzzle piece and insert a jump ring.
There were two toys that kept being ignored for the last year or so, and I finally put them together.
Here are the questions asked by community members. Read on to see the answers provided by the ThriftyFun community.
What can I make with jigsaw puzzle pieces?
By Sue Kulp
I saw a pin wreath made from puzzle pieces. They painted them white, glued them in a circle, added a pin on the back and a bow on the front. Have fun.
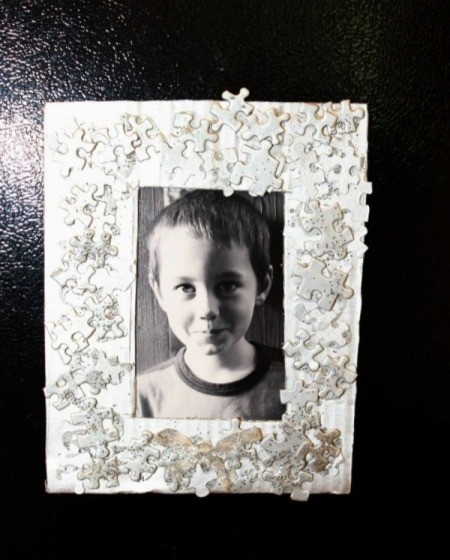
Glue them onto a picture or mirror frame and paint all one color. When dry, lightly brush a second color over the first to bring out the shapes.
You can make pins to wear, picture frames, use them to decorate cards. Just let your mind wonder on all the ideas!
How do I turn a jigsaw puzzle into a placemat that water rings will not harm?
By G.F.R.
If you can buy clear contact paper (brand name of shelf/drawer liner with adhesive), you can cut a piece about 1" bigger all around than the finished puzzle, take the backing off the contact paper, and put the puzzle together on the adhesive side. Then cover the puzzle with another piece of similar size adhesive side down. Press together firmly, sealing the edges well. One water resistant placemat.
Try getting it laminated.
I was going to suggest clear contact paper too but I think it would be difficult to place the puzzle together on it because of the stickiness and how would you know how to place it on the sticky paper 'just so' while building?
I suggest using the paper after the puzzle is together. Slide back just one edge of the paper protecting the tacky side and slowly 'press and smooth' sticky side onto one edge of the puzzle then slowly peel back more of the protective paper and continue pressing and smoothing until the top part of the puzzle is covered. Carefully turn puzzle over and do the same on the back side.
Do indeed leave at least a one or two inch overlap of contact paper on all edges so that once front and back sides are covered you can press well right along the edge of the puzzle (the smooth side of a butter knife blade works well to do this just do it gently) and then you can cut the overlap edges off.
A common recycled craft for children and adults alike is making photo frames decorated with puzzle pieces. This is an excellent use for puzzles missing some of their pieces. Learn how to get started here.
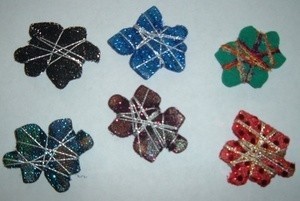
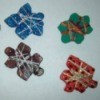
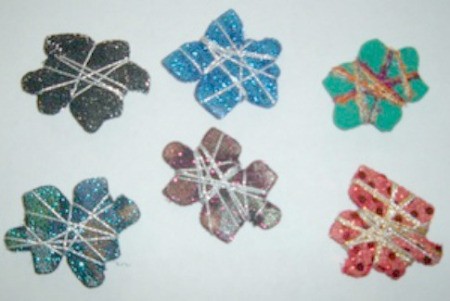
Use the pieces from an old puzzle, especially one already missing a few, to create a cute pin. They can be painted, sprinkled with glitter, or wrapped with fancy string or cord.
ThriftyFun is one of the longest running frugal living communities on the Internet. These are archives of older discussions.
Does anyone have any idea what to do with puzzle pieces, other than a wreath?