I have SO many terra cotta pots that have just accumulated over the years. So like all my other craft projects, I decided through trial and error to explore the possibilities.
All you need is:


By Amy from Wheaton
This page contains the following solutions.
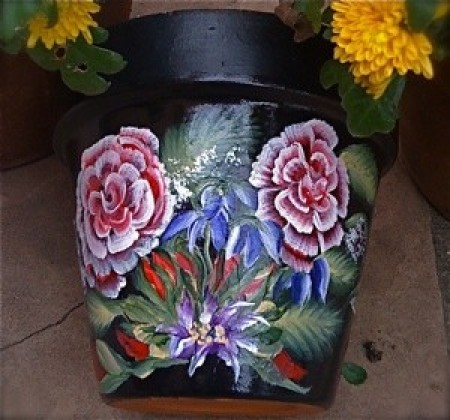
I like to dress up terra cotta pots with acrylic paints. One technique is to use three colors or more and a sponge. You only need a small squirt of each color, making it great for using those leftovers.
I love painted flowerpots, and I think in the spring they make a fun statement. One of the most popular outdoor motifs is watermelon. I have watermelon cups, plates, and pitchers, so I decided that I wanted to make watermelon flowerpots to match.

Flower pots and saucers are sold separately. I knew I had a saucer at home so I didn't buy a new one. When I went home, the saucer didn't match the pot. You can revamp the saucer with a little bit of paint and it pairs nicely with the accents of the pot. I was able to save the $1-2 on a saucer, and use an existing one.

Christmas (or any occasion) is getting closer, and it is time to start making some homemade gifts. This hand-painted terra cotta flower pot can make a nice gift for a colleague or friend.
So easy, a much prettier way to display my orchid, and not time consuming to do. All you need is a clay pot and saucer, small bottle of acrylic paint, sponge brush, and rub on decals. Add a bit of ribbon if desired.

To decorate your clay pots and saucers for this gardening season, here is an idea: Pour some of the first color of paint into a paint tray. Turn the clay pot upside down and dip the rim of the clay pot into paint then turn the clay pot right side up and let paint run down the edge of pot.
Easily make a beautiful pot for a plant. Everything you need to make it can be bought at Walmart craft dept. except the clay pot, that is the garden department.
Here are the questions asked by community members. Read on to see the answers provided by the ThriftyFun community.
I am doing the flowers for a wedding on May 17th. My sister-in-law (to be) wants mossy terra cotta pots. What is the best way to do this faux or not, in a month? Help! Thanks.
Hi Cher! These instructions are on HGTV. I hope they help! www.hgtv.com/
Smear some plain yoghurt over them and leave them outside in a damp area. The moss forms as if by magic!
With your time schedule spray paint the pots with mossy colored craft paint and then use spray glue or paint with tacky glue and roll in loose moss. I've covered green oasis blocks this way and it works great. You can buy thin sheets of plastic covered with moss, too, that you could wrap around pot, but the other way is a lot easier.
I watched a garden show and they said to jump start a "mossy" pot to take grass or any green leaves and rub them well over the pots. They will start growing moss from rubbing the liguid in the greenery on them.
Do you prime your flower pots before painting? I find with some colors I need to do multiple coats, not just 2-3, but more like 8-10 when using lighter colors that I want to cover most of the pot in. Do you recommend some sort of primer first?
Do you need special paint for terra cotta?
By MH
Just plain acrylic will do, they sell special paint but don't waste your money on it. The terra is so porous that regular paint will hold.
How do I marblize a clay pot? If I paint it first with white, then put water in a tub, with spray paints of various colors, do I need to seal it or will the paint from the cans do that?
By Barb
I want to treat a terracotta pot with an effect that makes it looks like it has been submerged for centuries. Has anyone done this?
By Lynne E
Check out these photos.
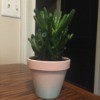
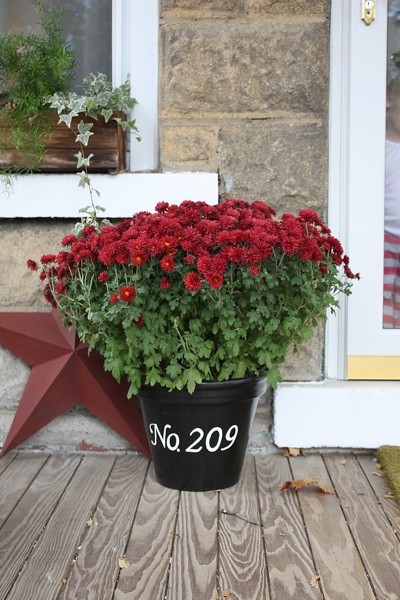
Tired of those orange clay pots? Buy some acrylic paints and give them some color. Add a plant, and you can use them in-doors or out, plus have the enjoyment of a hobby.
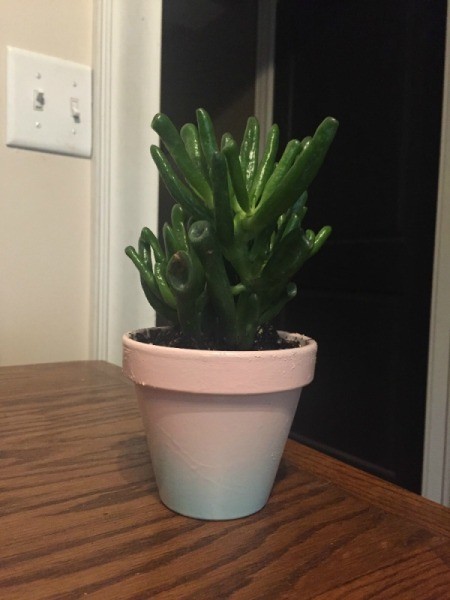
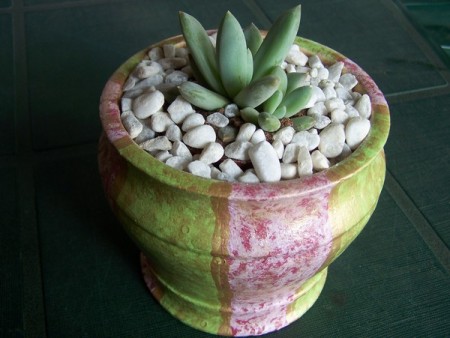
Add some flare to your succulent pot by painting it in an ombré fashion. This is a page about ombré; painted succulent pot.