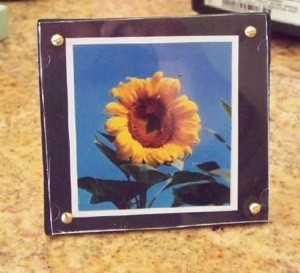
Instead of tossing old CD cases into the landfill, why not make some picture frames from them? Here is a way to do that.
Approximate Time: 1 hour
Supplies:
- jewel case
- corrugated cardboard
- black card stock
- photo(s)
- box cutter knife
- craft glue
- drill with glass cutting bit
- awl or ice pick
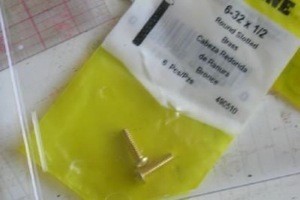
- brass screws (6/32x1)
Instructions:
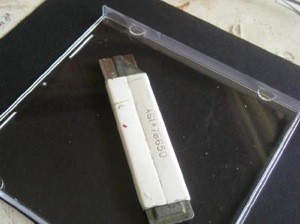
- Disassemble one case, taking care not to break the plastic.
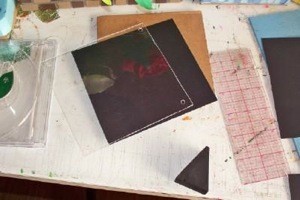
- Cut a square out of one piece by scoring with a box cutter along the edges. (Take extreme care in this step. Do not force the knife, but rather go over and over until you have cut partially through the plastic. It can then be snapped on the scored lines.)
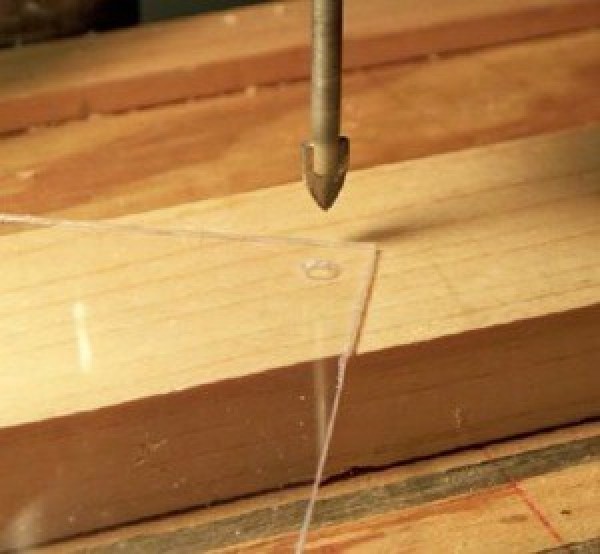
- Drill four holes in the corners of the flat plastic sheet. To do this, I found a glass cutting drill to be the best way to prevent any cracking or splitting.
- Glue a piece of black card stock to a square of corrugated cardboard cut to size.
- Use an awl or ice pick to make four holes in the corners through the holes in the plastic.
- Place picture on the black backing, place plastic on picture, and add brass screws in the four drilled holes.

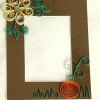
- Picture can now be hung on wall, or a stand can be made to have a free standing desk or counter picture.
By Lonnie from Chatsworth, CA
Add your voice! Click below to comment. ThriftyFun is powered by your wisdom!
March 1, 20100 found this helpful
So very cute! Great job!
Add your voice! Click below to comment. ThriftyFun is powered by your wisdom!