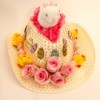
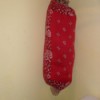
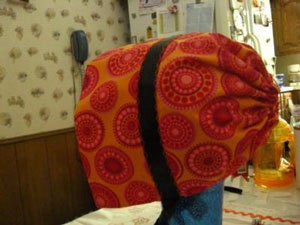
This is a bonnet made from one bandana, a length of ribbon and some thread. I use a little fuseable web to help with the ribbon portion. (Tip: Hobby Lobby has tons of bandanas in many many different colors and themes. If you have a Hobby Lobby in your area.) Super quick and easy. Good beginner sewing project. Just straight lines.
Advertisement
Approximate Time Less than 1hour
Supplies:
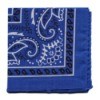
bandana
thread
ribbon 59 inches
elastic 3 inches of 1/4-1/2 inch wide
fuseable web
iron
sewing machine
Instructions:
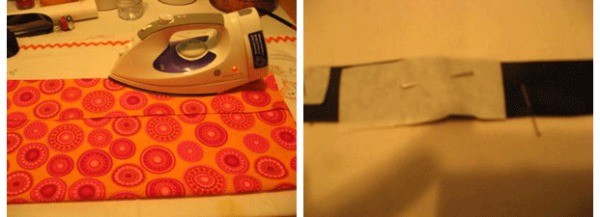
Iron bandana to get out all store wrinkles. (You can also wash and dry to get out all the starchy stiffness if you desire.)
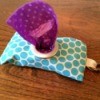
Open bandana up wrong side facing up. Fold one edge toward the middle 6 inches. Bring other edge to meet it. Iron in new creases.
Apply fusible web to the back of your ribbon.
Center ribbon over seam where the two edges meet. Iron ribbon into place over the seam. Be sure to follow factory directions for your fusible web. The smaller of the two sides is the front of the bonnet and the larger is the back of the bonnet.
You are now going to make the casing for the elastic at the back. You will sew a straight line from one edge to the other about 1/2 an inch from the fold.
Advertisement
At this time you can also use the machine to add a decorative stitch to your ribbon or you can hand embroider over the ribbon to make it more secure.
And here is where it gets a bit tricky. Thread 3 inches of ribbon into the casing. Gathering as evenly as you can. Secure your elastic together by sewing over the two ends a few times. Release the elastic and with needle and thread close the gap that remains over the elastic.
Marty Dick Bronze Post Medal for All Time! 169 Posts
September 8, 20071 found this helpful
I'm sure your kids have western day at school. They do at rodeo time in Houston. This is a good bonnet for a "pioneer girl" to wear to school on that day.
You are a lifesaver(five flavours,lol). I have been looking for an easy sunbonnet pattern for sometime. I love the shade they give to the face and they are so different from the usual sunhat styles. Thanx
 This is a bonnet made from one bandana, a length of ribbon and some thread. I use a little fuseable web to help with the ribbon portion. (Tip: Hobby Lobby has tons of bandanas in many many different colors and themes. If you have a Hobby Lobby in your area.) Super quick and easy. Good beginner sewing project. Just straight lines.