Ever figure out where to put those tons of plastic bags you get when you go to the groceries? Here's a cheap way to do it while teaching your young ones the value of recycling!
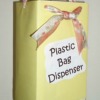
One last tip: Segregate plastic bags that have holes in them versus those that do not have holes. Place them in different dispensers. Label your dispensers as appropriate so there will be no guessing needed which one is which.
Add your voice! Click below to comment. ThriftyFun is powered by your wisdom!

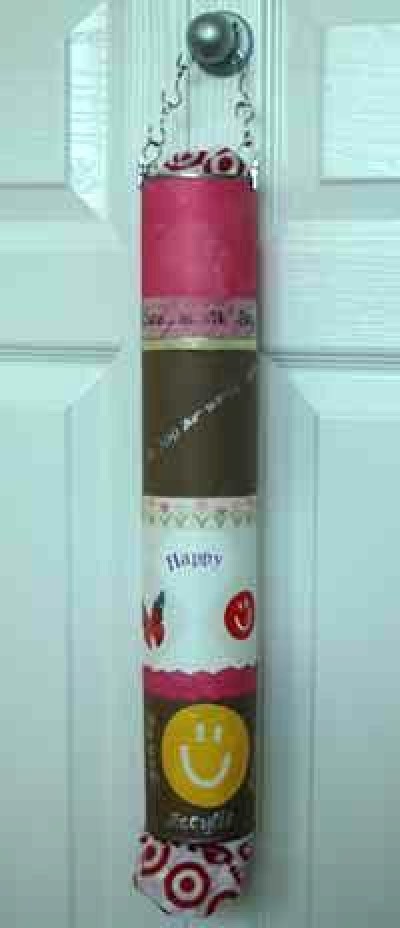
I made a grocery bag dispenser out of a used bread wrapper and a small margarine lid with a hole cut in it.
Turn the bread wrapper inside out and put the closed end through the cut out in the margarine lid. The hole should be big enough to get out a grocery bag, about 1 inch across.
Now pull the wrapper's edges around the cut out completely surrounding it, covering it with the bread wrapper completely. Tuck in the edges on the other side.
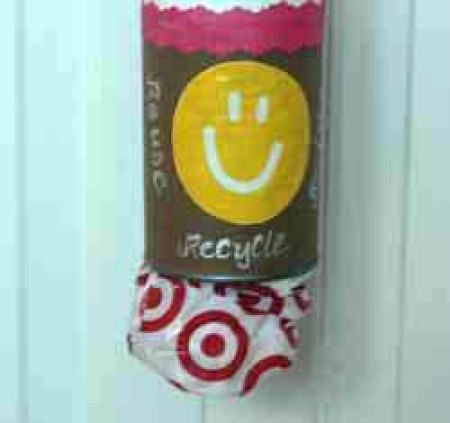
Now turn the bread wrapper right side out and it is ready to use.
Fill with plastic bags, which I use as gloves to clean the yard of litter and trash, and hang somewhere handy. I am sure you can get more creative and use material bags or decorated plastic bags, but I am trying to recycle the bread bags. I have several store bought ones made out of fabric.
As with all things watch children around plastic bags, this is one of the reason I keep them up in dispensers around the house.
Race Against Thimerosol
I Use kleenex boxes, no cutting or gluing needed
Just stuff and use
I just got a pattern to cut plastic bags into strips and then crochet into totes and rugs. Nice project while watching tv at night and only cost my time.
That is so cute and it's such a great idea. I've just been using a kleenex box, but this idea is so much better. This is something that I wouldn't mind people seeing. Looks great!
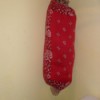
I have a plastic bag dispenser I made from a $1 dish towel to match my kitchen. I just sewed the long sides together and put a little extra elastic in the ends. I used a ribbon to make a "hook" and now it hangs on a cabinet!
How fun! What a great idea. In addition to plastic grocery bags, you could also make one for trash bags or garage rags. If you wash the rag, then just put it in the top again. Brilliant. :)
What's in YOUR garage? http://www.home-garage-help.com
I keep mine in an extra drawer in each bathroom (how did I manage that, I'll never know!) I have a drawer that fits extra toiletpaper and the bags for the garbage perfectly, but this idea is great for the closet by my kitchen.
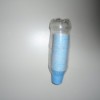
Wash a milk jug thoroughly. Let dry completely. Cut a circular hole in one side (not where the handle is). Then tuck in bags, they will be ready to dispense and convenient to stow under counters.
The only reason I like a Kleenex box better is that it's easier to move. On the other hand, it's also easier to lose!
What a clever idea! I have bags in bags in bags in bags! I need this! Thank you
Add your voice! Click below to comment. ThriftyFun is powered by your wisdom!