Barbara Bronze Feedback Medal for All Time! 104 Feedbacks
January 14, 2009
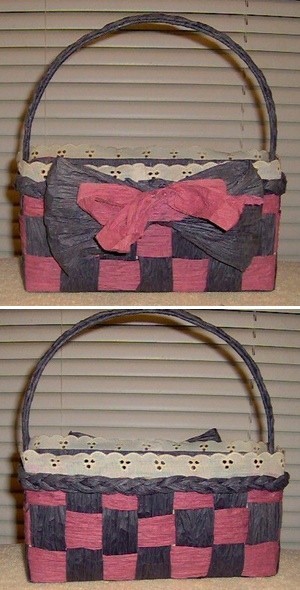
A versatile little basket to make for any occasion or keep for yourself. Very sturdy and so easy to make. Great for gift baskets.
Approximate Time: 2 hours
Advertisement
Supplies:
coat hanger wire
1 roll color of contrasting color ribbon
wire cutters
flowers or embellishments
1 roll of one color ribbon
white Elmer's glue
1 empty box- your choice of size
Instructions:
Untwist your paper ribbon and wrap around the box to get the size you need. Cut to the size you need.
Cut 3 strips out of your contrasting paper.
Cut your coat hanger wire to fit top of box from one side to the other.
Wrap with your first color of paper ribbon.
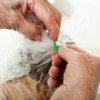
Glue each end to secure ribbon on wire, leaving a little bit of wire on each end to bend into a hook.
Poke a hole in the edge of the box and hook the wire handle through it and clamp shut.
Starting with the first strip, glue the edge to the back of the box.
Wrap around the box and glue the edge. Do this 3 times making sure box is covered.
Then take the contrasting color and measure from the top edge of the box to the bottom, around the bottom to the other side to the other edge of the box. Cut enough to cover the box.
Advertisement
Now, you glue one of the contrasting color strips to the top edge of the box. Weave it through the first color all the way around the bottom to the other side and glue in place. Do this with all the pieces until your box is covered completely. You will end up with a checkerboard effect.
Now you take strips of your contrasting color and braid 3 pieces to fit to the top edge of the box to finish it.
Cut strips of paper and glue to the inside of box.
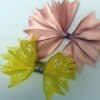
Make a paper bow and add any embellishments.
The box I used was half of a cereal box cut in two.
Hi Barbara. Many years ago I made this type of basket using a paper bag to start with. then I bought the Crepe paper to weave it onto the paper bag. I remember using cloths pins also to hold the crepe paper as I weaved it around the paper bag. I also remember using cardboard for the bottom and I used material to line the inside of the basket.
Advertisement
I can't find instructions of how to make it. I have the crepe paper demensions but I don't have instuctions to make the basket. Do you think it would be similar to your instructions? Please let me know. Virginia.
 A versatile little basket to make for any occasion or keep for yourself. Very sturdy and so easy to make. Great for gift baskets.