Rachel's Mom Silver Post Medal for All Time! 277 Posts
September 8, 2011
I have seen these cute cupcake socks for sale several places and decided to try my hand at creating my own. This is quick and easy and it is a fun and unique way to give a pair or two of socks! In order to have enough bulk to create the cupcake, use two pair of no-show or ankle socks, or you can use one pair of knee-hi socks.
Approximate Time:
Advertisement
Supplies:
2 pairs of low-cut socks
rubber band
paper cup or cupcake liners
scissors
toothpick
medium size pom pom
hot glue gun and glue sticks
Instructions:
Use scissors to cut halfway down the side of a paper cup. Then cut around the diameter of the cup. This will be your cupcake holder. You could also use several stacked cupcake liners instead of a cup.
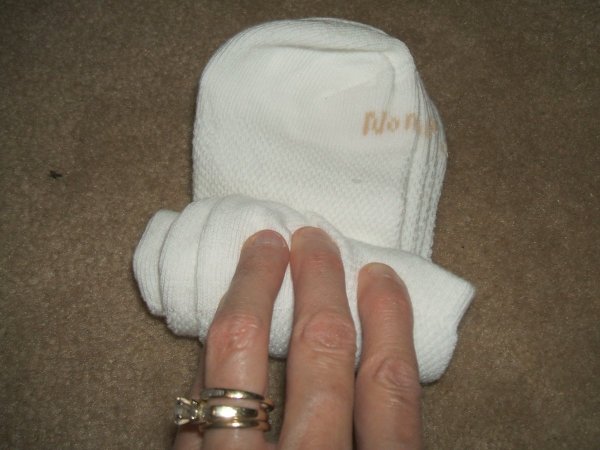
Begin by layering your socks on top of each other so that the edge of each sock can be seen (refer to photo).
Beginning at the open end of the socks, roll up socks all the way to the toe end.
Advertisement
Secure roll with a rubber band.
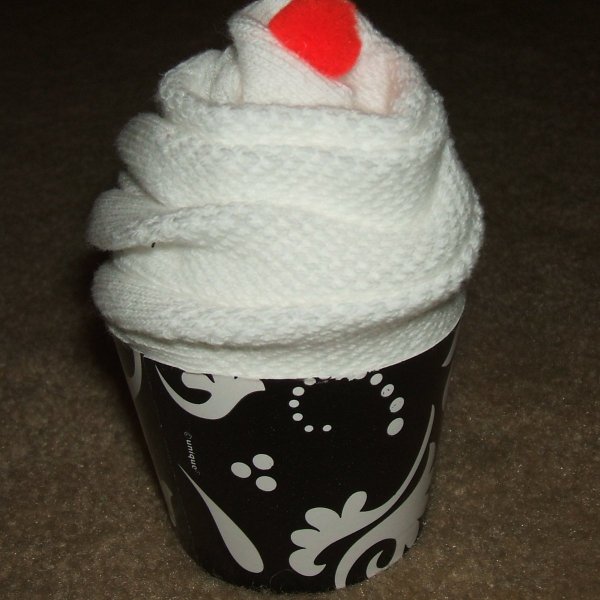
Position rolled socks into cut-off cup or stacked cupcake liners.
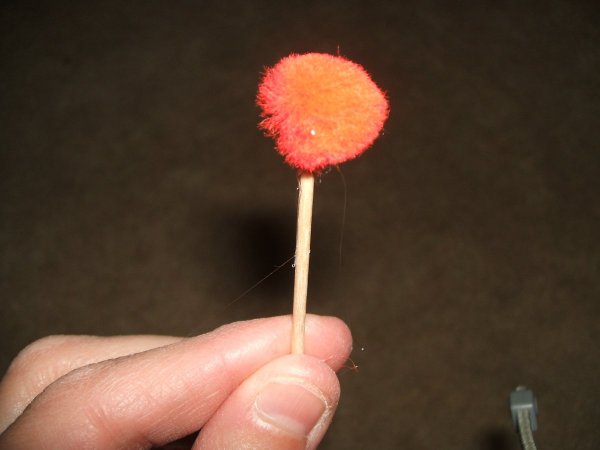
Hot glue the pom pom to the end of a toothpick. Hold in place a few seconds until glue is dry.
Poke the toothpick down the middle of the rolled socks being careful not to poke a hole in the socks. (I stuck my finger down the middle to help guide the toothpick).
The pom pom is the "cherry" on top. You can place your cupcake in a clear cellophane bag tied off with a ribbon, and you are ready to present your gift!
This is great! Your photos really help a lot - thank you. I can see this being a really fun present to give and receive. I think I might use some nice elastic hair ties instead of rubber bands, real pretty ones to make a little bit more of the present. You have my vote!